----关注IT小技术,IT小哥教你电脑小技术!
IT弟弟的一家外包公司,在日常维护中,一位客户拿起他的U盘,说U盘中毒了,里面的数据都是乱码,无法打开,也无法将数据复制到U盘。
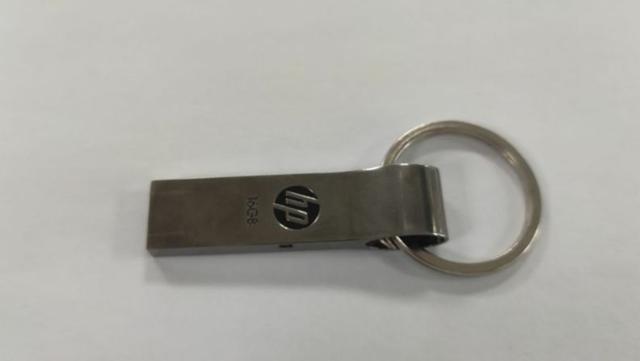
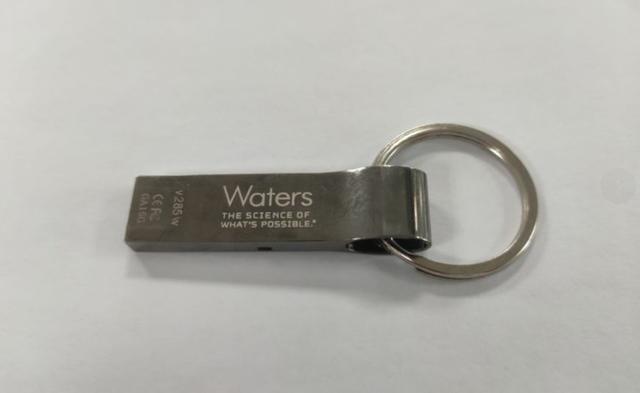
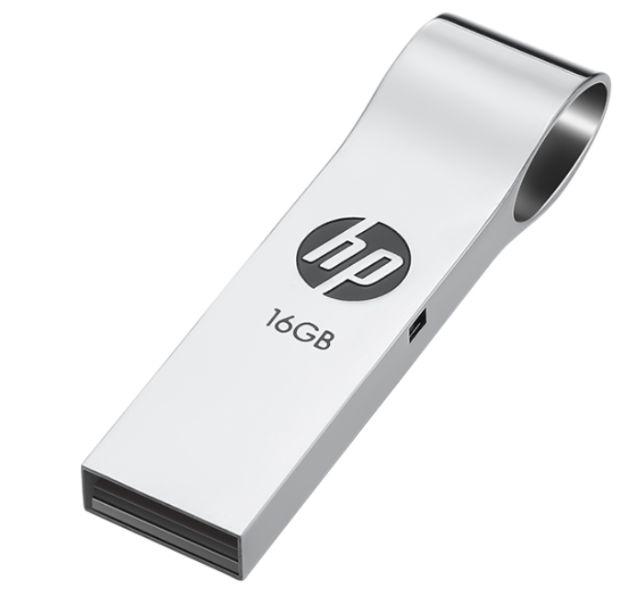
U盘如下:
HP v285w 16G U盘
于是IT弟弟拿着U盘试着修理。
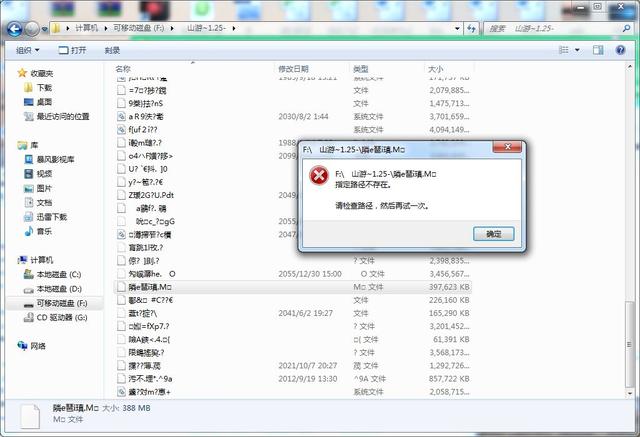
打开U盘,发现里面的文件都被病毒感染了。
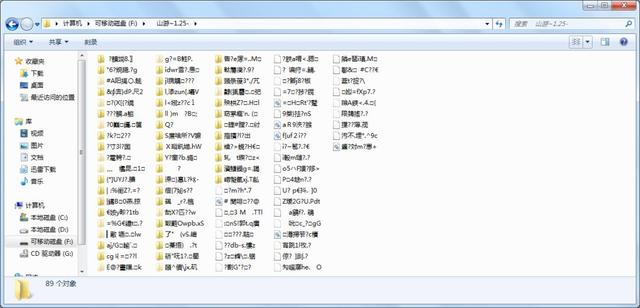
U盘中文件无法打开。
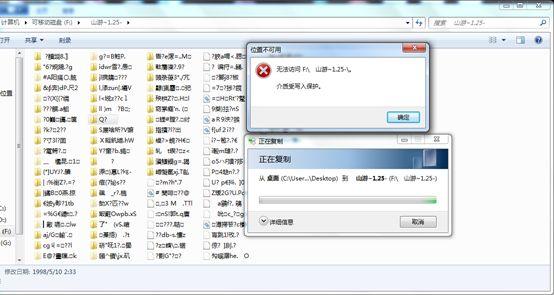
桌面文件不能复制到U盘。
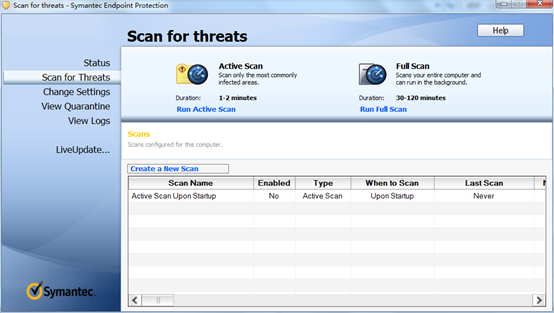
一般情况下,U盘中乱码的原因可能是U盘中病毒引起的。使用360安全卫士、赛门铁克等杀毒软件查杀u盘。
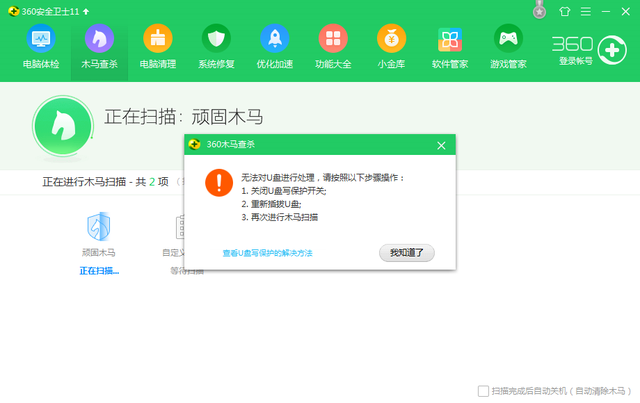
用360杀毒软件去U盘查杀病毒。
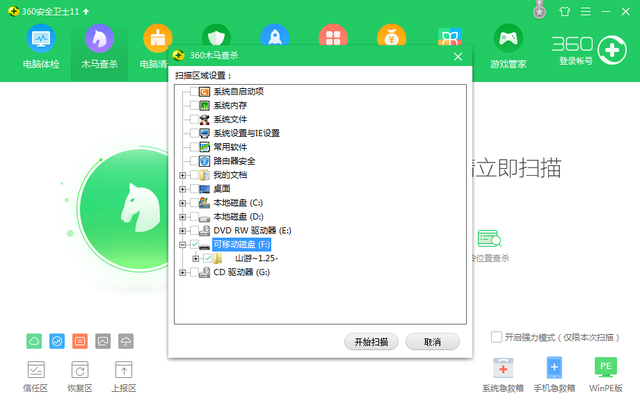
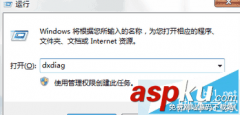
发现根本无法查杀病毒,提示U盘无法处理,请按以下步骤操作:
1.关闭U盘写保护开关;
2.重新插入U盘;
3.再次扫描木马。
一开始,我真的以为U盘左右两侧都有黑色的保护开关。后来咨询客户说U盘没有写保护开关,两边的黑色是装饰。
为什么U盘写保护?
U盘写保护是指无法修改U盘数据(添加、删除、修改名称)。U盘写保护分为硬件写保护、系统或软件异常导致写保护。
一般情况下,硬件书写保护通常是在U盘上打开硬件书写保护开关(常见于SD卡读卡器侧面有开关,防止U盘数据修改;软件写保护发生时,大多数文件系统被木马病毒或U盘损坏。
看到数据无法恢复,我和客户商量了一下,客户说数据要。
IT这个时候小哥很开心,数据不简单,直接格式化。这种格式化,问题严重,我们继续往下看。
01
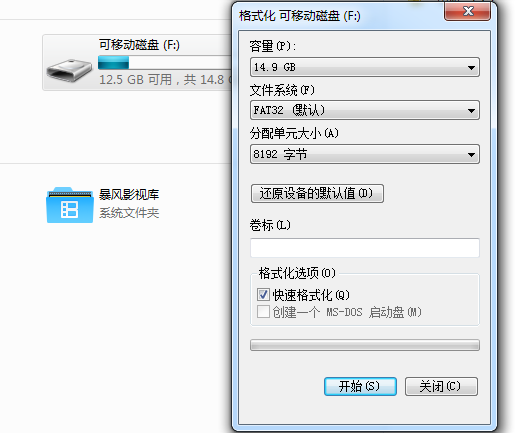
格式化U盘
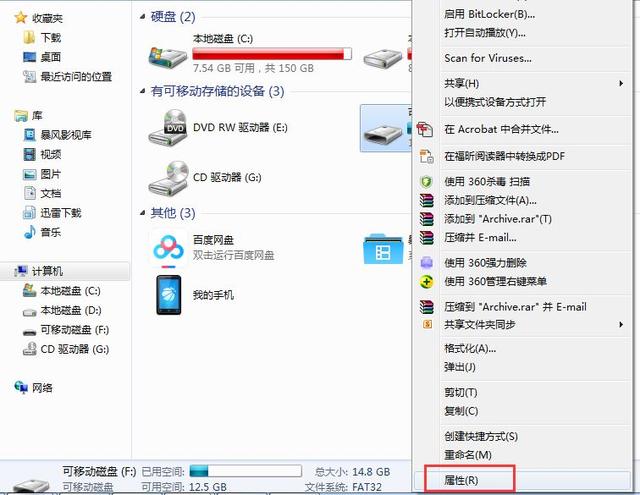
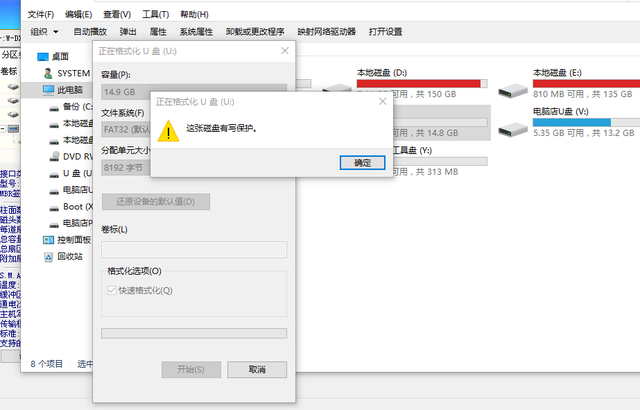
右键点击我的电脑-选择管理-磁盘管理-找到U盘分区,右键点击鼠标格式化。

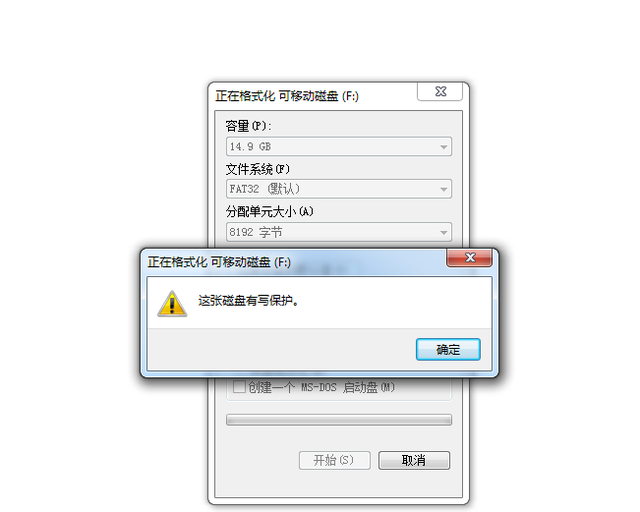
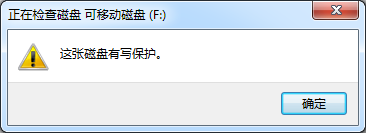
发现不能格式化,怎么连格式化都不能格式化?提示:这个磁盘有写保护。
所以不甘心,继续寻找解决办法。
02
使用系统自身的检测和修复功能
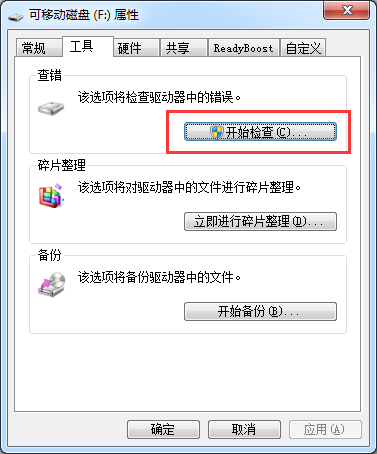
打开我的电脑或这台电脑-点击U盘磁盘上的右键-属性-工具-开始检查-检查自动修复文件系统错误和扫描并尝试恢复坏风扇区域。
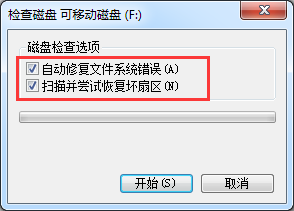
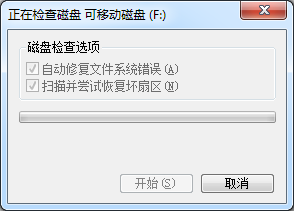
发现或报错,磁盘有写保护,无法修复。
03
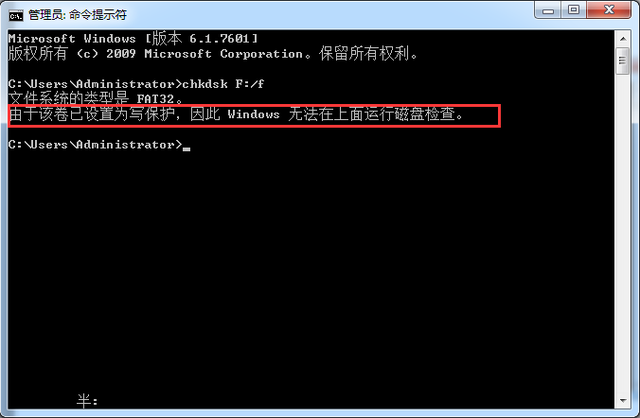
使用chkdsk h:/f
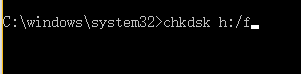
使用cmd命令修复磁盘:作为管理员打开cmd输入命令,重新插入U盘, 在cmd中输入 chkdsk h:/f (h 代表U盘盘符)
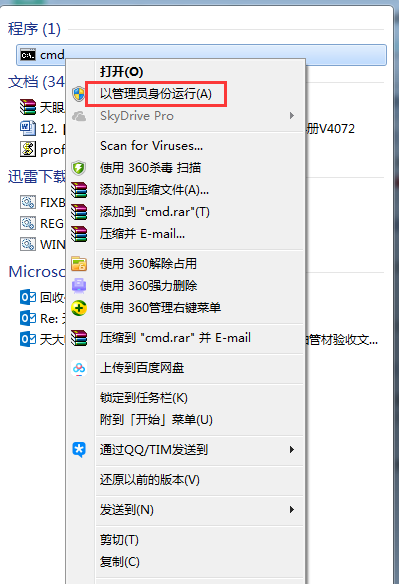
在cmd中输入 chkdsk h:/f
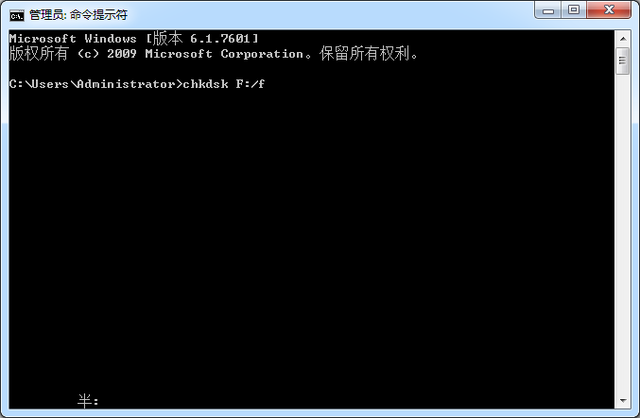
发现或报错,由于该卷已设置为写保护,因此Windows磁盘检查不能在上面操作,还是无法修复。
04
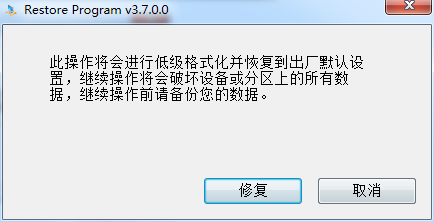
使用Restorev3.7.0修复
使用Restorev3.7.这个工具很容易修复,即不能读写或格式化,也可以用这个工具修复,也可以用其它修复工具试试!格式化功能将选定的设备或分区格式化为:FAT / NTFS格式、功能修复将进行低级格式化,恢复到工厂默认设置,选择继续操作将损坏设备或分区上的所有数据,请先备份您的数据。格式化功能将选定的设备或分区格式化为:FAT / NTFS格式、功能修复将进行低级格式化,恢复到工厂默认设置,选择继续操作将损坏设备或分区上的所有数据,请先备份您的数据。
操作此软件。
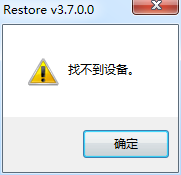
找不到U盘设备,这种方法又失败了。
05
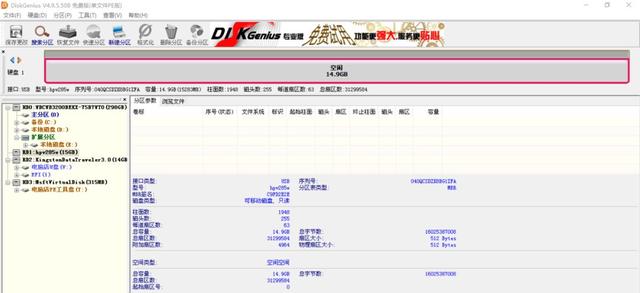
进PE系统,使用DG删除U盘分区
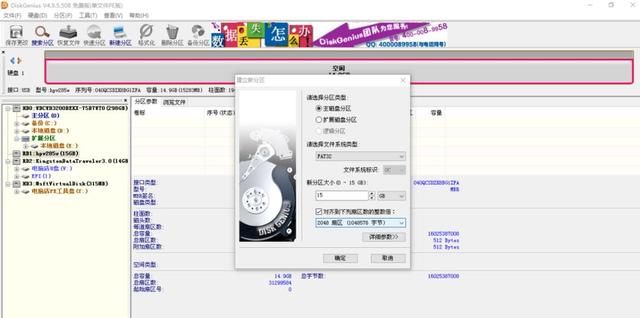
进PE系统后,打开DiskGenius删除U盘分区,格式化操作。
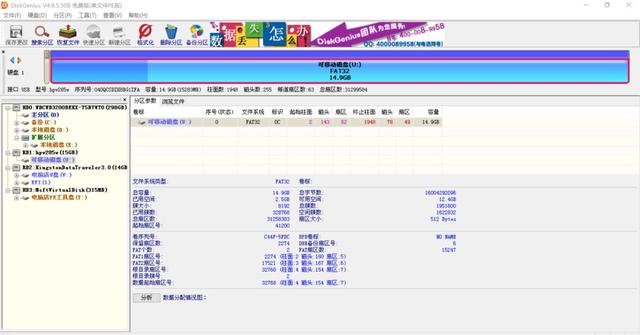
删除U盘分区,发现无法保存。
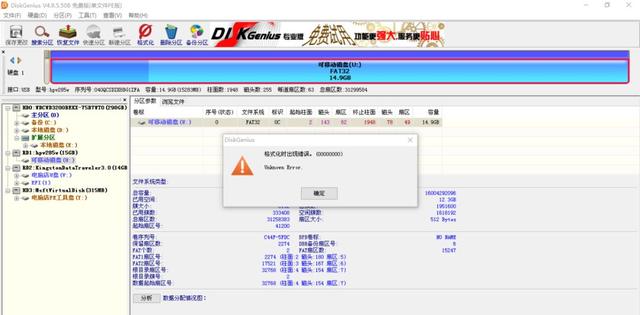
退出,重新打开DiskGenius软件,直接格式化,发现或报错。提示:格式化时出现错误。
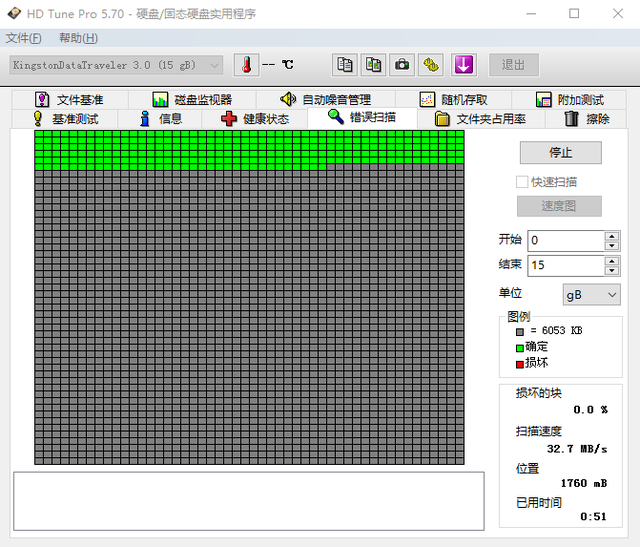
使用HD Tune Pro去测试hp v285w (16 gB)U发现U盘虽然没有损坏。但扫描速度只有0.8MB/s特别慢。
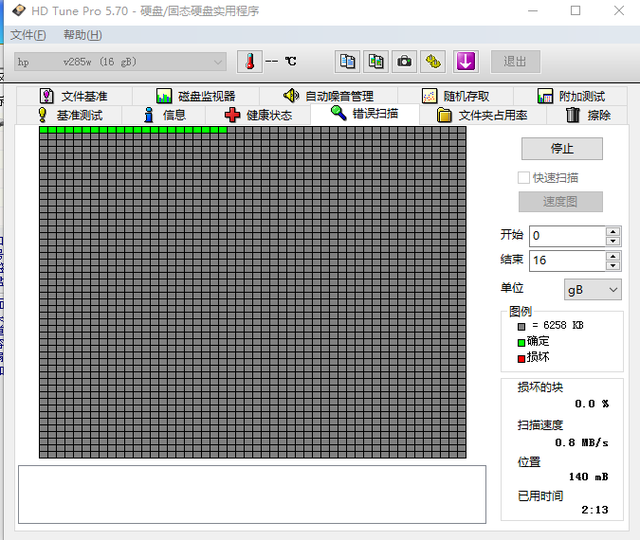
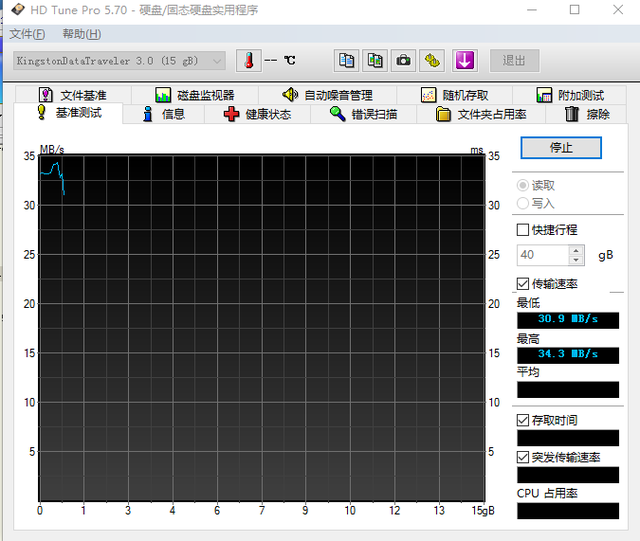
更换正常U盘,金士顿16GU盘扫描速度为32.7MB/s。
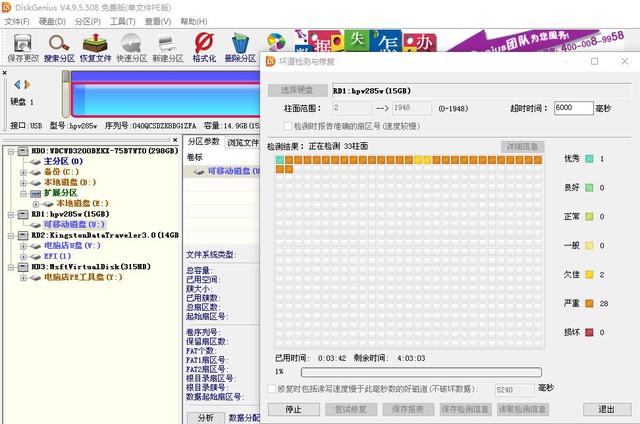
使用DiskGenuis检测和修复坏道。发现hp v285w U盘子,柱面有很多严重的错误。
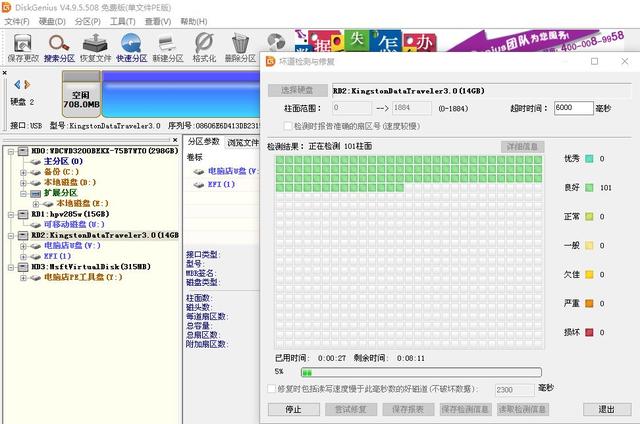
更换正常金士顿U盘测试,发现柱面检测很好。
使用HD Tune Pro去测试 hp v285w 读写速度最低为0.6MB/s
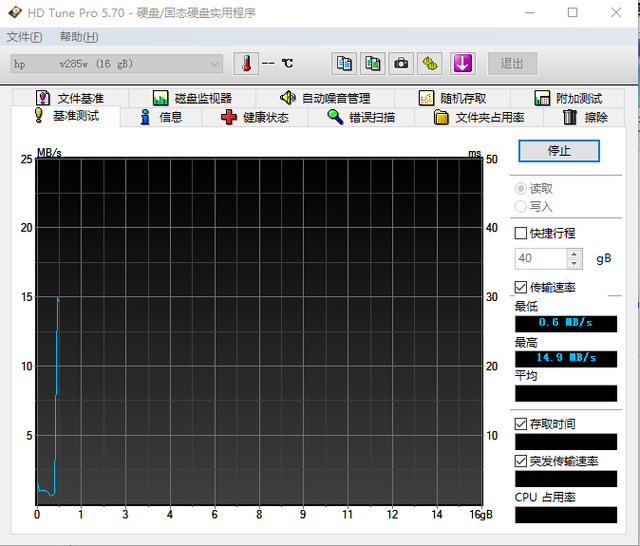
更换正常的金士顿U盘,测试速度为30.9MB/s。
在PE下面,直接格式化U盘还是提示这个磁盘有写保护。
测试到这里,相应的很多朋友都会说,U盘坏了。直接更换U盘。
但是,还有一种方法:量产。
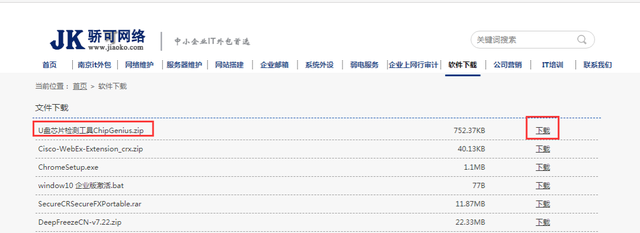
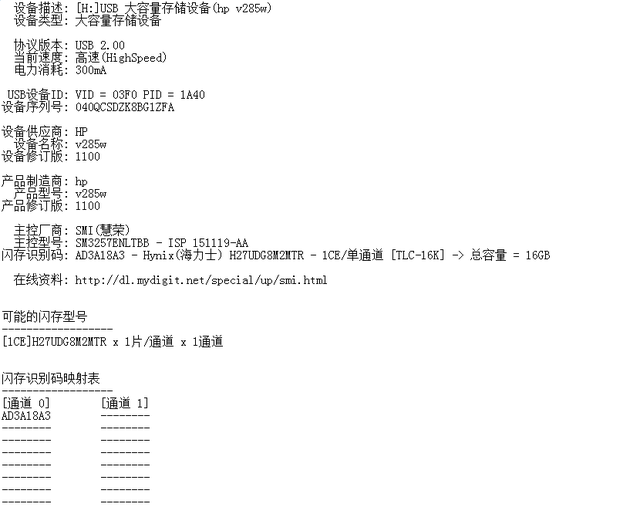
下载u盘检测工具,检测u盘主控厂家,发现是慧荣的主控。
慧荣 SN3257ENLTBB量产工具
下载慧荣 SN3257ENLTBB量产工具链接:
https://pan.baidu.com/s/1dcILokx_fOtd88o11uTiig
提取码:xenv
下载完成后,解压。
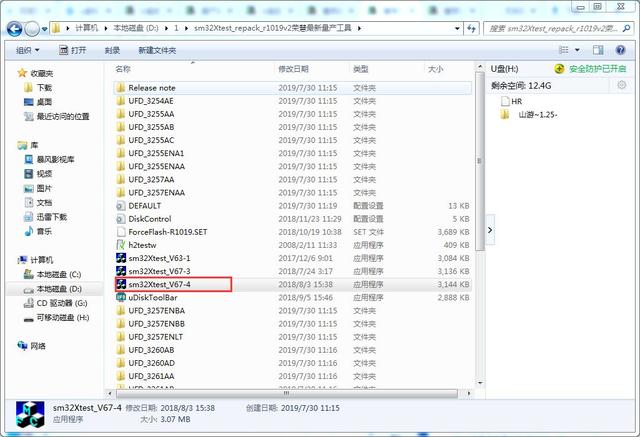
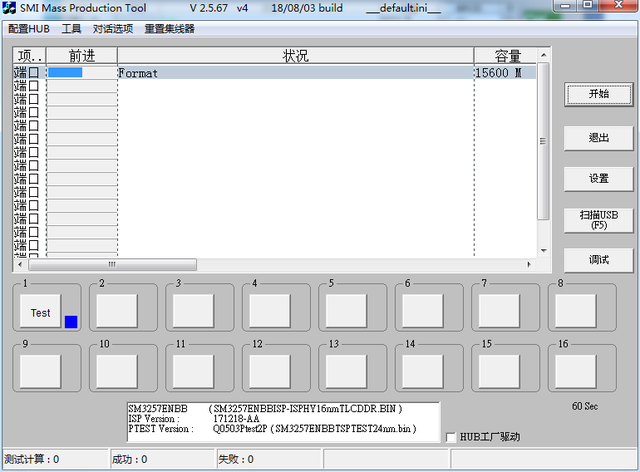
打开第四个程序后,选择扫描USB。
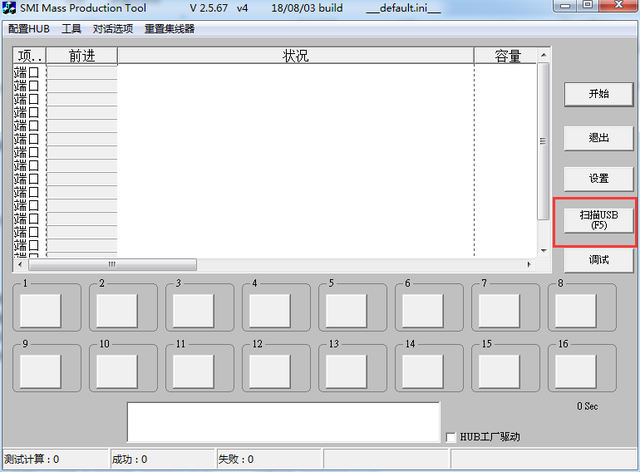
打开第四个程序后,选择扫描USB。
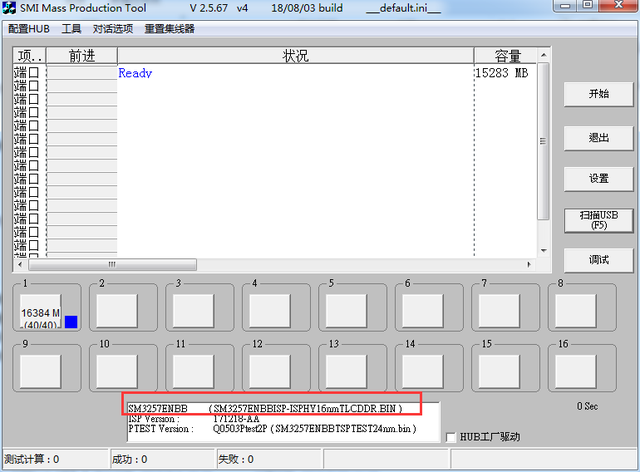
 识别U盘的详细信息。
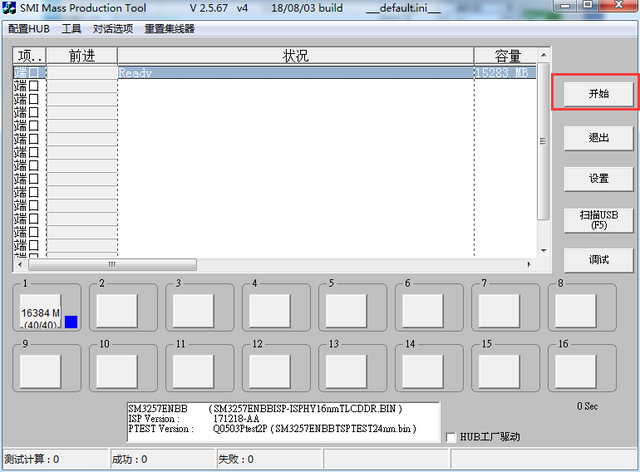
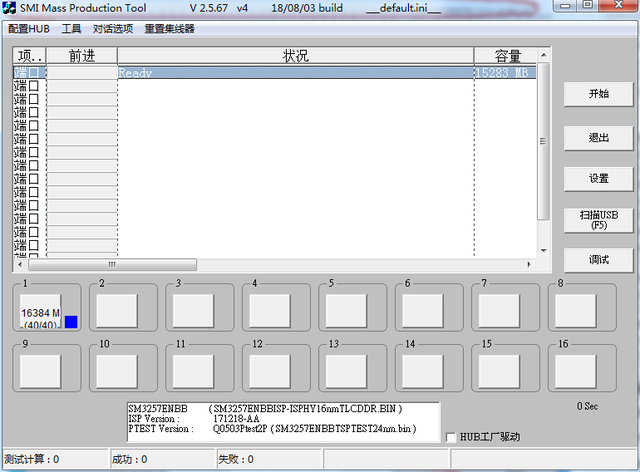
直接选择开始。
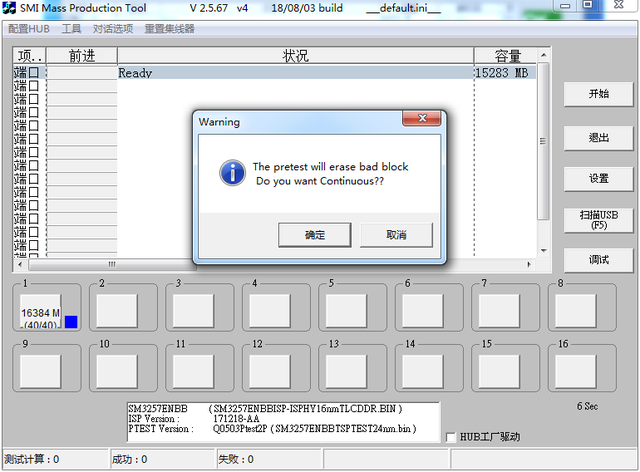
U盘数据将被擦除。
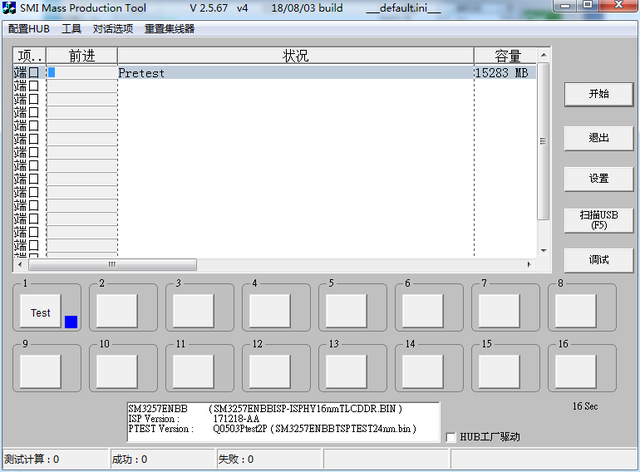
准备开始量产。
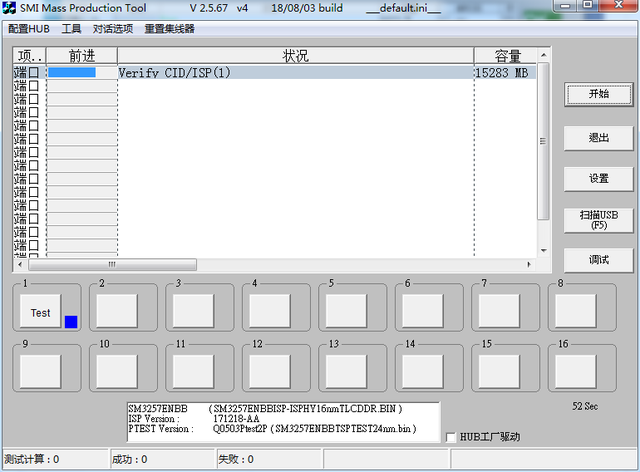
认证。
格式化。
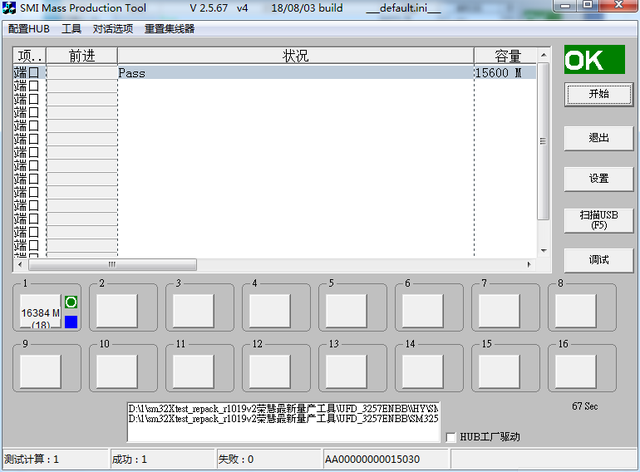
通过。显示成功1,是的OK。说明量产成功。
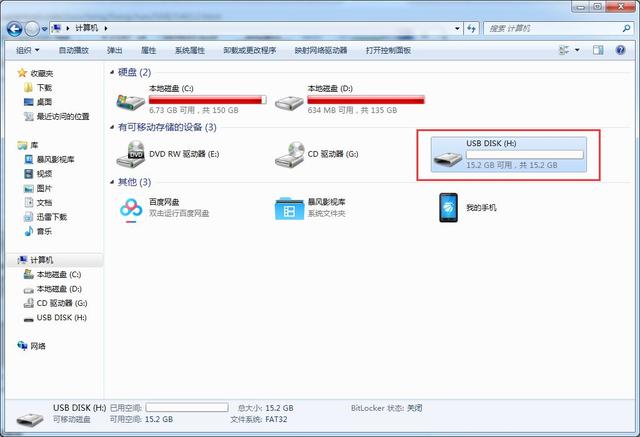
将U盘重新插入电脑。可以识别 到USB DISK(H:)
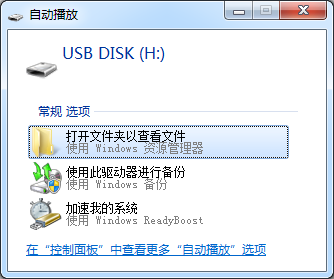
能正常打开USB DISK。

文件也可以正常复制到U盘。
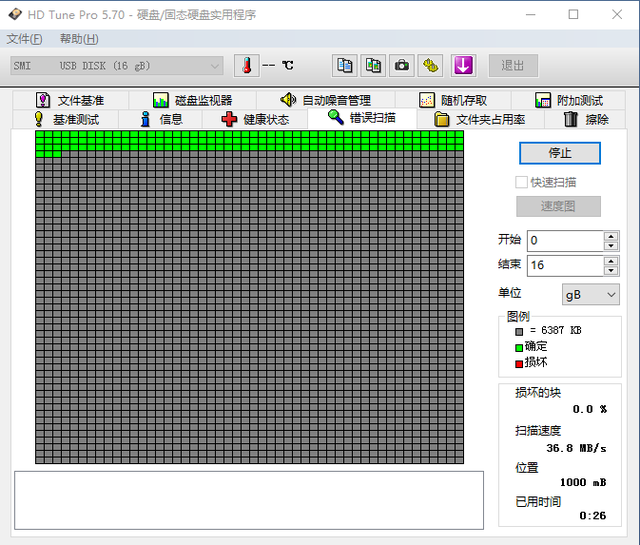
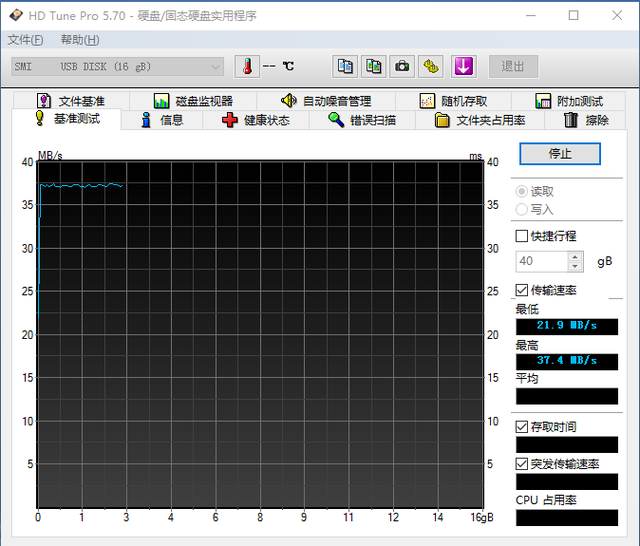
最后,通过 HD Tune Pro去将HP已量产成惠荣的U盘 SMI USB DIsk 16 gB U错误扫描速度正常,可达36.8MB/s。
也能正常达到21.9MB/s。

![RedHat服务器上[Errno 5] OSError: [Errno 2]的解决方法](https://img.pc-daily.com/uploads/allimg/4752/11135115c-0-lp.png)