u盘制作win10启动盘,一键u盘组装系统工具,这是我们制作启动u盘最常用的工具


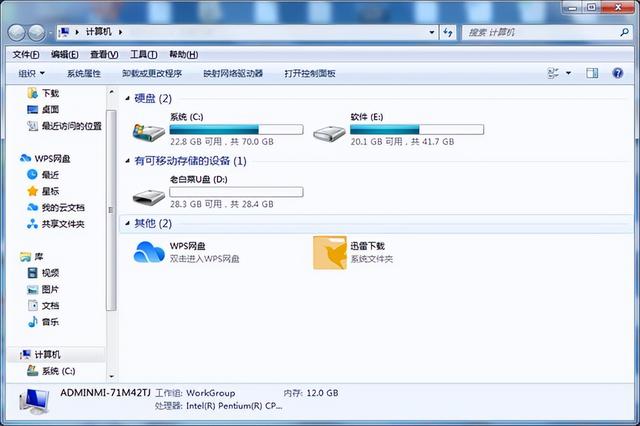
点击标题打开页面,点击在线下载,下载后,我们打开文件所在的文件夹
双击打开,可以看到里面有一个安装程序。双击此安装程序
点击立即安装
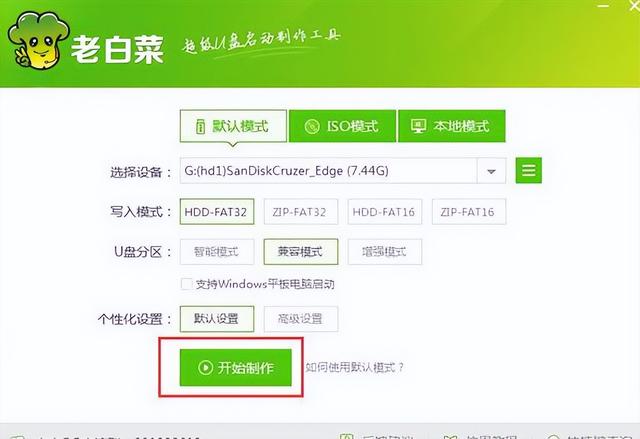
在确定默认模式时,选择我们想做的目标u盘

然后点击一键制作usb这里要注意u盘中的所有数据都会丢失
制作完成后,最好用空盘关闭对话框,直接点击否定
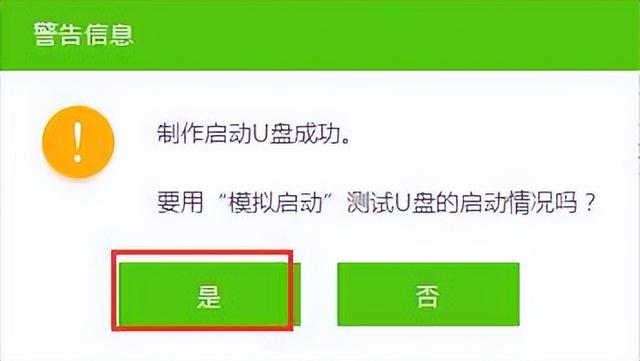
然后启动模拟启动
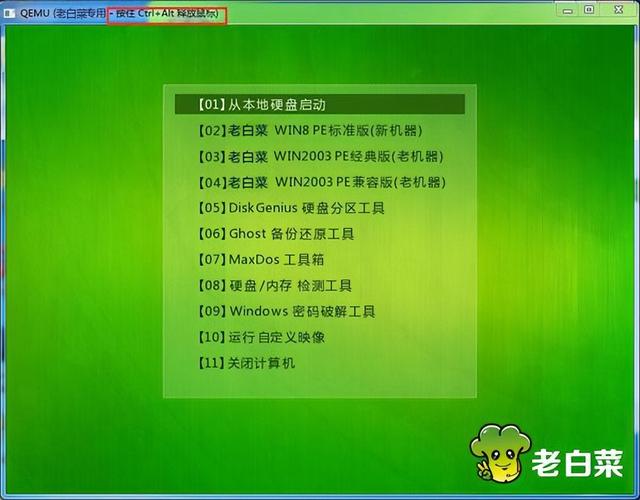
窗口成功启动,说明启动u盘已经完成,看现在
u旧白菜换了盘子
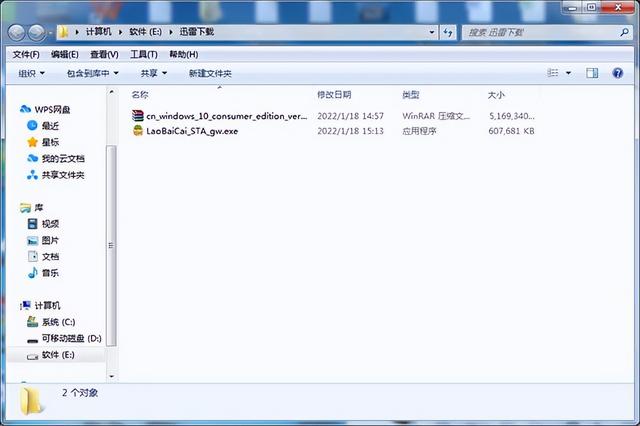
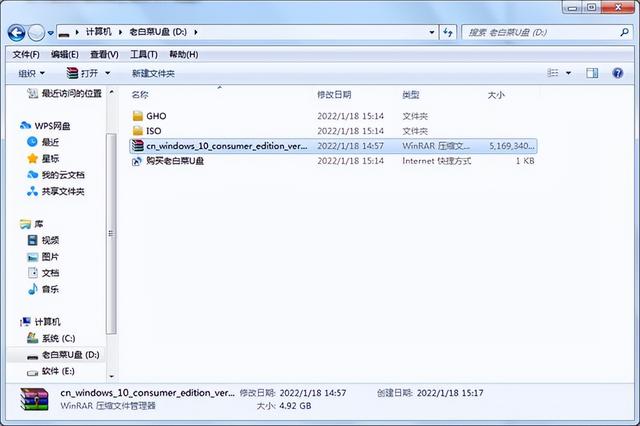
将操作系统的镜像文件粘贴到文件夹中,复制完成后,可以使用此优启