随着数字设备的升级,笔记本已经成为主流趋势,越来越多的用户积累,无法避免暴露的问题。例如,许多用户在笔记本电脑上打开黑屏。如何解决这种情况?下面小白给你详细的解决方案。
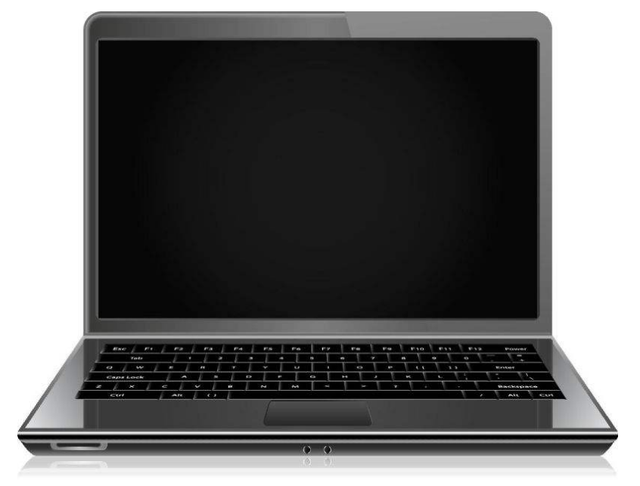
1、笔记本电脑黑屏开机原因分析
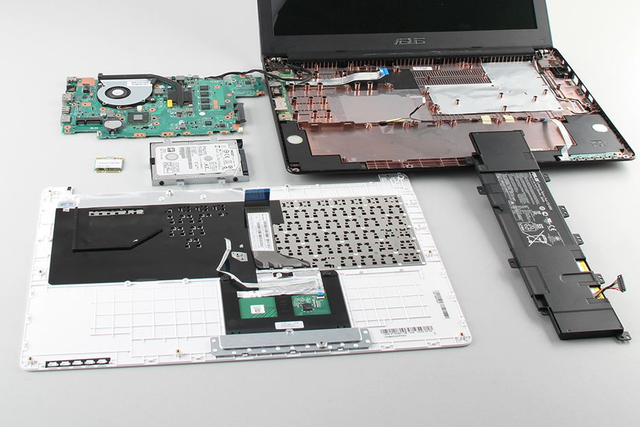
硬件导致黑屏:
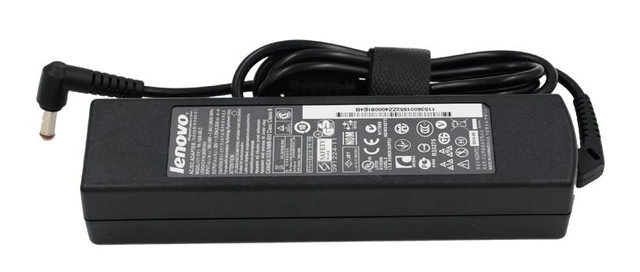
1.笔记本电池没电了吗?
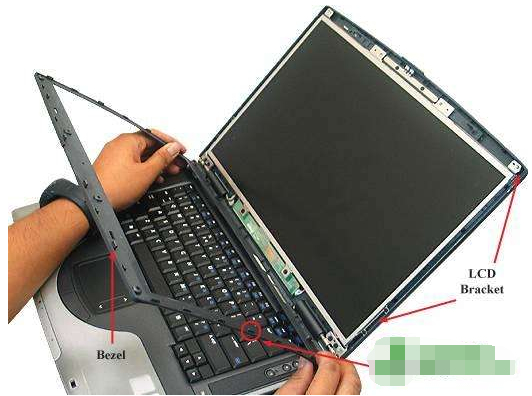
2.显示器排线接触不良
3、显卡接触不良
4.内存接触不良
5.电源有问题
6.显示屏坏了
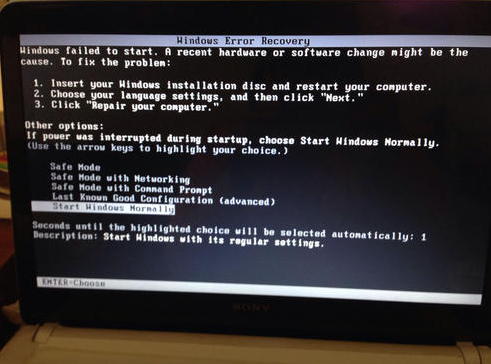
系统导致黑屏:
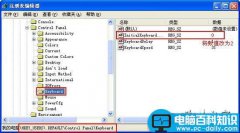
系统文件丢失导致黑屏,一般屏幕左上角有几行英语,或者横杠闪烁,或者出现windows未能启动,或windows无法验证本文件的数字签名等。
二、黑屏解决方案
硬件导致黑屏解决方案:
1.首先排除电源或电池是否通电。如有条件,用万用表检查是否达到额定电压,以排除适配器故障。
二、黑屏解决方案
硬件导致黑屏解决方案:
1.首先排除电源或电池是否通电。如有条件,用万用表检查是否达到额定电压,以排除适配器故障。然后看看电池是否没电。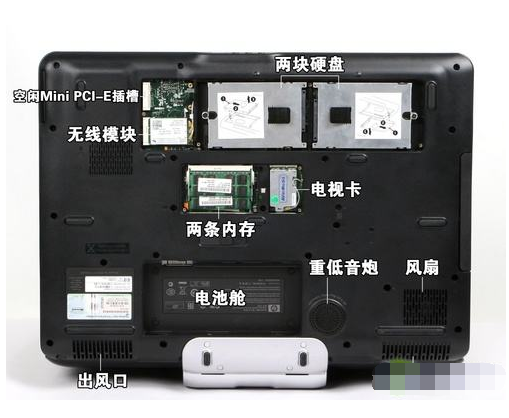 2.然后看看显示器的布线是否接触不良。一般来说,正常插入电源后,显示屏根本没有反应。在这种情况下,通常需要强大的动手能力和专业的工具箱。如果无法自行修复,建议电脑店解决。
3、显卡或内存接触不良,一般尝试拆卸显卡或内存条,用橡胶擦拭金属部位,然后再插入,一般可以解决哦。
4.排除上述原因,很可能显示屏坏了。启动后,试着把耳朵靠近屏幕边缘,仔细听。是否有高音,然后保持沉默。这大致是高压电路板的问题。如果一直沉默,可能是灯管问题。
如果以上不能自行修复,建议将笔记本送到实体店进行维修。系统导致黑屏解决方案:
系统坏了导致无法进入系统的黑屏,一般的解决方案是重新安装系统。参考以下解决方案:
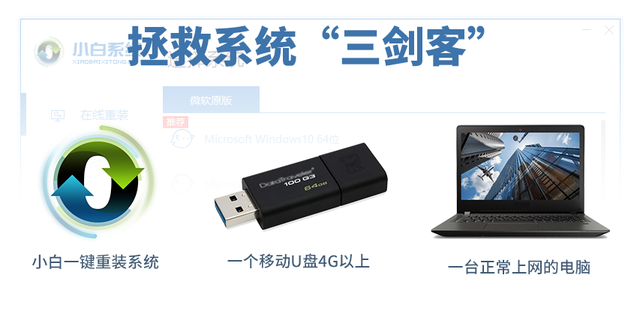
第一步:安装前准备工具
准备一个U盘(4)G以上),正常上网的电脑,搜索下载小白工具。
 PS:请确保至少有两个电脑盘符,并确保U盘数据备份。
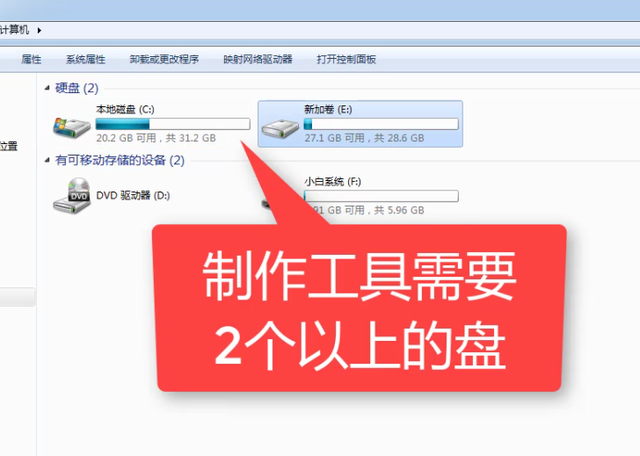
第二步:制作U盘启动工具
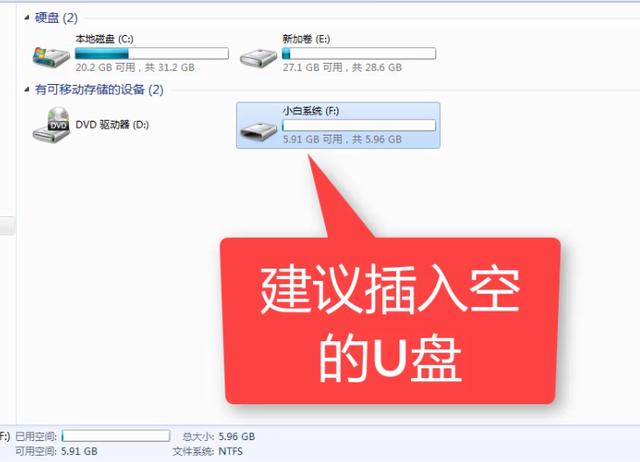
1、首先把4G将U盘插入正常电脑,建议提前备份U盘上的信息,如下图所示: 2.制作工具前,电脑上的磁盘需要超过2个。下图所示:
3.然后退出电脑上的杀毒软件,避免生产失败。如下图所示:
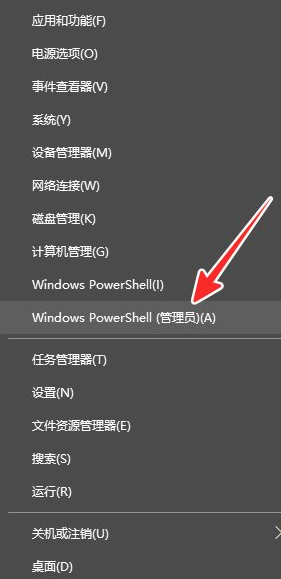
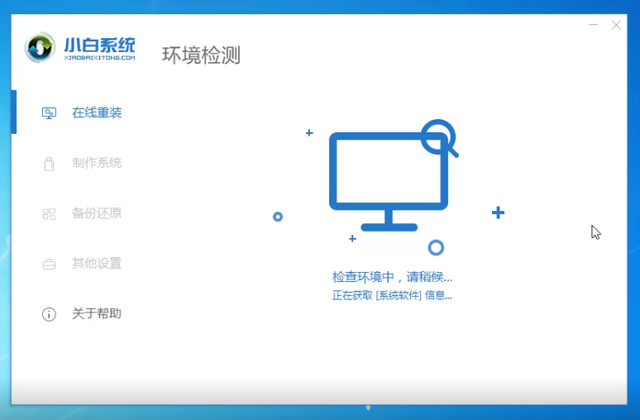
4、双击打开小白工具,等待加载完成,如下图所示:
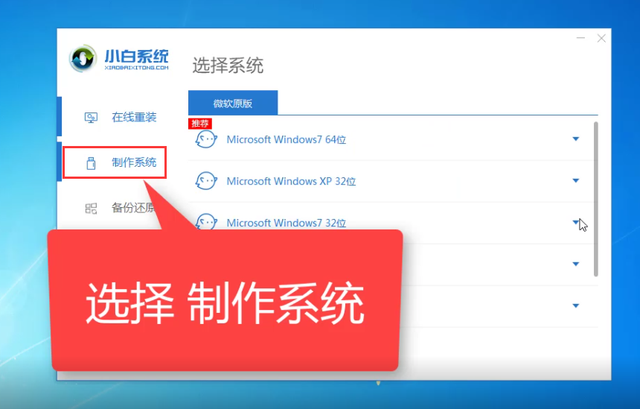
 5.然后选择小白工具
制作系统
选项,下图所示: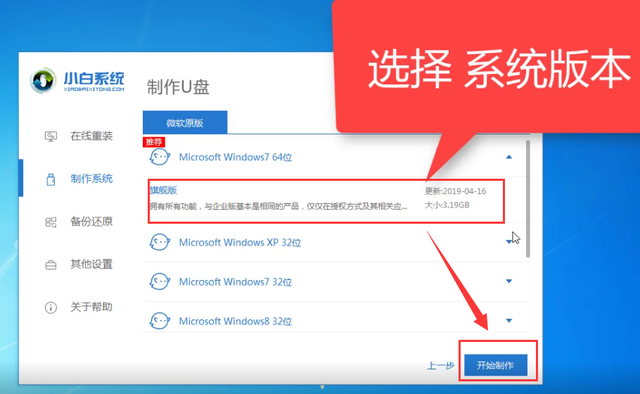 6、接着点击
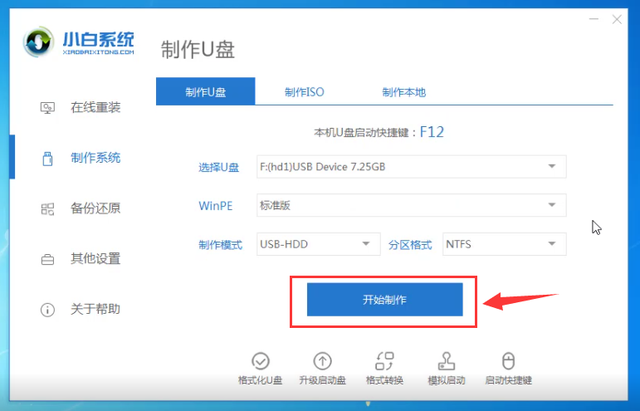
开始制作
按钮如下图所示: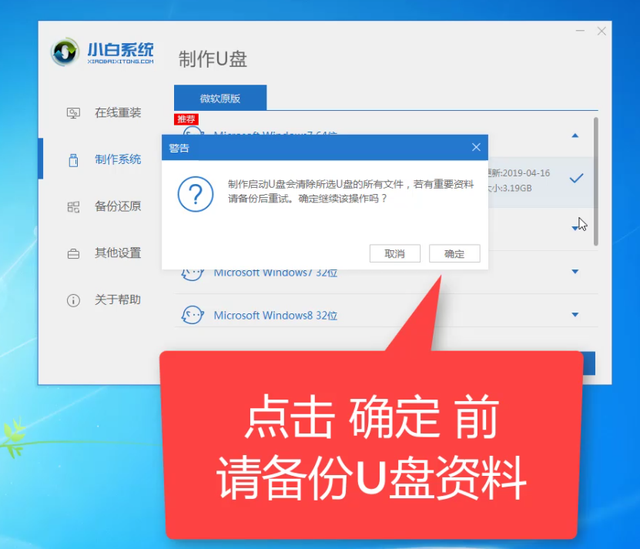 7.选择要安装的系统,然后单击
 开始制作
开始制作,下图所示:
 8始下载系统镜像包,制作U盘工具,期间不要操作电脑,下图所示:
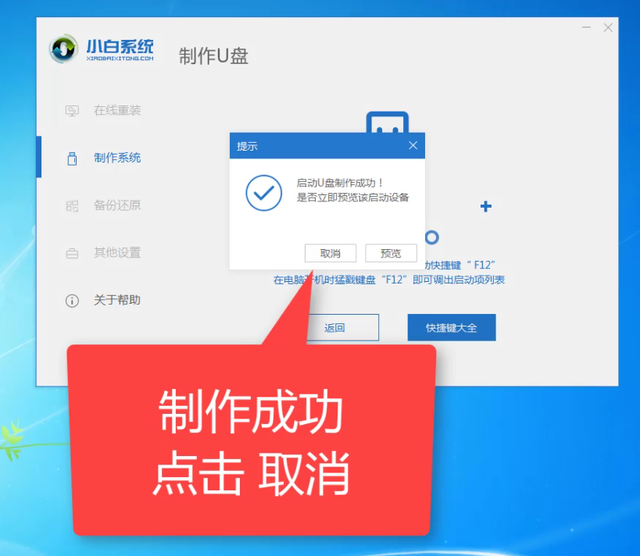
等了半个多小时,发现制作成功了,然后点击
取消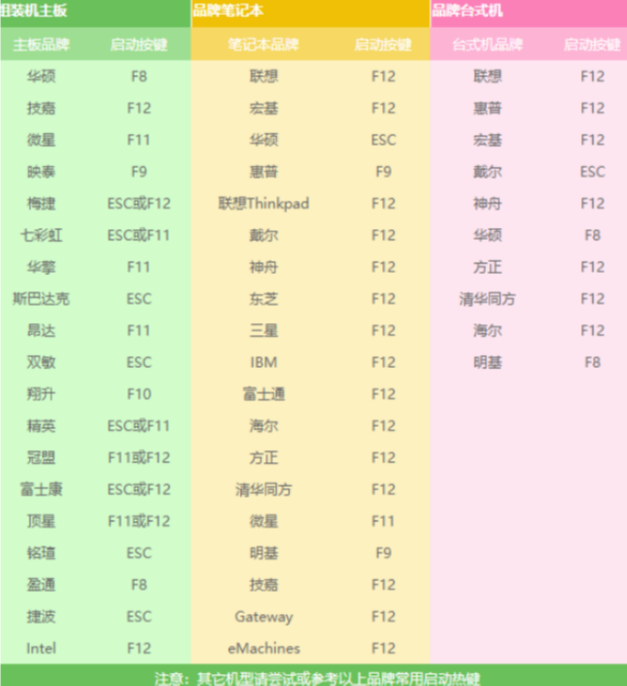 ,下图所示:
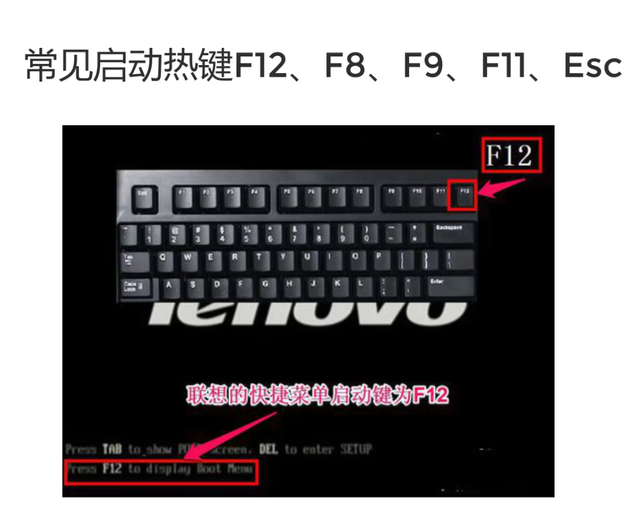
第三步:重新安装系统
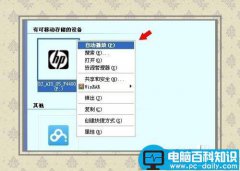
1.拔下成功制作的U盘,插入需要重新安装的宏碁电脑,参考以下启动热键,下图所示: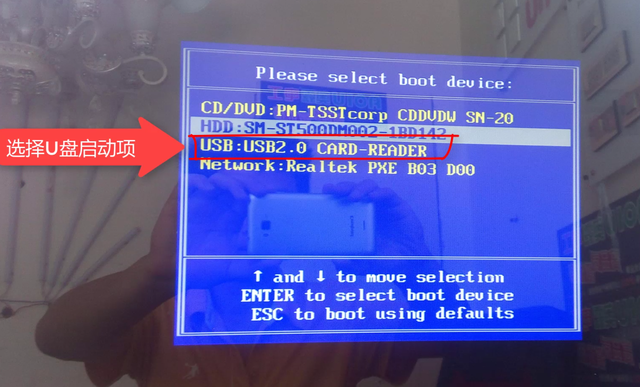 2.重启计算机,立即按下启动热键(快速间歇按压)F如下图所示:12.
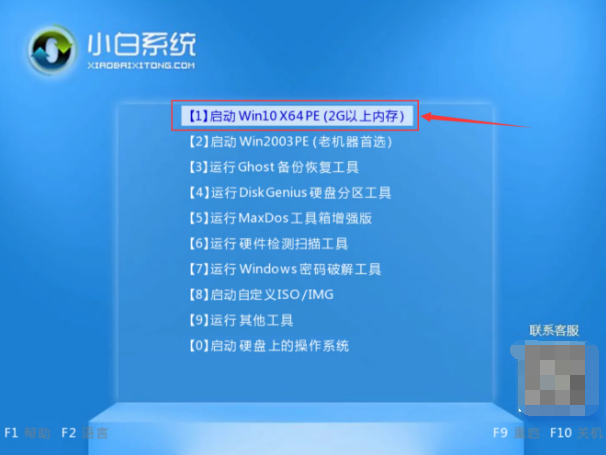 3、接着出现启动菜单,选择USB单词选项,通过方向键上下移动,按回车键选择,如下图所示:
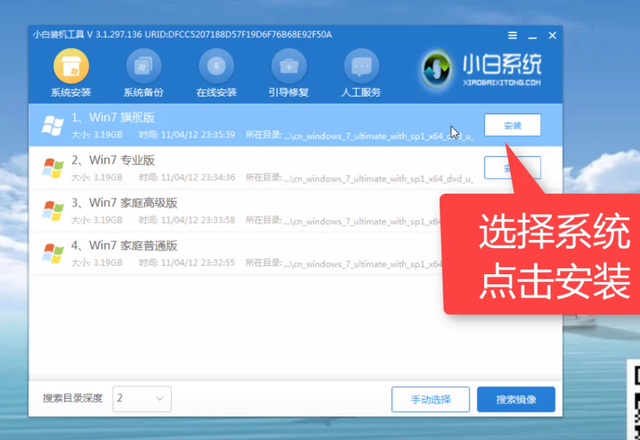 小白马上就出现了PE系统,我们使用键盘方向键向上选择 第一项启动win10x64PE,下图所示:
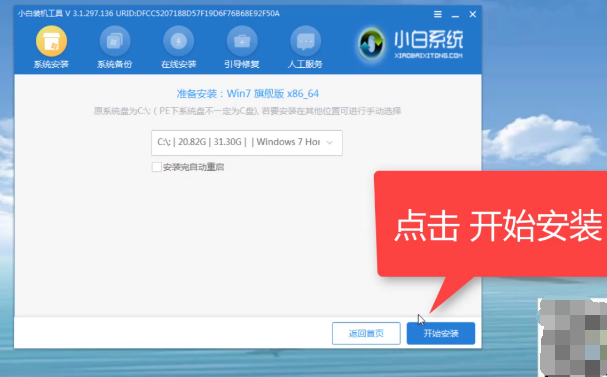 5.加载完成后,选择需要安装的系统win然后点击安装按钮,如下图所示:
 然后点击开始安装按钮,下图所示:
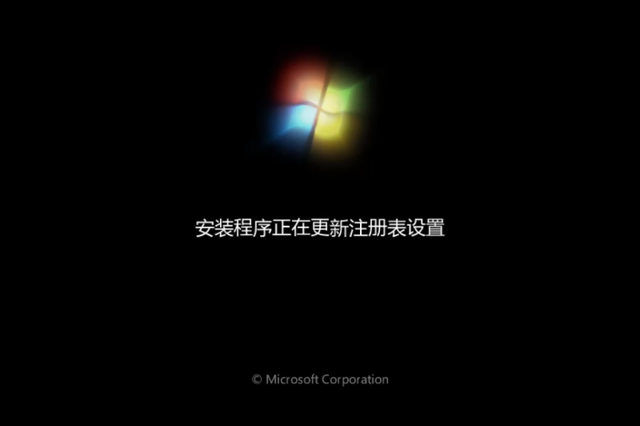 7.安装完成后,我们点击立即重启计算机,如下图所示:
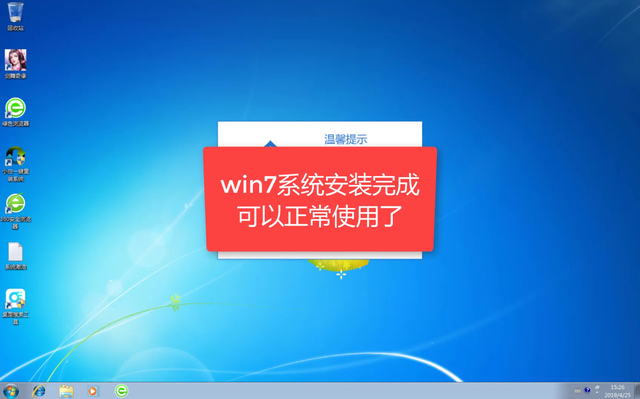 8.计算机重启后,开始安装程序及其相关设置,耐心等待十分钟以上,如下图所示:在此期间,计算机将多次重启,然后进入系统正常使用,下图所示:---End---以上就是笔记本电脑开机黑屏的原因分析以及解决方案,有需要的朋友可以参考哦,需要更多电脑系统有关的教程请关注 小白 下次见!