做win10启动盘
(做win10启动盘需要多少u盘)
在新安装、系统崩溃等情况下需要重新安装系统时,U盘启动盘此时,它已成为唯一的选择。只有U盘启动盘才能满足系统重新安装的所有需求,安装系统是微软官方原始系统。

需要准备的:可以联网的电脑,容量大于8GB的U盘
1.在任何浏览器地址栏输入以下网站并打开
“https://www.microsoft.com/zh-cn/software-download/windows10”
也就是以下页面
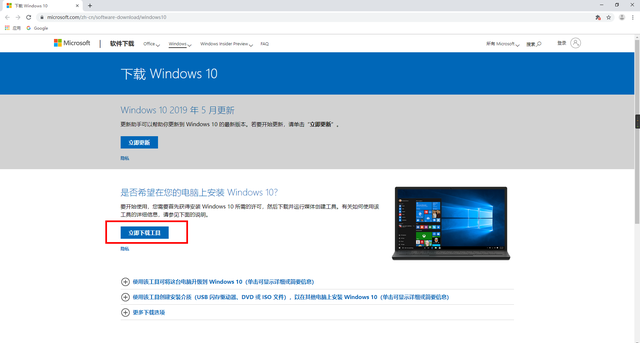
点击立即下载此工具,下载后待用
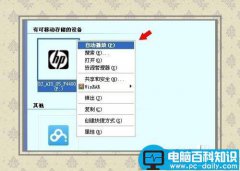
首先,将准备好的U盘插入电脑(注意数据备份,后续步骤将自动格式化U盘)
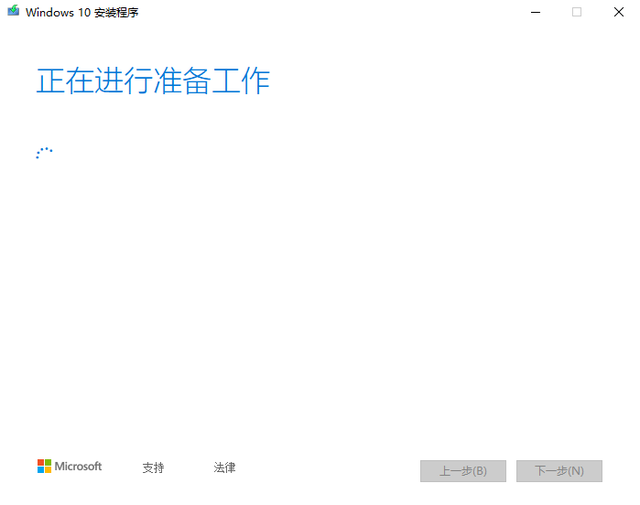
打开此工具,首先,准备工作正在提示

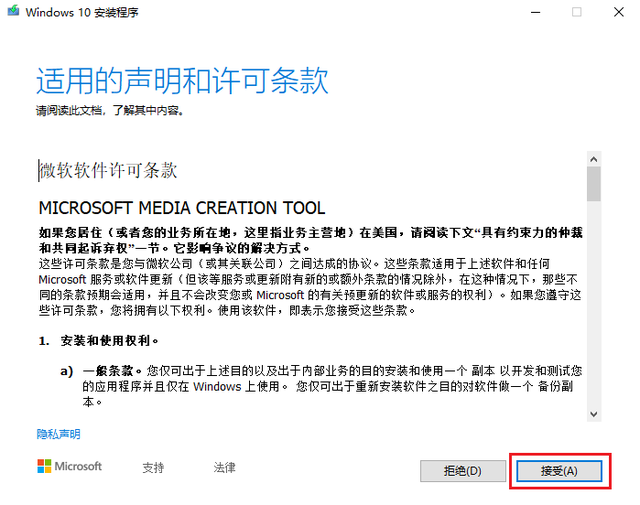
2.然后弹出如图所示的窗口,选择接受
3、再次进行准备工作
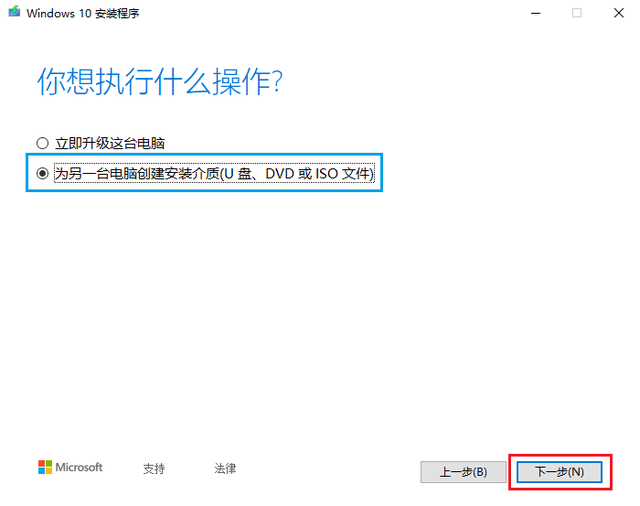
选择为另一台电脑创建安装介质,点击下一步。
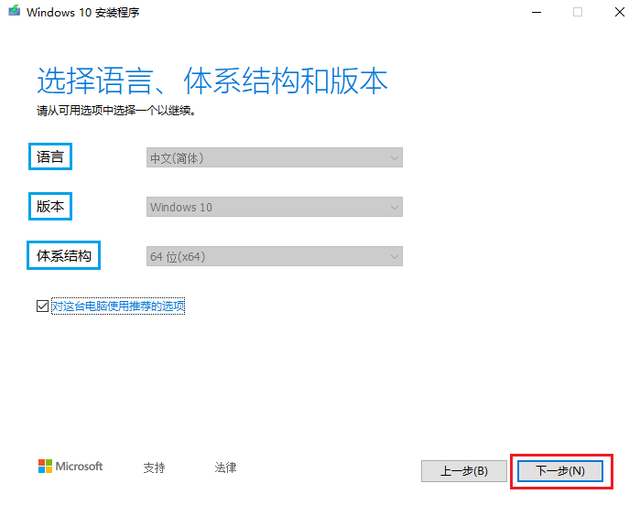
5.这里的设置可以保持默认
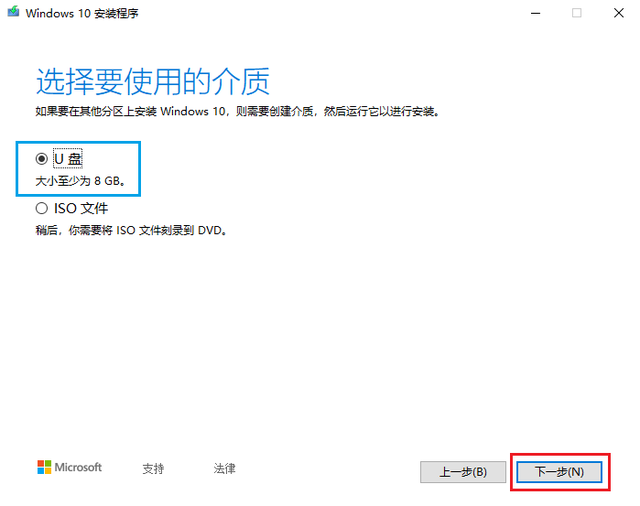
6.然后选择U盘介质
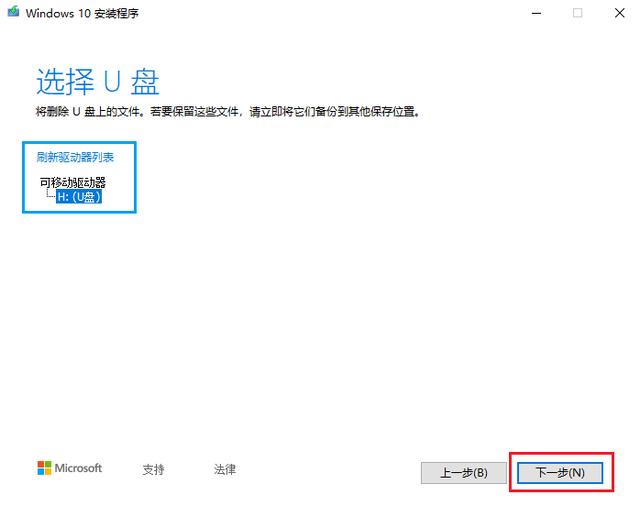
7.工具会自动检测到U盘(再次提示注意数据备份,此步骤将自动格式化U盘)
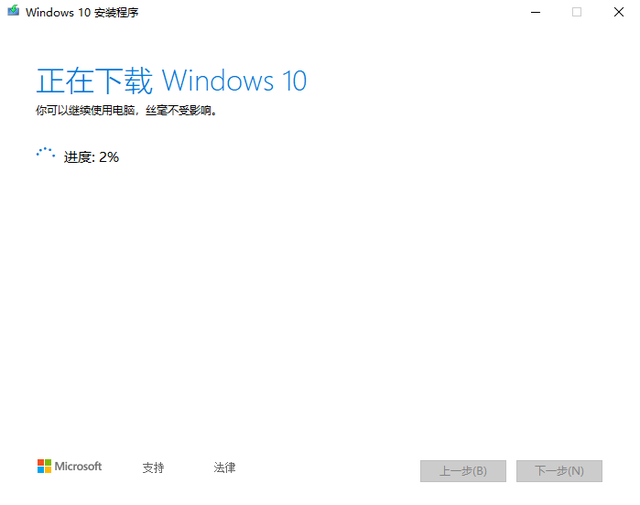
8.等待下载系统镜像完成(取决于网络连接速度)
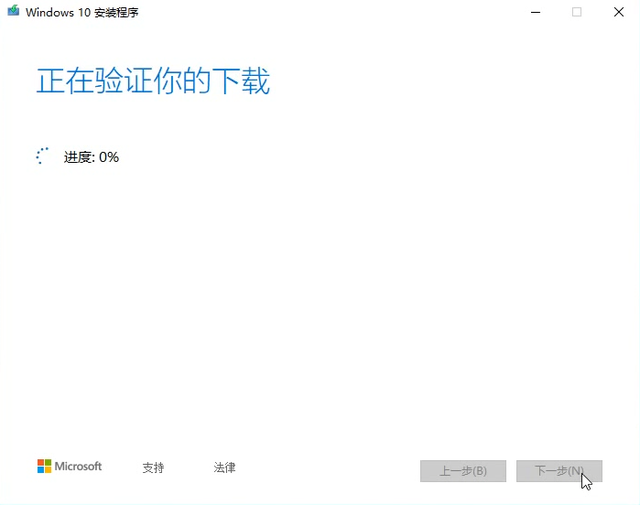
1.系统镜像下载后,首先,验证文件
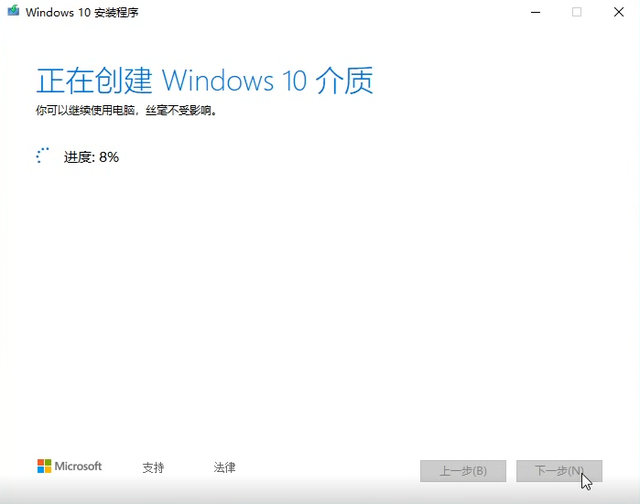
2、校验无异常就会开始将系统镜像写入到U盘,此步骤所用时间取决于U盘读写速度。
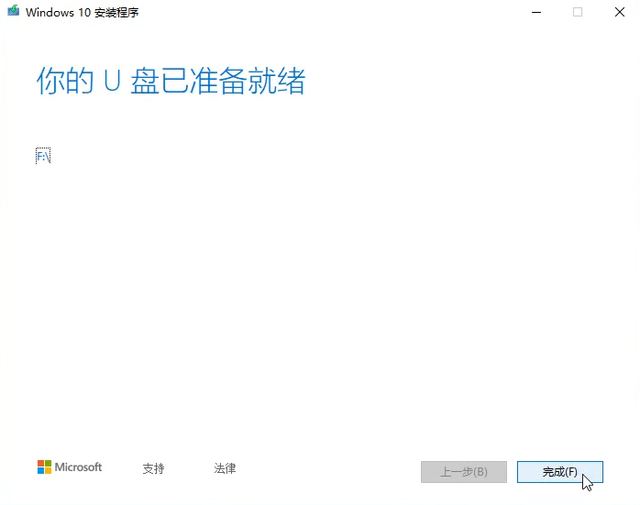
3.以下界面的出现意味着U盘启动盘的成功制作!
3.以下界面的出现意味着U盘启动盘的成功制作!
到目前为止,重新安装系统所需的U盘启动盘已经完成,这可能是U盘启动盘最简单的生产方法。
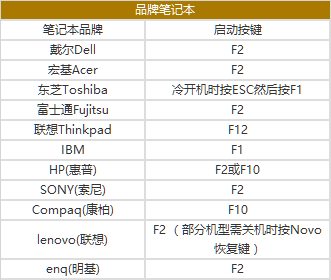
然后就可以进入电脑了BIOS设置U盘启动,然后进入系统安装过程。
如果您对此有任何疑问,请在评论区提出。如果对你有帮助,别忘了喜欢收藏转发。这里是「极客Geeking」,有趣?有料?有温度,发现新的科技生活。欢迎关注!