雨林木风win10u盘启动教程
(雨林木风U盘启动)
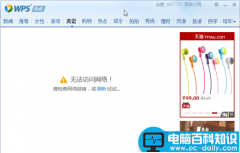
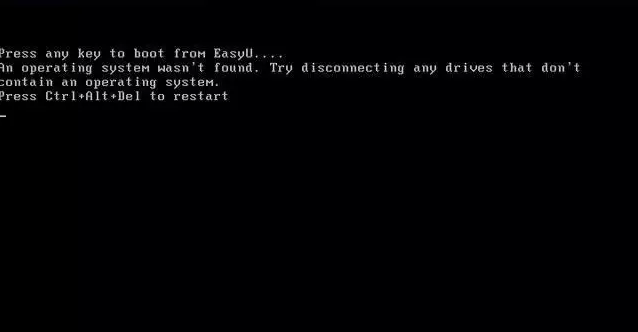
01计算机系统崩溃,如何使用U盘安装系统?
02 重装准备
注意:至少有另一台好电脑和一台8G的U盘。
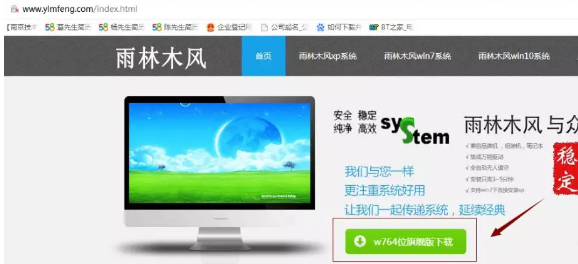
1.使用另一台好电脑下载操作系统:雨林木风win7旗舰版64位
http://www.ylmfeng.com/index.html
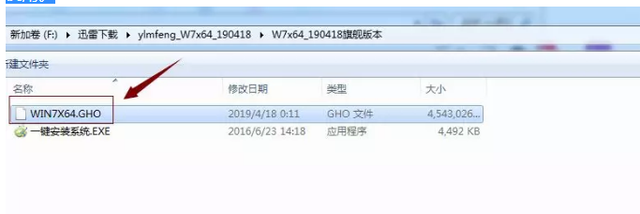
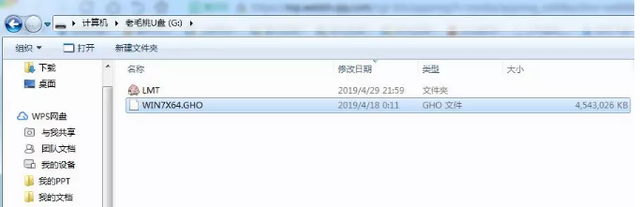
2、U盘启动盘:老猫桃制作u盘启动盘教程电脑不能进入系统怎么办?第一步:U盘PE制作工具箱,制作启动盘,下载win7旗舰版64位系统解压后,其中WIN7X64.GHO系统文件已经复制好了PE在启动项的U盘中,留下后安装系统使用。
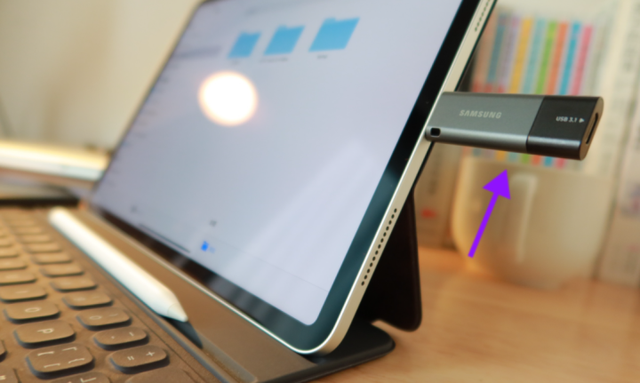
3、WIN7X64.GHO将系统复制到U盘后,将U盘插入另一台坏电脑,重新启动电脑,从U盘开始安装操作系统。
4、U盘启动设置:如何设置从U盘启动的启动。每台电脑或笔记本参考以下启动按钮。
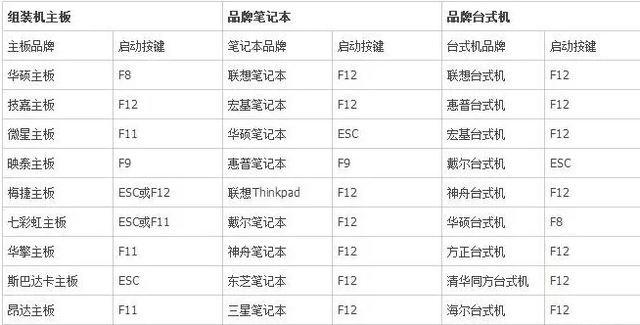
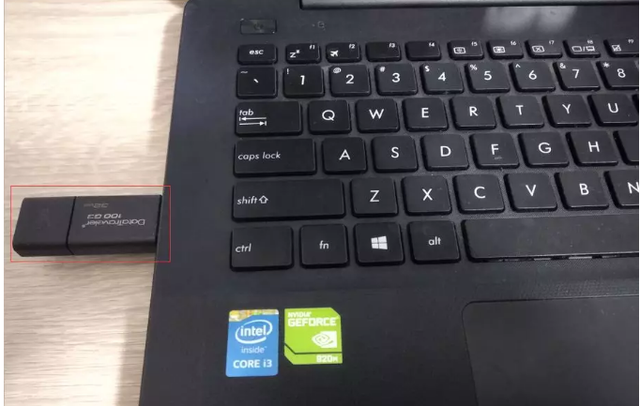
5.即使用华硕笔记本安装系统。华硕笔记本从U盘安装系统,启动按钮是ESC。
将准备好的启动U盘插入笔记本,并不断启动ESC键。(注意是不断的点,而不是按ESC键上不动。)
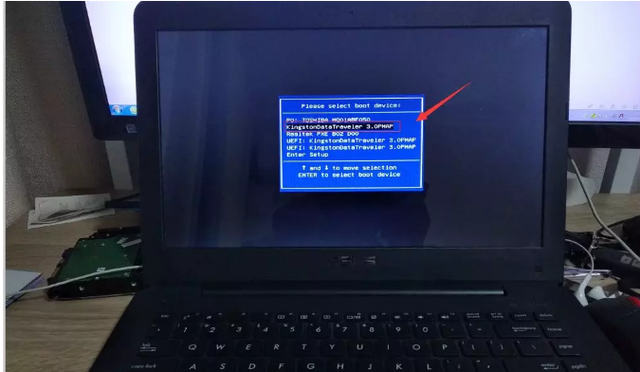
6.出现以下界面,选择从U盘开始制作PE推出U盘的品牌是金士顿,所以我选择了KingstonDataTraveler 3.0PMAP
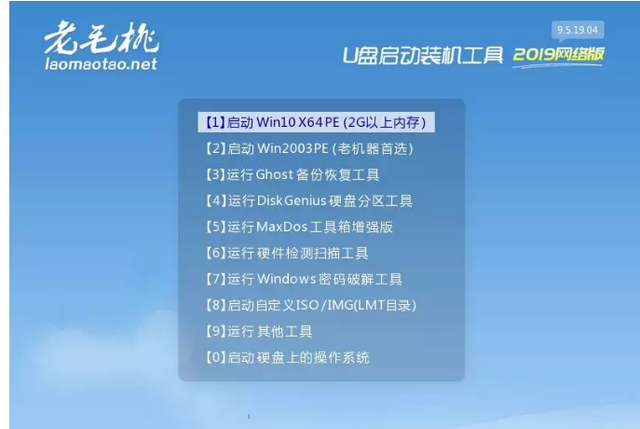
7、进入PE工具箱后,选择“【1】启动Win10X64PE(2G点击回车。如果是老电脑,可以选择2启动Win2003PE(老机器首选)。
8、即将进入WINpe 维护系统。
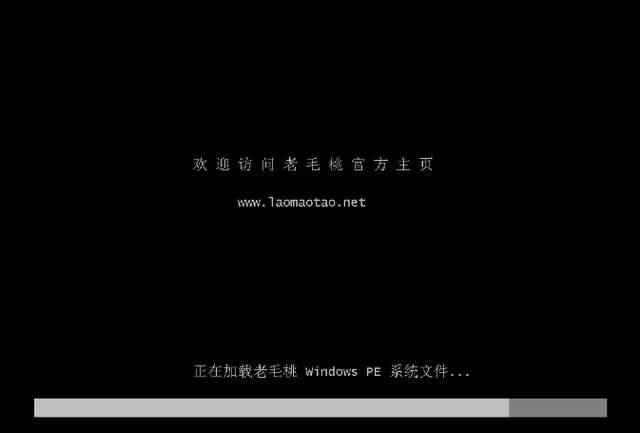
9、加载win10X64PE,看看下面的系统启动图片,这张图片不是你的硬盘操作系统,而是加载U盘PE系统工具箱系统界面。
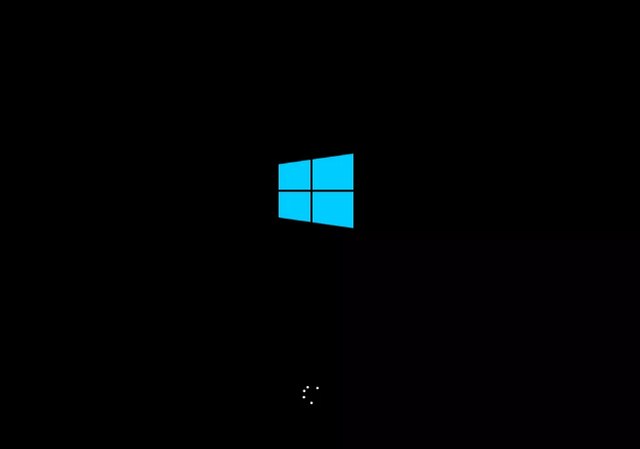
10、PE系统启动完成。

03
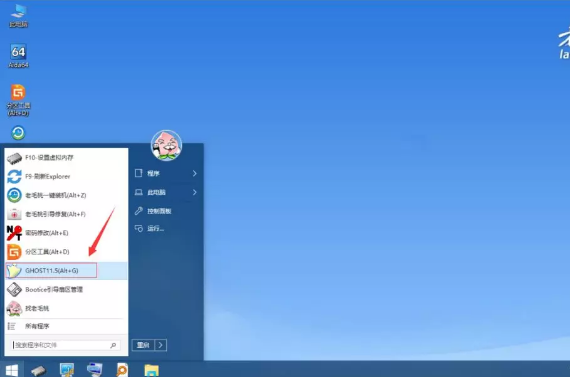
进入PE系统安装在工具箱系统之后。
1、找到“GHOST11.5(Alt G)系统还原软件,打开软件。
2、点击“ok”。
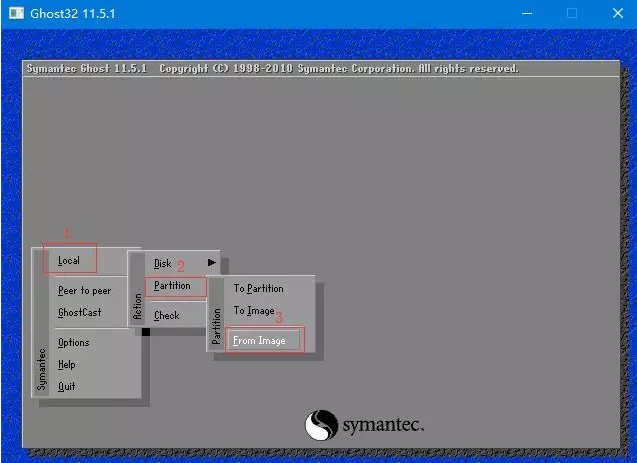
3、选择Local-Partition-From Image
Local:从本地启动(Local)。
Partition:选择Disk(硬盘)呢?还是Parition(分区)呢?
如果选择了Disk,如果您的电脑中有C盘,则直接将系统安装到整个电脑硬盘上,D盘,E盘,选择Disk安装将删除所有除,然后变成C盘,系统安装在C盘上。
如果选择Partition,系统可以安装在硬盘的某个分区,系统可以安装在C盘分区,其他分区,如D盘,E盘分区不动,数据不会丢失,所以我们选择Partition。
From Image:镜像文件从哪里选择?
在U盘中选择WIN7X64.GHO镜像文件。
4.如果跳出以下对话框,直接点击YES,跳过。
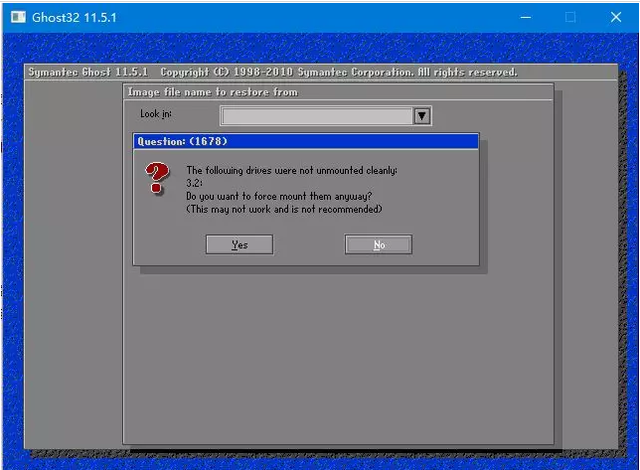
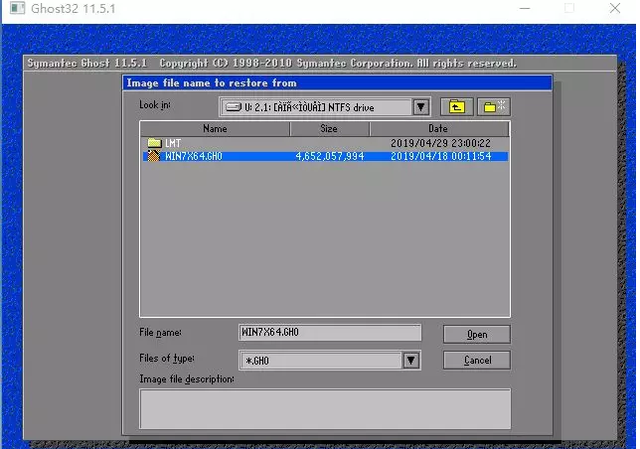
5、Image file name to restore from :镜像文件名从哪里恢复?
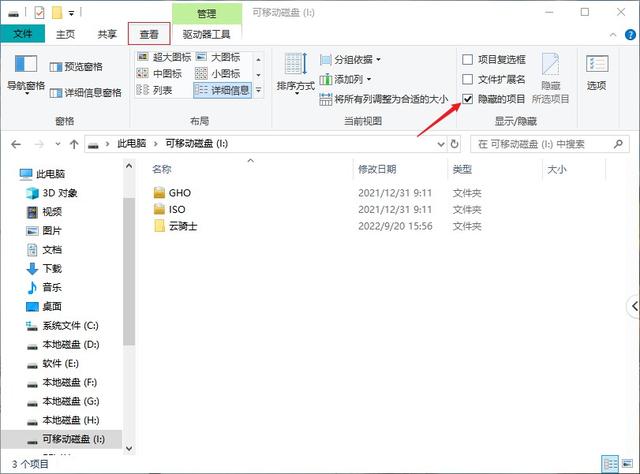
镜像文件WIN7X64.GHO,已经复制到U盘中,我们只需要找到U盘,就可以找到WIN7X64.GHO文件。
如果你不知道你的U盘符是多少,你可以PE在工具箱中,打开桌面这台电脑,查看U盘的盘符是什么?然后在这里选择U盘的盘符。
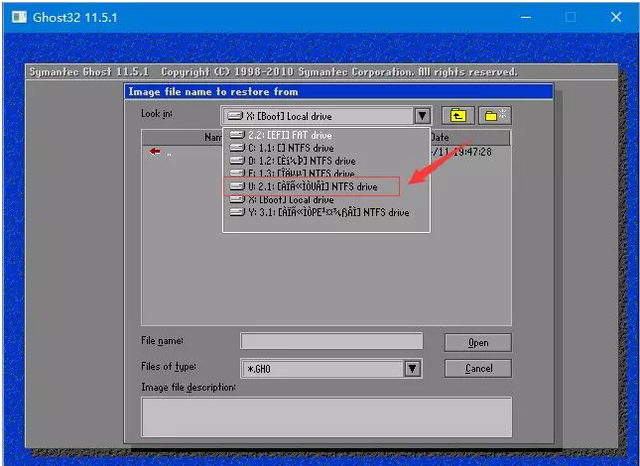
6.选择U盘后,我们可以看到我们以前复制过U盘WIN7X64.GHO文件。使用键盘,上下键,选择WIN7X64.GHO点击文件后Open
7、点击Open后,Select source partition form inamge file,选择Primary C,点击ok。
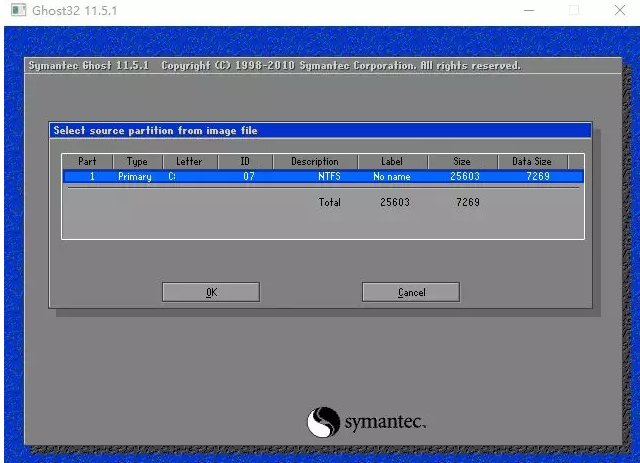
这一步,很重要,千万不要选错。
select local destination drvie by clicking on the drive number。单击驱动器号选择本地目标驱动器。
现在是确定系统的安装位置。系统应该安装哪个硬盘?
一定是C盘安装在电脑硬盘上。那么如何确定哪个硬盘是你的电脑硬盘呢?
第一种:可以查看Model标识,知道你的硬盘是哪个制造商。例如,如果哥哥的电脑硬盘是东芝,你必须选择第一个 TOSHTBA。
第二种:也可以通过查看硬盘大小来判断。
所有的硬盘都可以在这里看到,也就是到哥的笔记本硬盘是500GB,格式化后肯定没有500GB,最近的是476940MB约465GB。
(476940MB/1024=465GB)
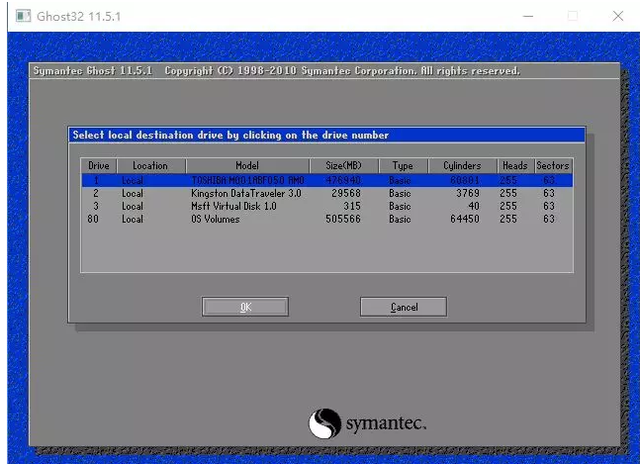
第三种:也可以点击第一个硬盘查看分区。如果有硬盘和分区,会显示分区的盘符,检查每个分区的大小,确定是否是自己的电脑硬盘。
9.到哥笔记本硬盘有三个分区。C约80G,D盘约197G,E盘约197G。
选择自己的电脑硬盘后,选择自己的电脑硬盘 Primary C: 并点击ok

10、proceed with partition restore? 开始恢复分区?
Destination partition will be permanently overwritten.永久覆盖目标分区上的文件。意思是说,C所有数据都将被删除。
选择YES。
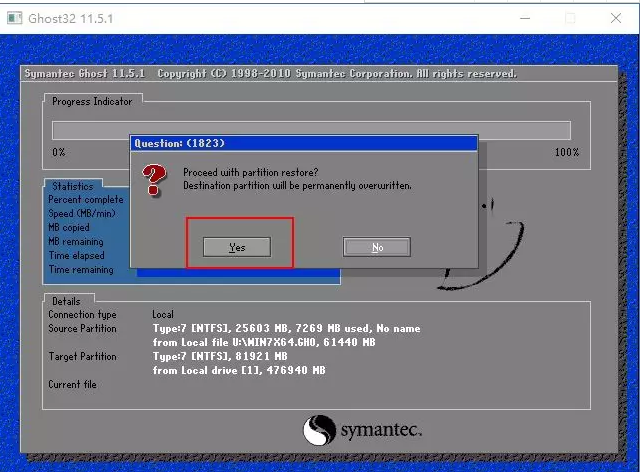
11、Ghost软件正在将WIN7X64.GHO将系统文件复制解压到C盘。
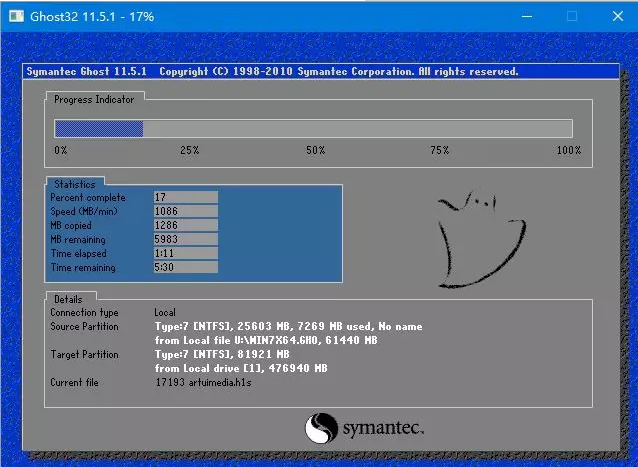
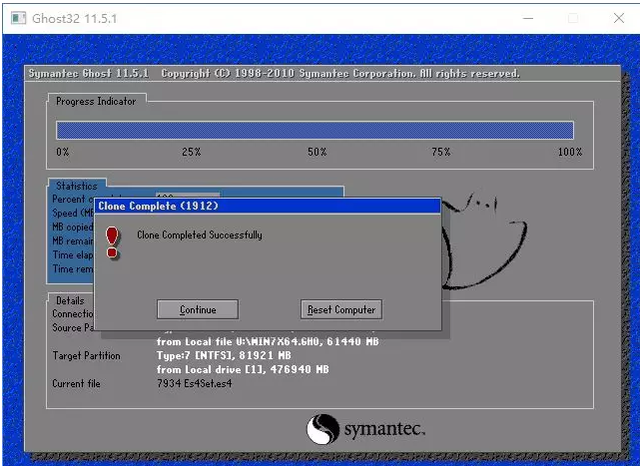
12.解压完成后,当你看到它时Clone Complleted Successfully(克隆成功完成)
此时就可以将将启动U盘拨掉,然后点击Reset Computer(Reset Computer 重新启动计算机。)。
这一步系统安装完成了吗?
当然不是。这一步只意味着你会WIN7X64.GHO将文件复制到自己电脑硬盘的C盘。
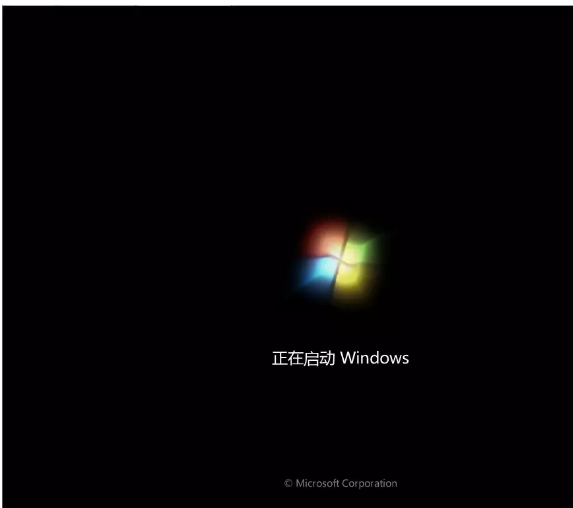
13.重启后,自本地硬盘加载系统文件以来。

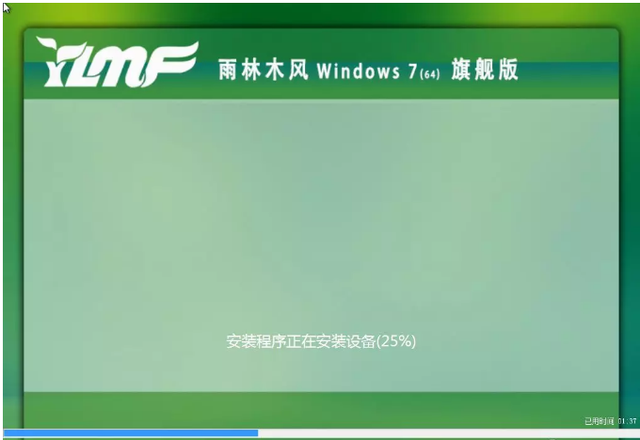
14.然后,安装系统将直接进入下图所示的安装程序。
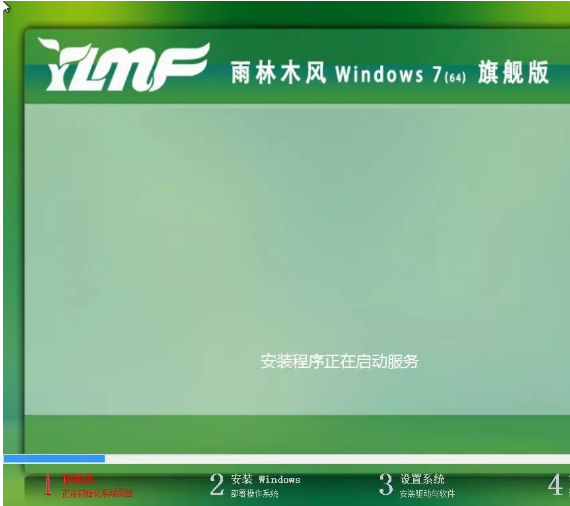
15、安装windwos系统文件。
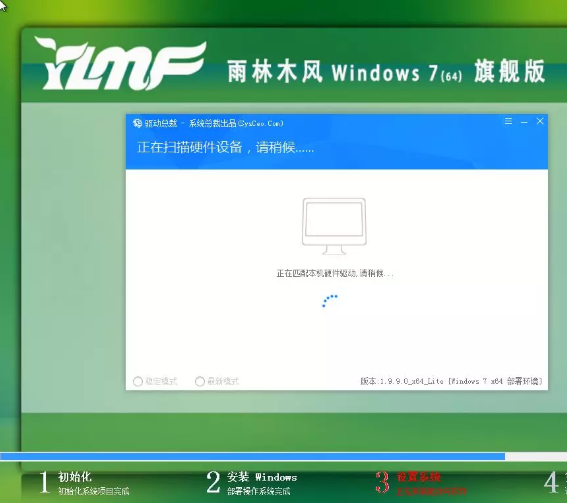
安装系统驱动程序。
17、系统序列号。
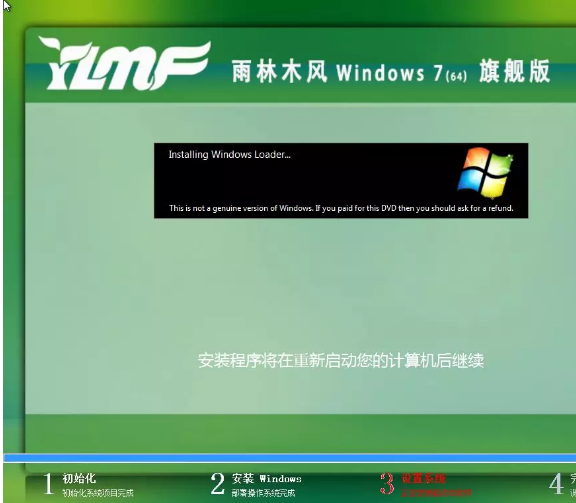
安装完成后,笔记本将自动重启,然后进行首次计算系统配置。

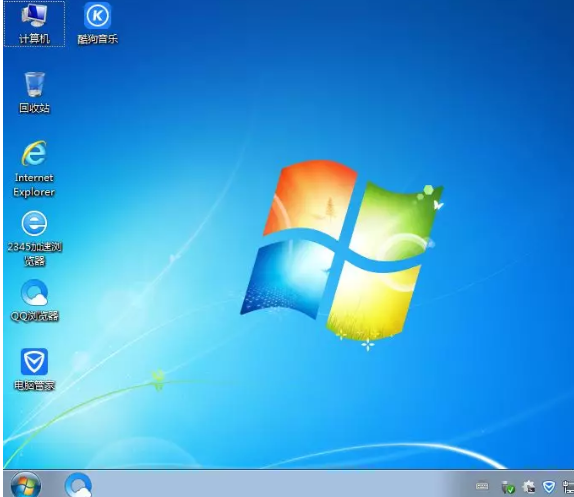
第一次系统初始配置完成后,直接进入系统界面。
此时,我们的系统正常安装成功!
关注IT一起学习小技术IT小技术~