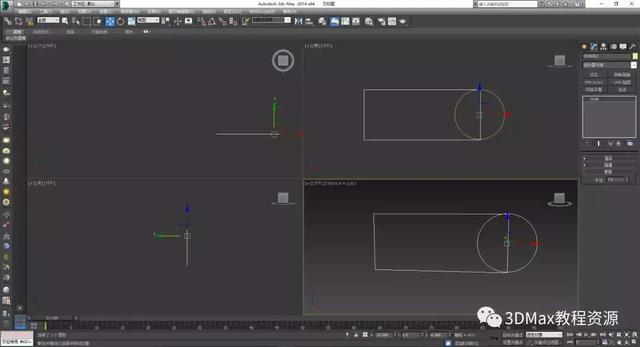
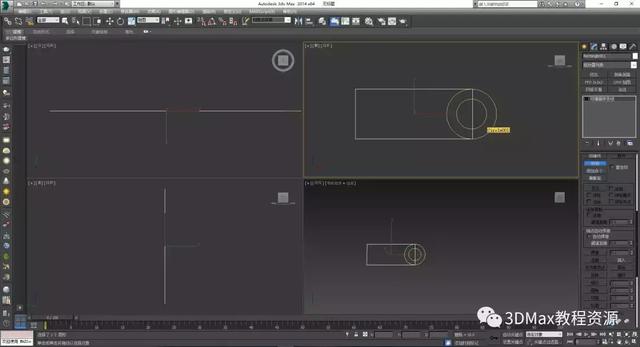
01:在前视图创建【样条线】|【矩形】,在前视图中画一个矩形长度设置为15.宽度为35 如图所示。
![](https://p3-sign.toutiaoimg.com/pgc-image/0c06176d39ca4bbe8a848a41960a633d~tplv-tt-large.jpeg?x-expires=1987178920&x-signature=ObzIrAezuVCEzagp%2BfJpbzs5%2BYY%3D)
02:在前视图创建【样条线】|【圆】半径设置为7.5 如图所示。
![](https://p3-sign.toutiaoimg.com/pgc-image/2d032a1b953b44639c3dd3b06a0ac407~tplv-tt-large.jpeg?x-expires=1987178920&x-signature=s0E8l%2Bm0%2BhqaJeaug0YhGvUjK5Q%3D)
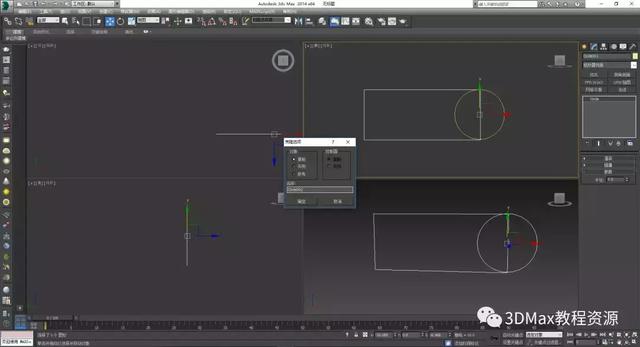
03:选中圆单击鼠标右键点击【克隆】选项如图如图所示。
![](https://p3-sign.toutiaoimg.com/pgc-image/6e5974b05d1e497e83fd8f8b953d0a17~tplv-tt-large.jpeg?x-expires=1987178920&x-signature=blh%2FcDK0TORP3mj1z1tFh55od%2B4%3D)
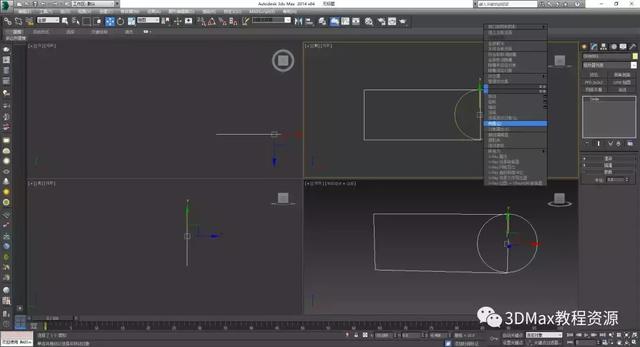
04:选择【复制】的命令,复制一个圆如图所示。
![](https://p3-sign.toutiaoimg.com/pgc-image/fbaac19c534f4506925f8bd79282baa1~tplv-tt-large.jpeg?x-expires=1987178920&x-signature=J9UeHnWH%2Bqa0RckJV0p9TWGQW8U%3D)
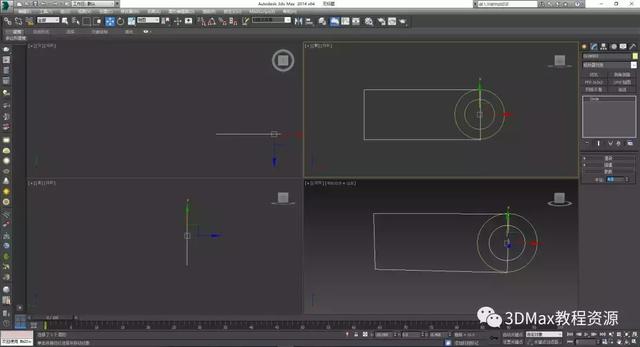
05:给新圆的半径设置为4.5 如图所示。
![](https://p3-sign.toutiaoimg.com/pgc-image/5bf9e0f8c6c741a297110da15bb26777~tplv-tt-large.jpeg?x-expires=1987178920&x-signature=RICQfb8u69O9KsnxkYfieEbIs%2F4%3D)
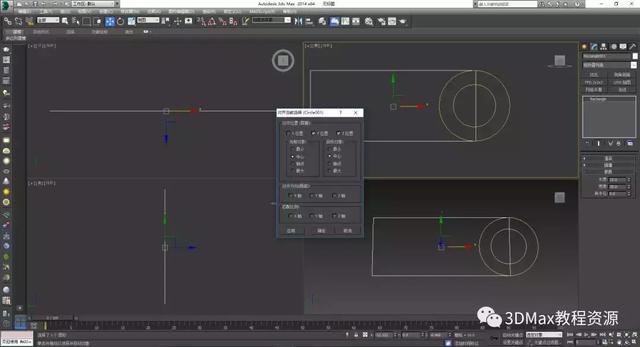
06:将矩形ALT+A与圆进行中心对齐。
![](https://p3-sign.toutiaoimg.com/pgc-image/5c70828377f7406f8896de4820ce858e~tplv-tt-large.jpeg?x-expires=1987178920&x-signature=DIR5BlEU2QKVaQbUZmbaX1tCFW0%3D)
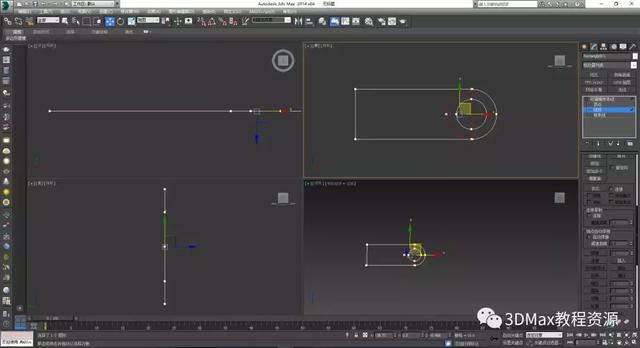
07:选中矩形,鼠标右键将其转换为【可编辑样条线】如图所示。
![](https://p3-sign.toutiaoimg.com/pgc-image/57777200e0f342ee925af7cc4eb5e7fa~tplv-tt-large.jpeg?x-expires=1987178920&x-signature=CIg0O3TQvsSTFGuqgapszM7ULKs%3D)
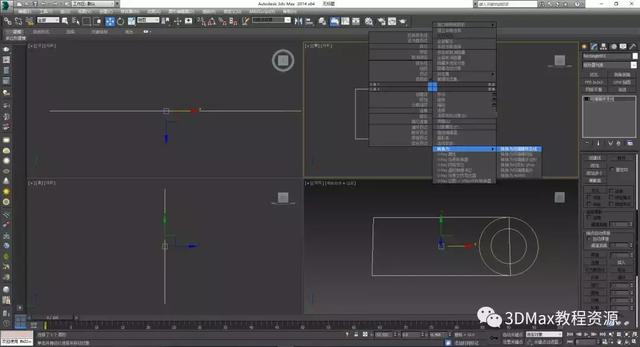
08: 在【几何体】卷展栏中选择【附加】命令将矩形与圆进行附加如图所示。
![](https://p3-sign.toutiaoimg.com/pgc-image/a67d3255416341588c21c87c39e64b26~tplv-tt-large.jpeg?x-expires=1987178920&x-signature=IudJrh0QgtfhGwYcbQjQ5YlJVgU%3D)
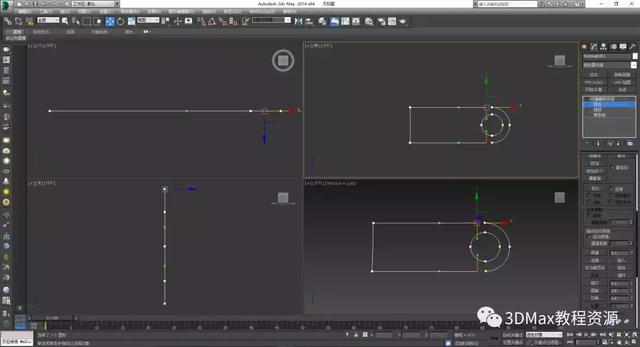
09:在可编辑样条线下选择【线段】命令,并且选中如途中红色线段将其删除如图所示。
![](https://p3-sign.toutiaoimg.com/pgc-image/48e41a09add344a7b4bf88e6d2b2213f~tplv-tt-large.jpeg?x-expires=1987178920&x-signature=TnLqxYXJgL3ygP6VySX1rtbfUD4%3D)
10:可编辑样条线下的【顶点】层级选中矩形的两个点向左移动至图的位置。
![](https://p3-sign.toutiaoimg.com/pgc-image/9165bb42d89a42ab8c94beae623e8399~tplv-tt-large.jpeg?x-expires=1987178920&x-signature=vZ59zt5JM%2FhP7ABUUtP%2B3ndeIW8%3D)
11:在【几何体】卷展栏下选择【连接】命令将圆与矩形的顶点进行连接如图所示。
![](https://p3-sign.toutiaoimg.com/pgc-image/8c069dd6b0ac46f7baa2cabebc8fcd17~tplv-tt-large.jpeg?x-expires=1987178920&x-signature=M4RnH7j5fZ3%2B1MpF7Xq5xTpiyIY%3D)
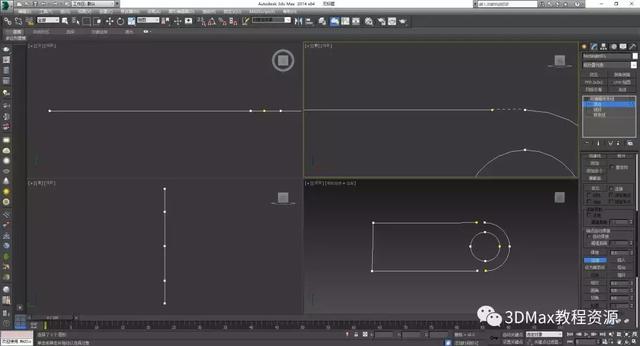
12:连接后如下图所示,此时选中中间多余顶点将其删除如图所示。
电脑![](https://p3-sign.toutiaoimg.com/pgc-image/5c6c8eb6ab5b4edebcb3f8e2e5ddb089~tplv-tt-large.jpeg?x-expires=1987178920&x-signature=b6erCgxAk70Dd3GM5MM%2Btola%2BQE%3D)
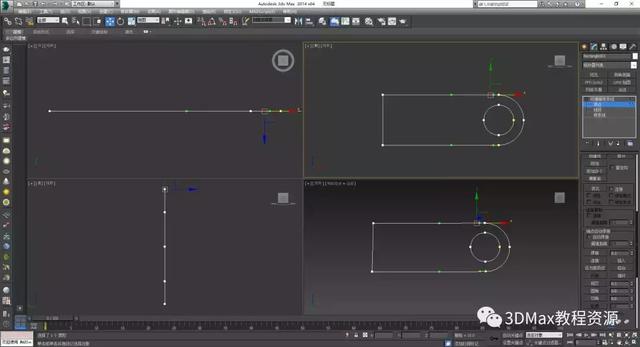
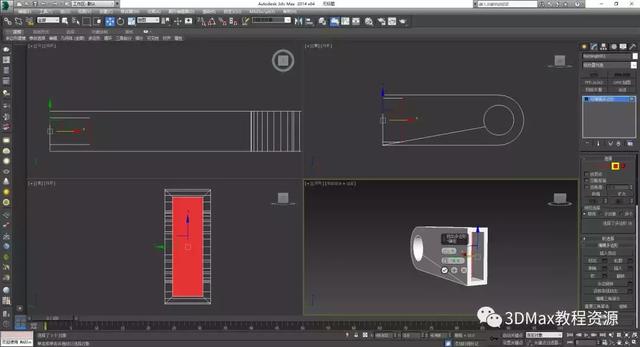
13: 将图形添加一个【挤出】修改器,数量设置为5.0如图所示。
![](https://p3-sign.toutiaoimg.com/pgc-image/91e4b213d5d14a6b8ccfc090ea5f01e3~tplv-tt-large.jpeg?x-expires=1987178920&x-signature=aCZQWBoWED6Z70ftuD0V2M8H67c%3D)
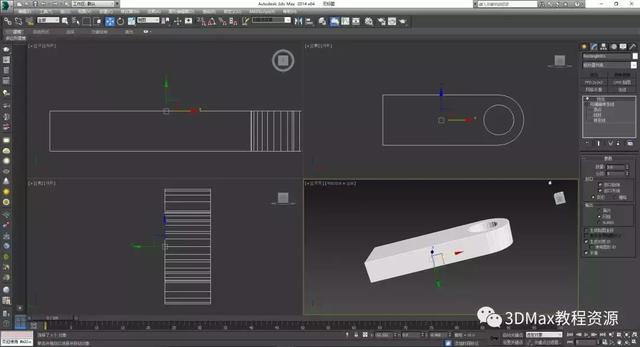
14:将图形右键转换为【可编辑多边形】如图所示。
![](https://p3-sign.toutiaoimg.com/pgc-image/4e080e8c5688416fa20dec55c2d6a48e~tplv-tt-large.jpeg?x-expires=1987178920&x-signature=NTM6kwdjczMMyBfYp9pMZx32L9o%3D)
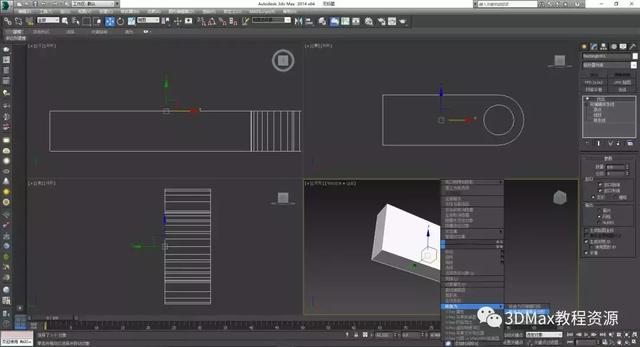
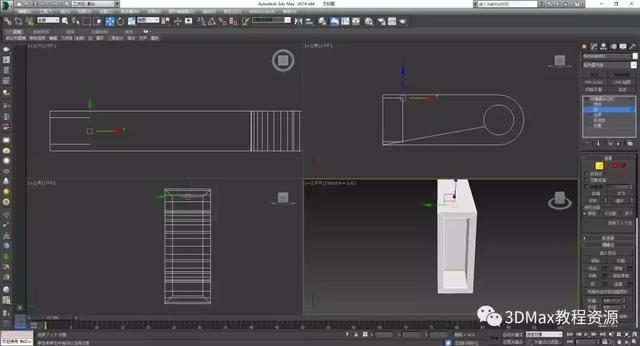
15:进入【多边形】层级,选中底面并使用【编辑多边形】卷展栏下【插入】的命令设置插入值为1如图所示。
![](https://p3-sign.toutiaoimg.com/pgc-image/b0bedf9710d245649ffdebd17d07a246~tplv-tt-large.jpeg?x-expires=1987178920&x-signature=Pennsuk%2FZYJzU6AphlCk5oO%2Fqow%3D)
16:继续在【多边形】层级,将底面向内进行挤出,选中底面并使用【编辑多边形】卷展栏下【挤出】的命令挤出值为-6如图所示。
![](https://p3-sign.toutiaoimg.com/pgc-image/7ac0f1220e934265a4f4219508281a66~tplv-tt-large.jpeg?x-expires=1987178920&x-signature=QuRxYJK%2FpDidmMwTy7cnWz12%2F1A%3D)
17: 选择新面(上步骤的面)进入【边】层级选择的上下两个边使用【编辑边】卷展栏的【连接】的命令添加一条竖边如图所示。
![](https://p3-sign.toutiaoimg.com/pgc-image/890d8496eb5d4d7fb3ce9bf74ded7b0c~tplv-tt-large.jpeg?x-expires=1987178920&x-signature=d9ptXEnSHcd6ANnbziStQjxaBxc%3D)
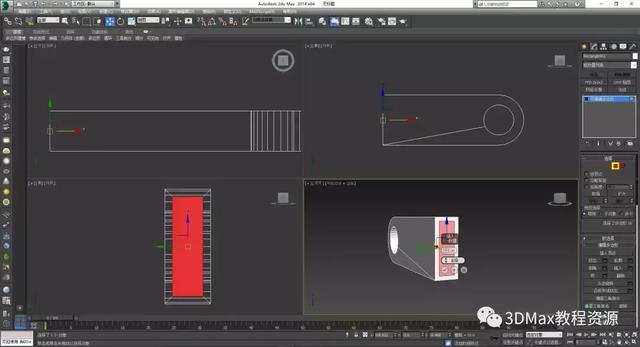
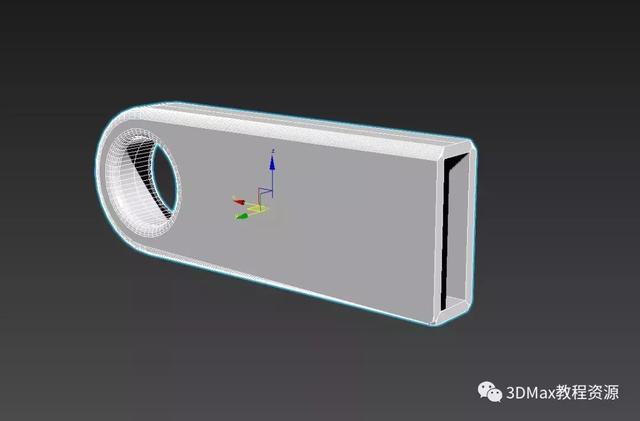
18:进入【多边形】层级选择如下图选中面,使用【编辑几何体】卷展栏【分离】的命令如图所示。
![](https://p3-sign.toutiaoimg.com/pgc-image/7a22e164d3a842f180206de89b68a3e4~tplv-tt-large.jpeg?x-expires=1987178920&x-signature=nfHP7gAO86%2FRlwC5LNvv%2FxuItH4%3D)
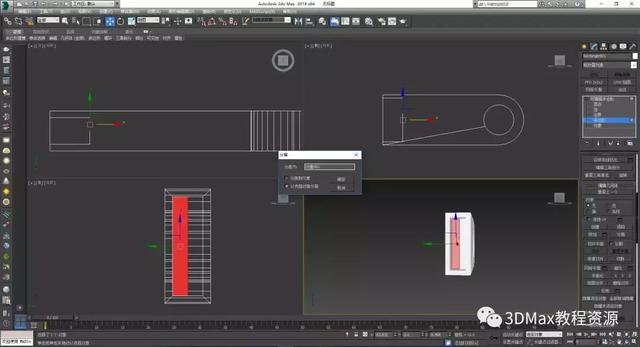
19:选中分离的面,切记是分离的面,给它一个【编辑多边形】卷展栏下的【挤出】的命令,挤出值设置为5.9如图所示。
![](https://p3-sign.toutiaoimg.com/pgc-image/cae39af14f29488497136666cf1c2646~tplv-tt-large.jpeg?x-expires=1987178920&x-signature=GkHts72lmYw%2BA5WPHUTyJcVzFL8%3D)
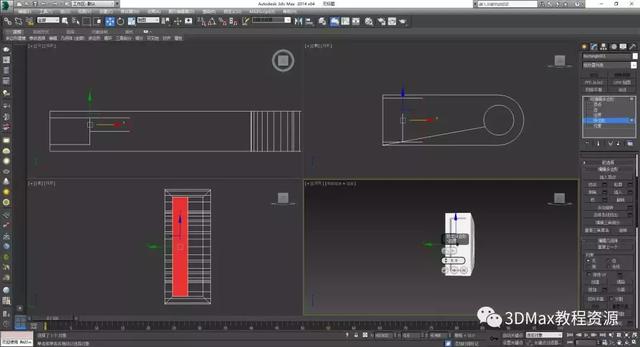
20: 进入【边】层级选中该图形2个边给其一个切角的命令,分段设置为7如图所示。
![](https://p3-sign.toutiaoimg.com/pgc-image/b40d017633ca4cdca8ebfe8bb361f606~tplv-tt-large.jpeg?x-expires=1987178920&x-signature=QFK%2FShlnae7n3RcBRUPAtatL3Kc%3D)
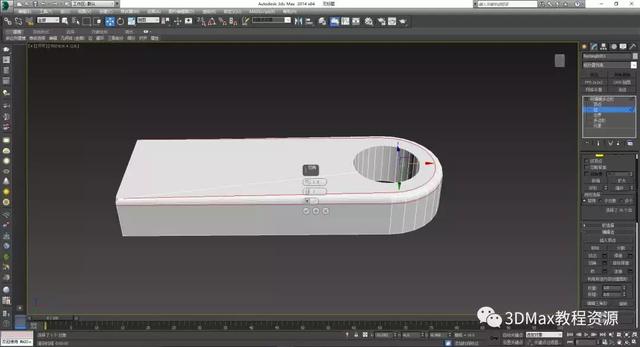
21:选中另一面的边,同理得到另一个【切角】如图所示。
![](https://p3-sign.toutiaoimg.com/pgc-image/888ac0bd9a694c249da3044915c55475~tplv-tt-large.jpeg?x-expires=1987178920&x-signature=E08UovNu9tHJcxH3AC6S8k5pilk%3D)
22:选中内圈的边进行【切角】分段设置为4如图所示。
![](https://p3-sign.toutiaoimg.com/pgc-image/b1a0a7fe40674365902e8b47b6259087~tplv-tt-large.jpeg?x-expires=1987178920&x-signature=XXr8IDb%2B2jwfETOKKcEWX9bRc3c%3D)
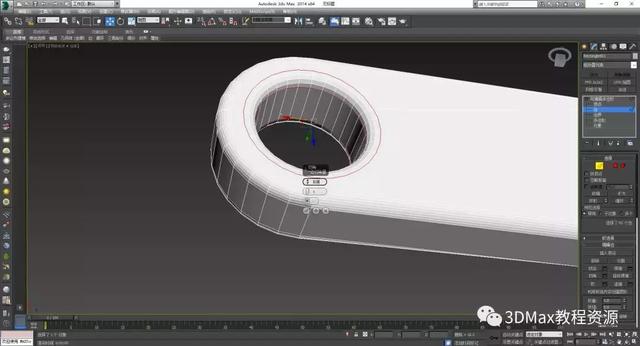
23:同理可以得到另一面的内圈设置,选然渲染后得到如图所示。
![](https://p3-sign.toutiaoimg.com/pgc-image/992810342ffe4ec092f1e12a8925497b~tplv-tt-large.jpeg?x-expires=1987178920&x-signature=VsVJM84odaZKnQ9XHW0JACM99f4%3D)
往期教程:
3DsMax—铁丝网制作
3DsMax——制作遮阳伞
电脑