喜欢用苹果Mac电脑,开始后发现不习惯苹果的操作系统,还是习惯用Windows我们可以给苹果系统Mac电脑上安装Windows系统,享受苹果的外观,操作windows系统。在这里,我想介绍一下安装双系统的方法,即在不影响自身苹果系统的情况下安装windows系统安装后自动启动windows系统。
操作前需要做一些准备,首先需要一个win7 64位纯净版的ghsot系统图像,一个做好PE系统启动U盘,win7系统可以线下载,PE在我之前的文章中,还有一个教程来启动U盘的制作。让我们来看看具体的操作。
首先进行windows分区划分:
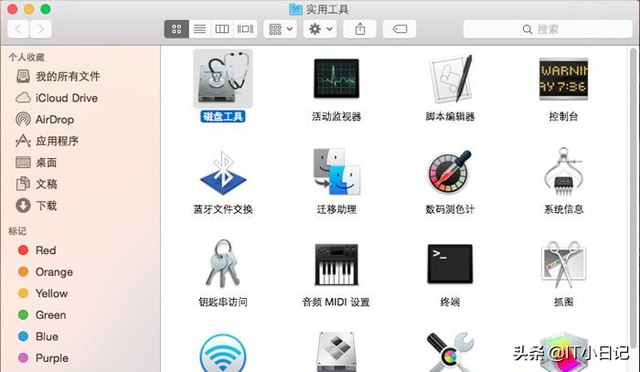
1、在OS X点击系统下-去-实用工具;
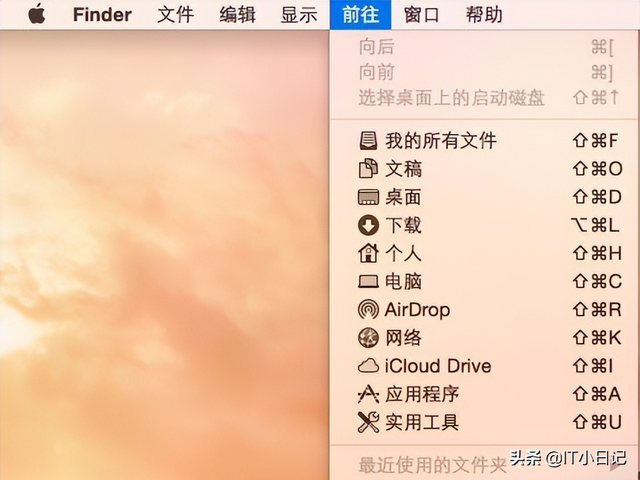
找到磁盘工具,点击打开;
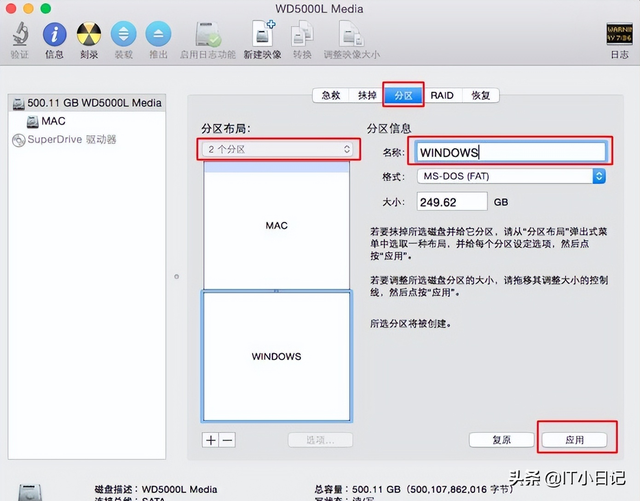
3.点击分区,分区布局选择2置名称,如WINDOWS,点击应用;
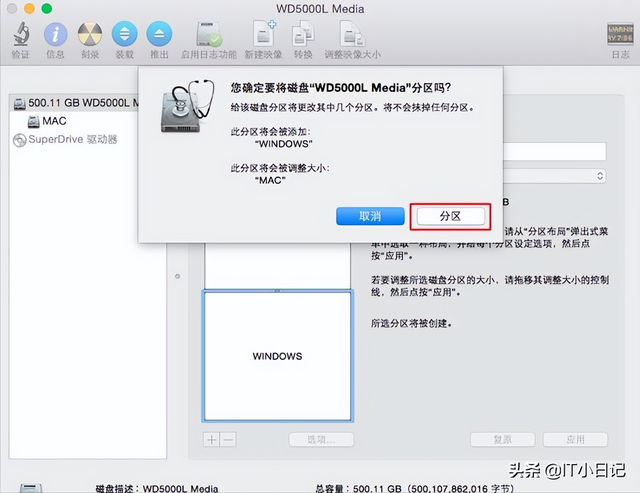
弹出此提示框,点击分区,开始分区过程;
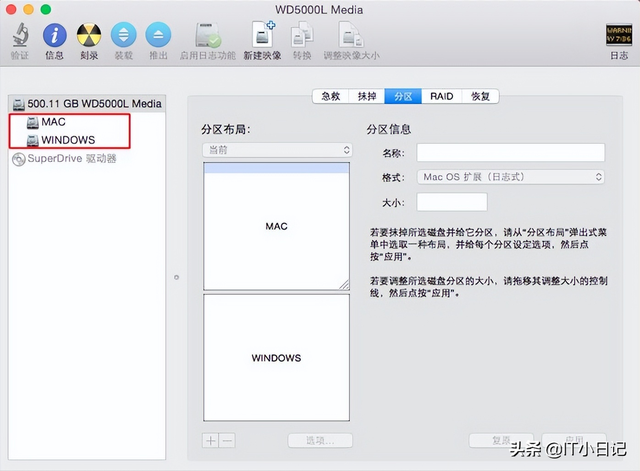
5.完成后,多出一个Windows该分区用于安装ghost win7系统。
windows分区完成后,进入安装ghost win7系统流程:
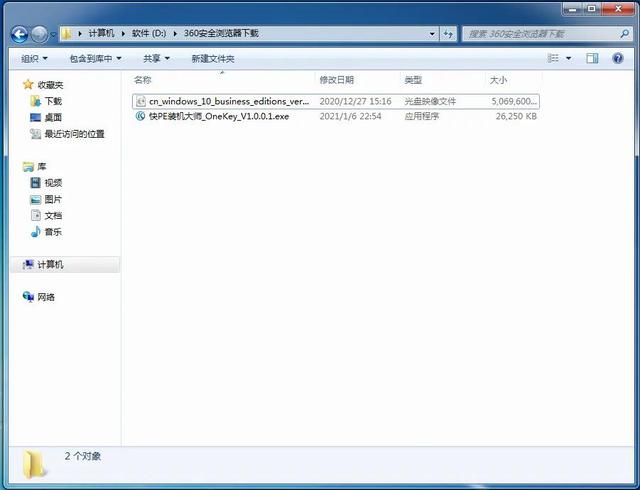
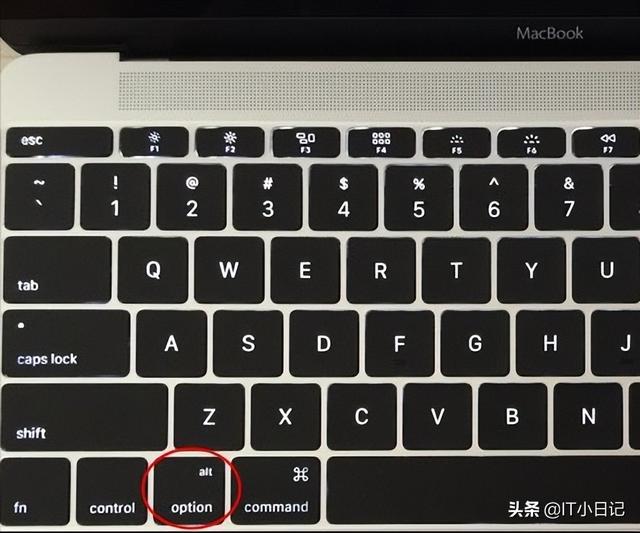
1、将ghost win7系统iso在苹果,将镜像复制到启动U盘根目录mac插入电脑启动U盘,始终按住option键;
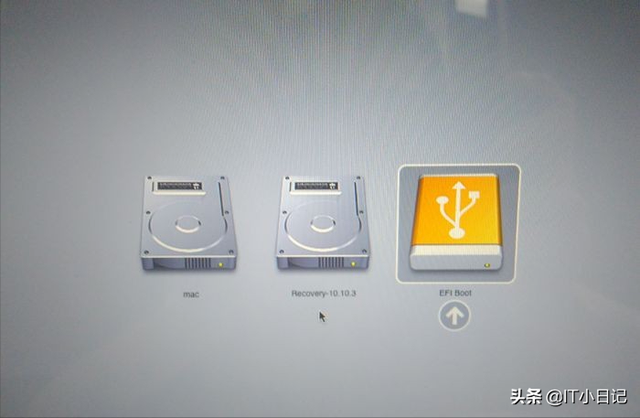
2.进入启动项选择界面,移动到EFI Boot图标,按Enter键进入;
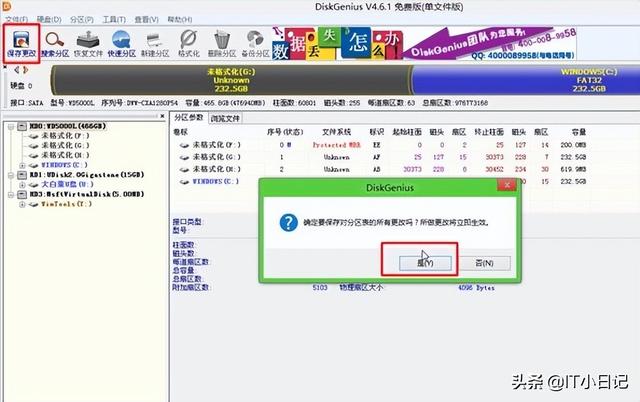
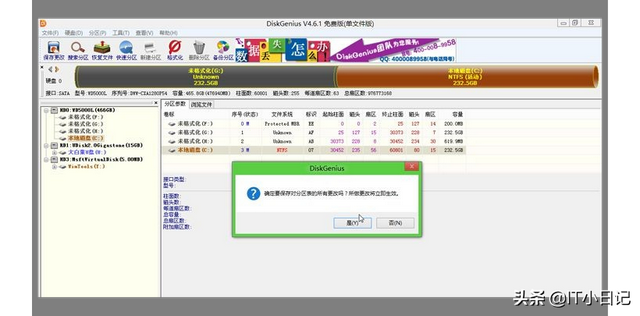
3、启动进入PE界面,双击【DG分区工具】;

4.提示分区表错误,点击【更正】;

5.然后点击保存更改,点击立即生效;
6.选择我们添加的右键。WINDOWS分区,选择删除当前分区;
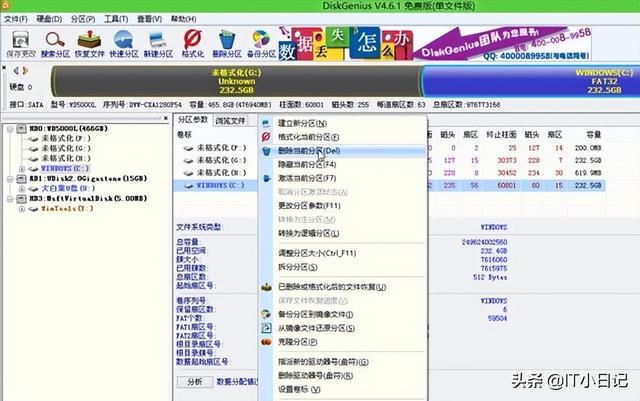
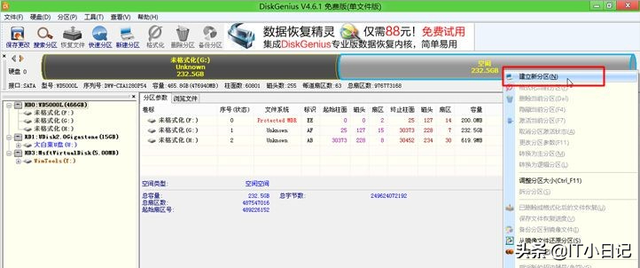
7、右键【空闲】硬盘,选择【建立新分区】;
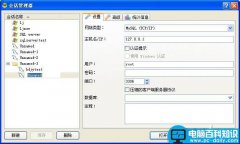
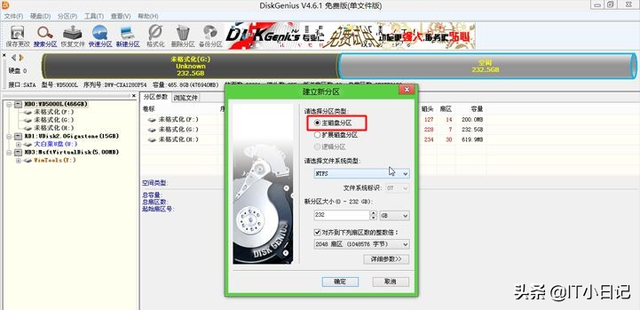
8择主磁盘分区,确定分区类型;
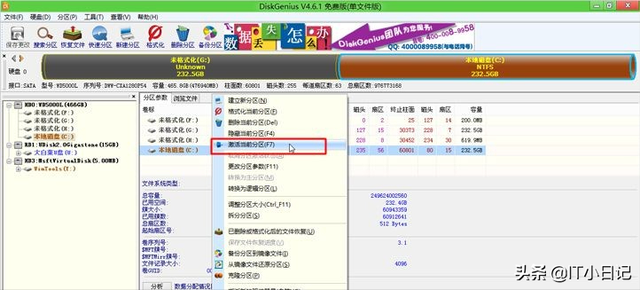
9.分区完成后,卷标变成本地磁盘C,也可能不是C,不用担心,右键选择激活当前分区,显示盘符属性A,这一步是重点;
弹出提示框,点击,确认激活;
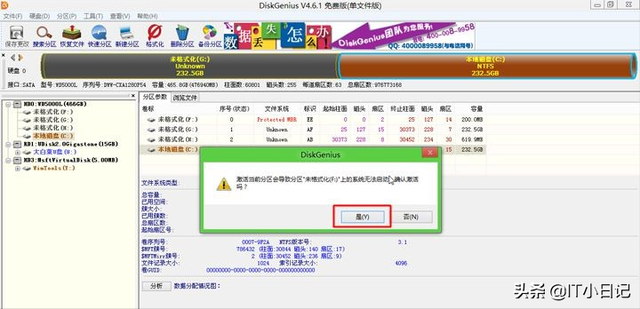
点击确定变更,立即生效;
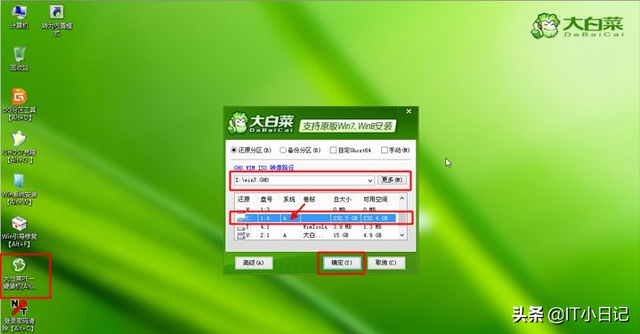
双击打开大白菜PE一键安装,选择图像路径ghost win7 镜像,自动加载win7.gho,选择安装在我们分离的C盘,注意系统必须是A,表示激活状态,否则无法安装,点击确定;
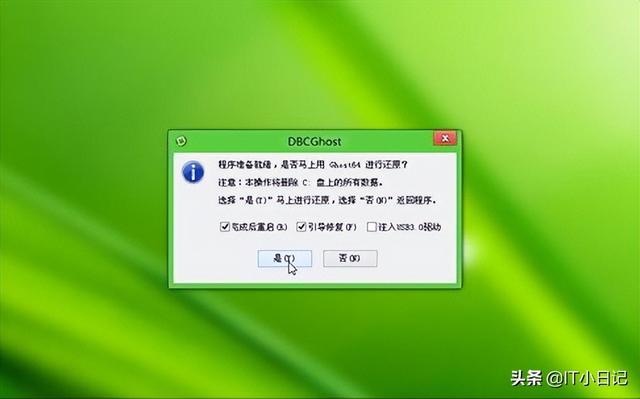
13.在这个对话框中,检查完成后重启和引导修复,点击;
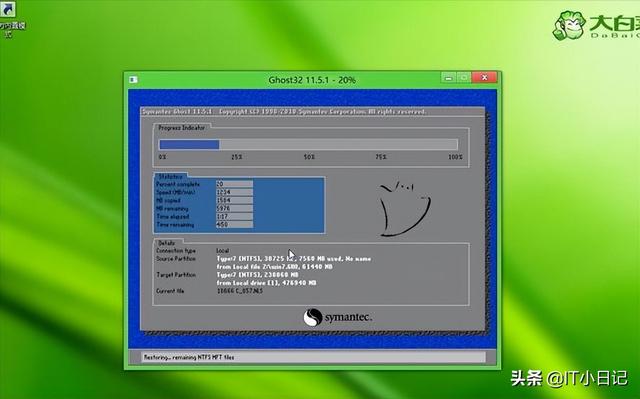
14.执行此界面ghost win7解压到C盘的过程;
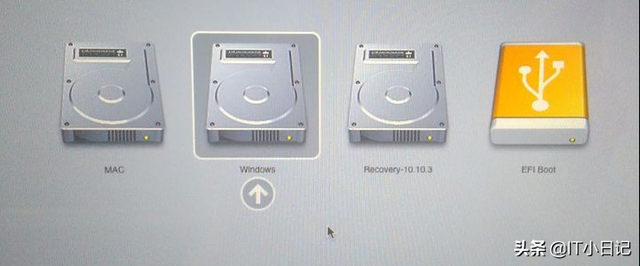
15.解压后重启,此时按住option键进入启动项选择界面,选择Windows图标,按enter键;
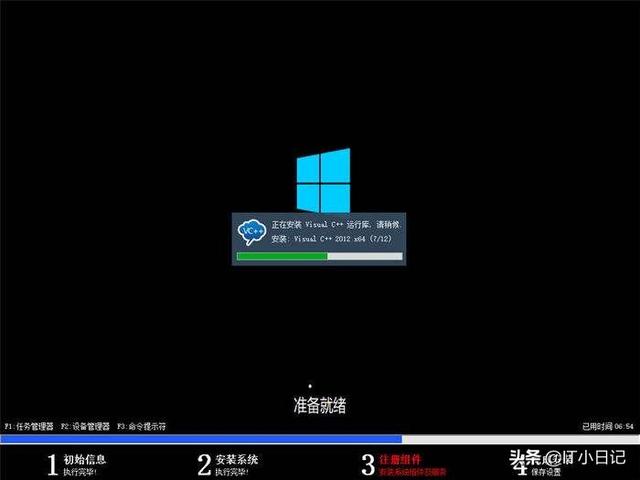
16.启动此界面,执行安装ghost win7系统和驱动过程;
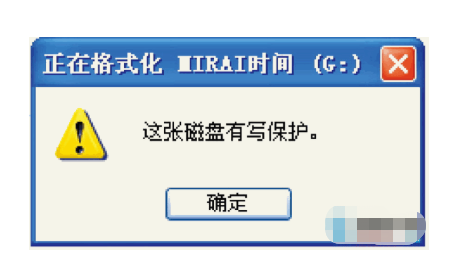
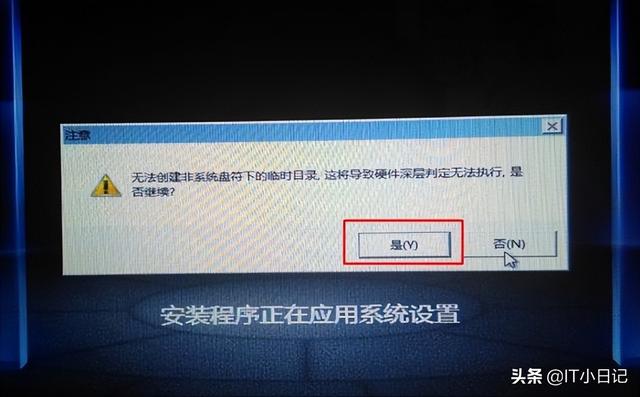
17.如果提示无法创建非系统磁盘符下的临时目录,点击继续;
18.安装后重启,重启时按住Option选择Windows进入,如图所示。
19.设置默认启动Windows系统。
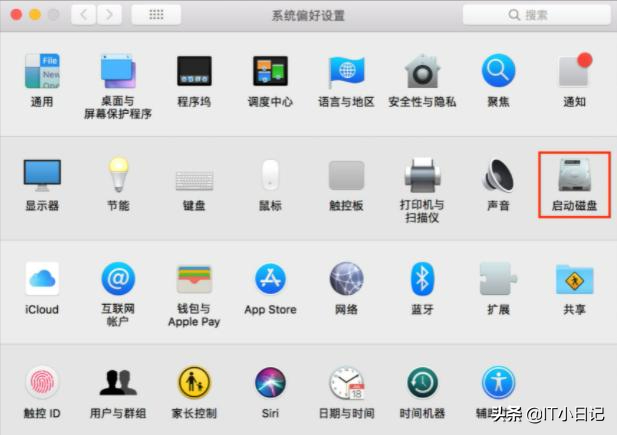
19.设置默认启动Windows系统。先进入mac系统,打开mac设置系统偏好,点击启动硬盘。

20.进入硬盘界面后,选择BOOTCAMP Windows,选择重新启动,这样以后启动Windows启动了。
关注IT小日记,继续分享计算机系统,应用知识和操作技能!