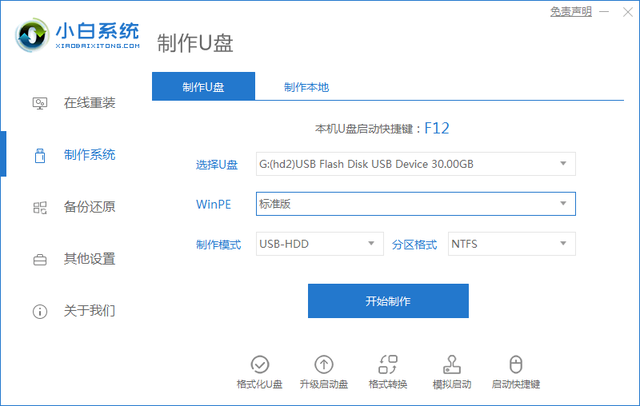
虚拟机下启动u盘装系统
(虚拟机用u盘启动盘装系统)
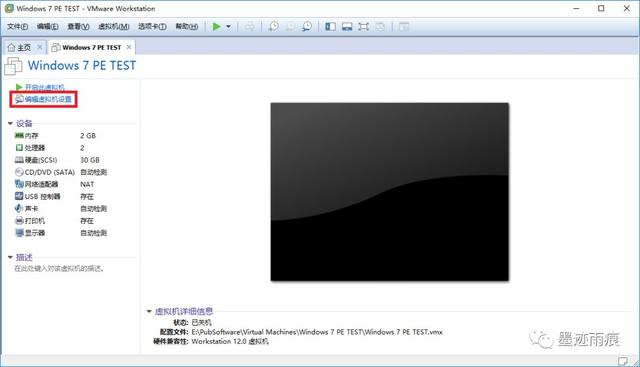
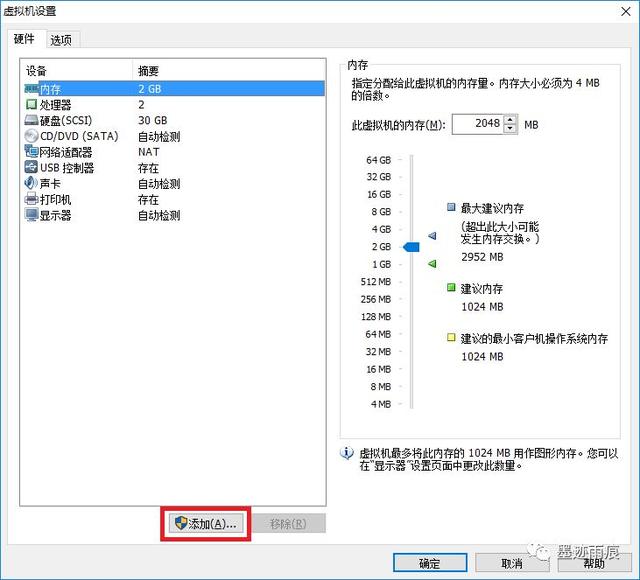
下一步是添加U盘启动盘,单击编辑虚拟机设置,在虚拟机设置窗口下单击添加。
注意关机启动虚拟机进入bios 要按F2键,调整启动顺序
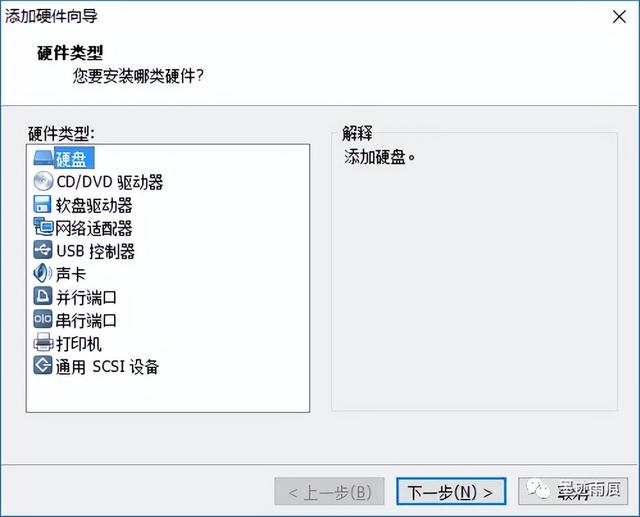
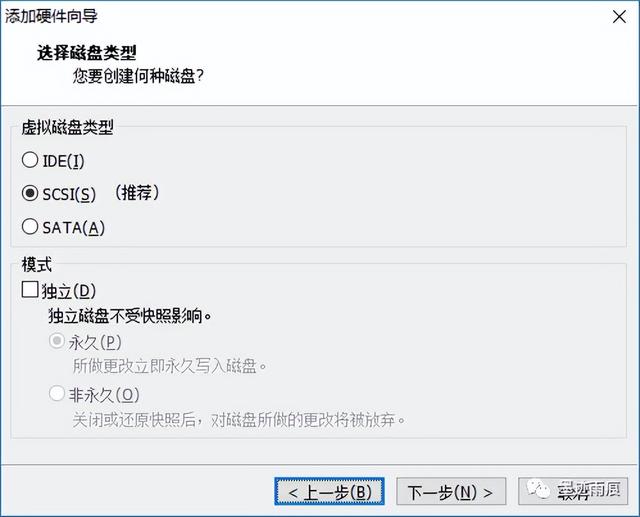
添加硬件类型为硬盘
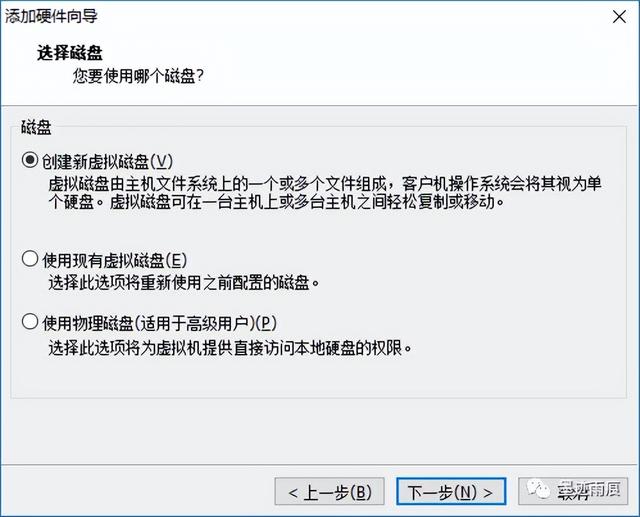
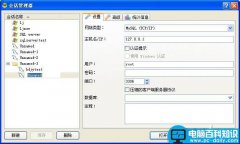
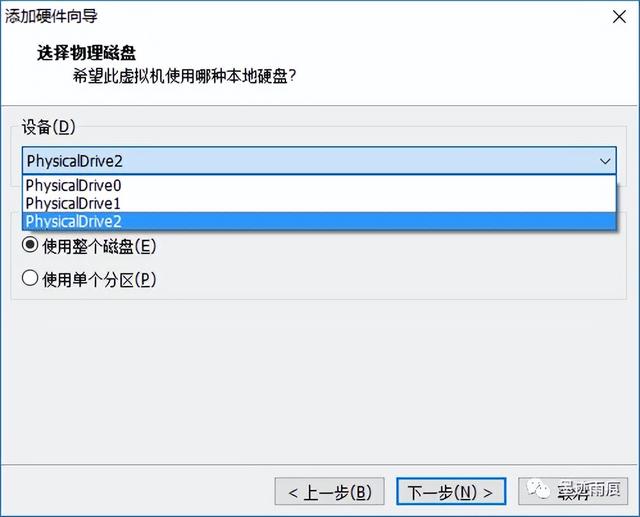
在选择物理磁盘设备时,在设备列表中选择最后一个PhysicaDrive,并使用整个磁盘,设置磁盘文件目录和文件名,手动添加扩展名,单击完成,然后确定。
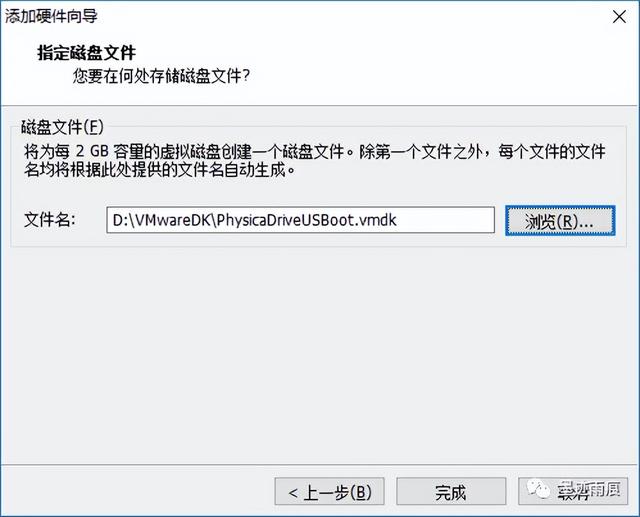
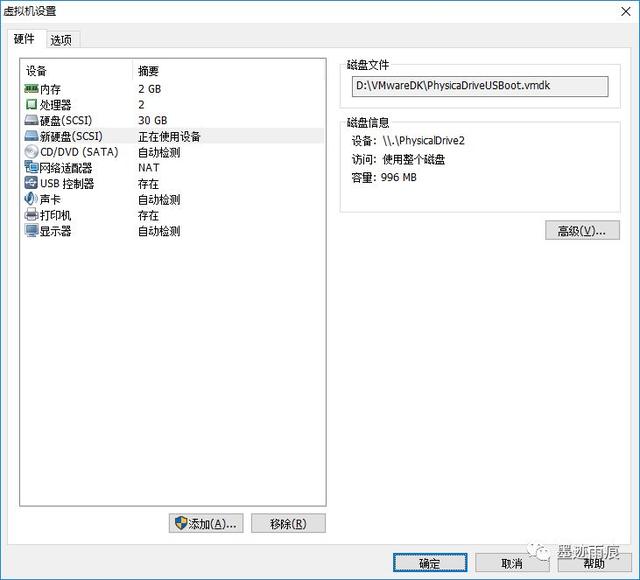
到目前为止,虚拟机的必要设置已经完成。
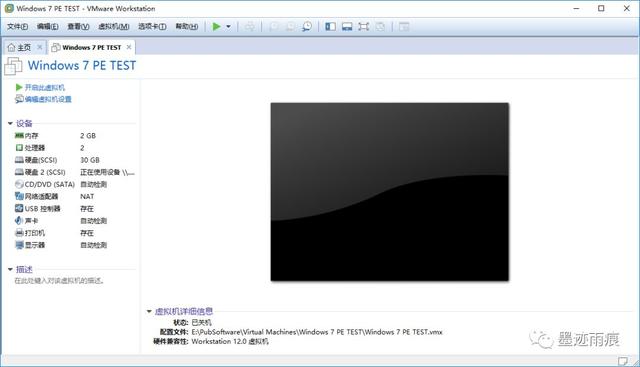
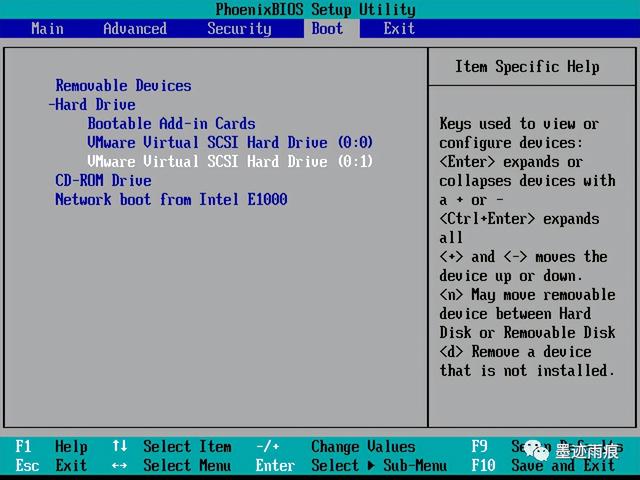
现在开始测试用U盘启动盘启动,单击打开此虚拟机BIOS,将启动项目中的0:1至0:0,并保存退出,重启虚拟机。
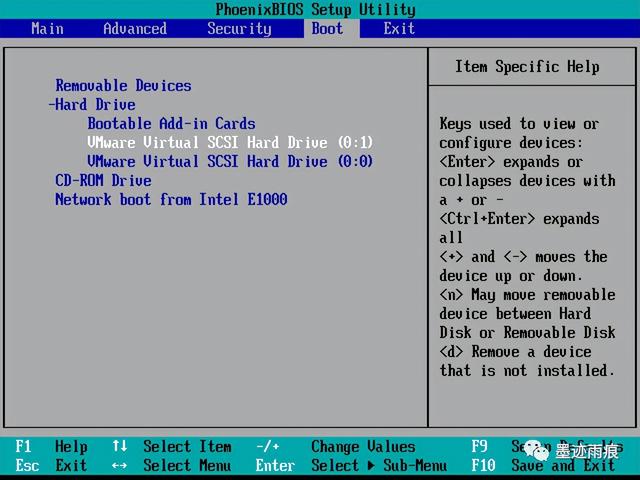
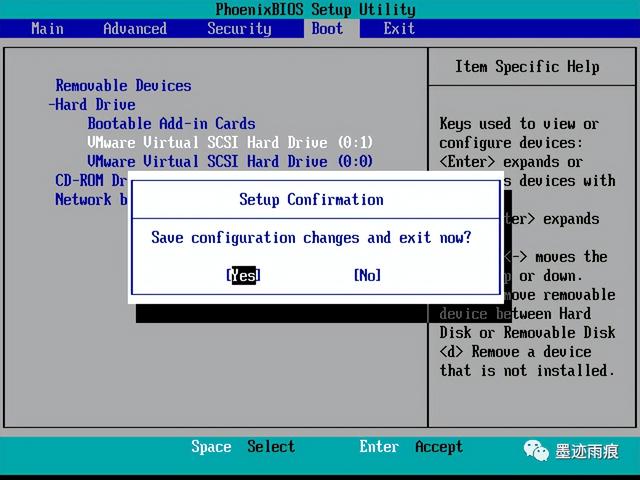
启动完成后,U盘启动盘默认启动,可正常登录PE并进行相关操作。