----关注IT小技术,每天get一个IT小技术。
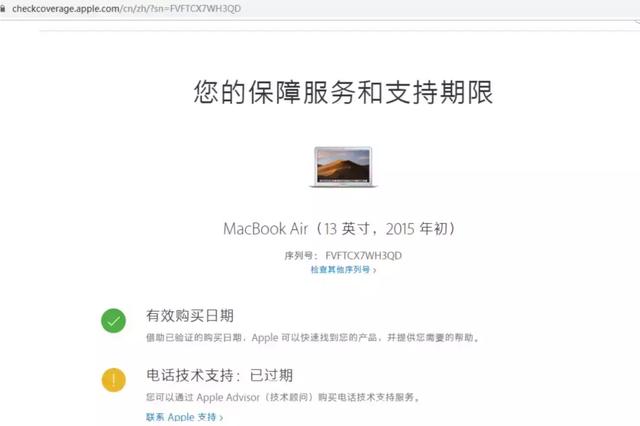
一、前言描述客户的2015款笔记本,需要在苹果系统上安装windows系统,由于在苹果Mac系统上,运行软件的兼容性和易操作性没有windows好,所以很多人买回来的苹果电脑,会在MacOS的基础上,再安装一个windows系统,这样两个操作系统都可以使用,想用Mac系统就用Mac,想用windows系统就用windows系统。
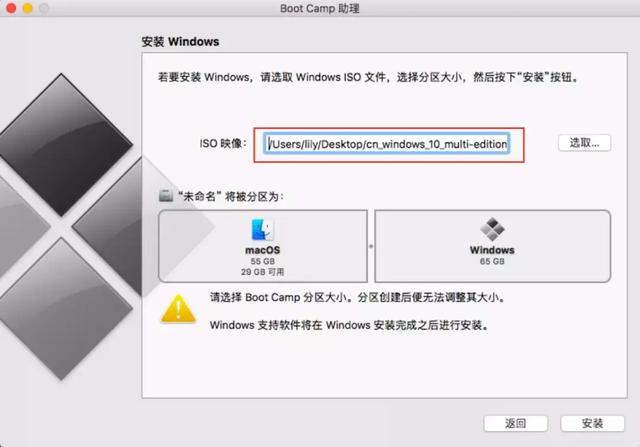
1、首先进入macOS系统,将windows 10镜像拷贝到macOS系统中。有的人会问这个镜像文件到哪下载?当然是https://msdn.itellyou.cn。
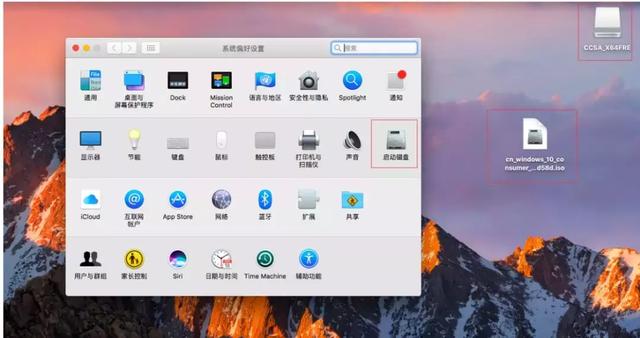
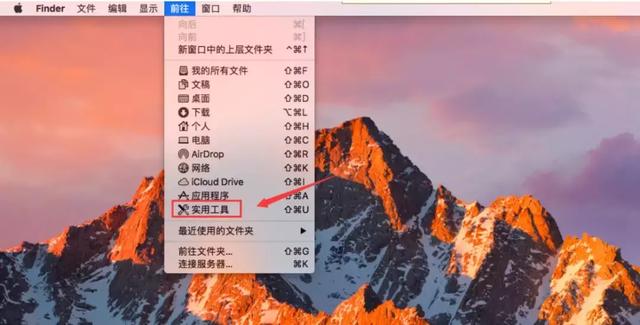
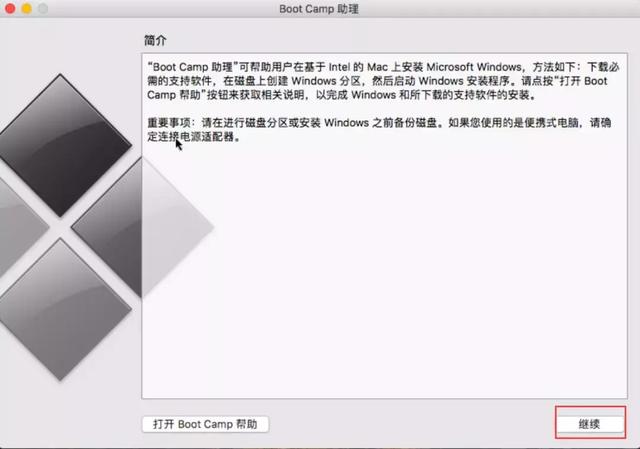
2、找到“前往”--“实用工具”。
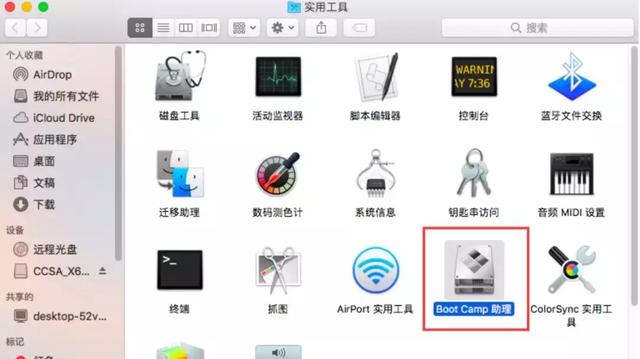
3、找到“BootCamp助理”,有人问BootCamp是干嘛的?简单的说,在苹果系统中,可以通过这个软件来进行windows系统安装部署。
4、点击“继续”。
5、选择刚才拷贝到桌面的windows10镜像文件。
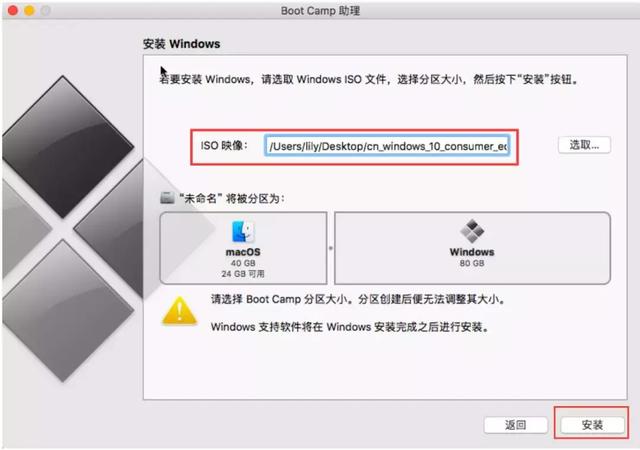
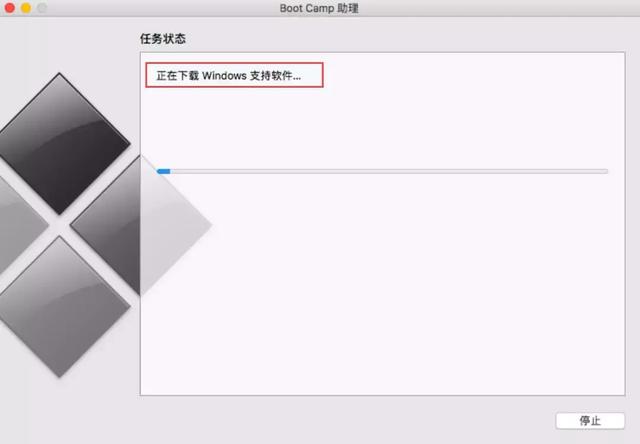
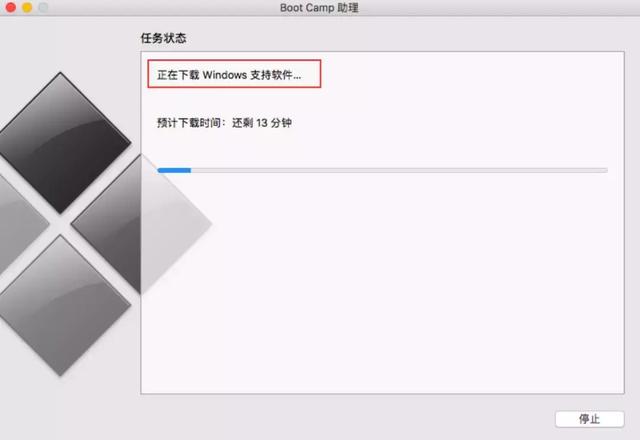
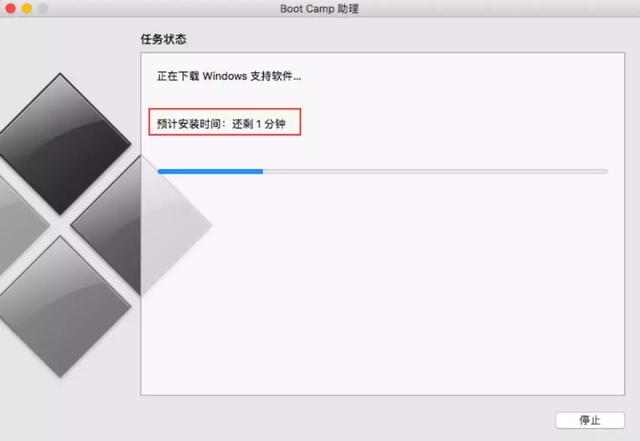
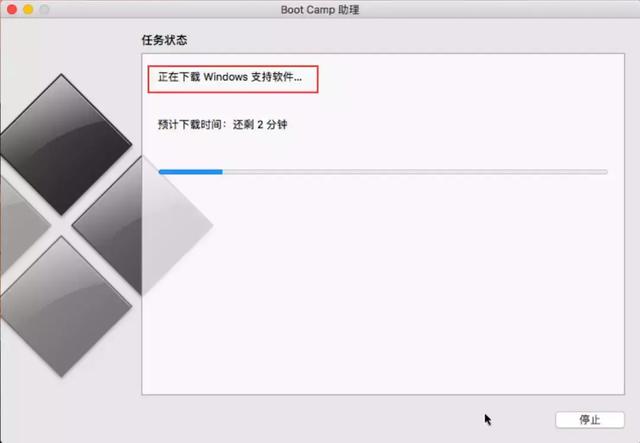
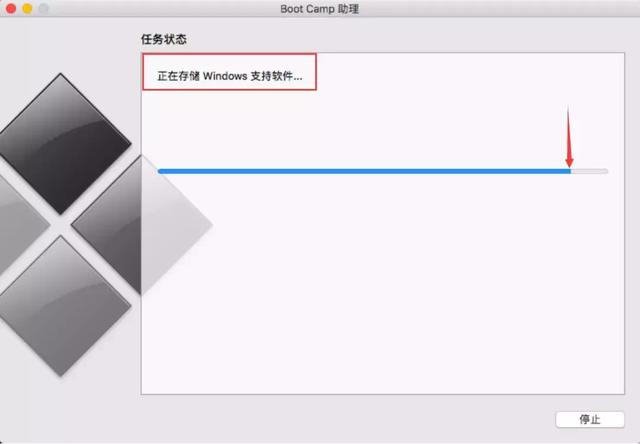
6、开始下载Windows支持软件,也就是Windows一些驱动等支持文件。其实这一步,在老版本苹果电脑安装windows系统中,制作 Windows支持软件,是需要插入U盘的,然后将Windows系统和下载的驱动支持软件,都直接刻录到U盘中,但是新版本的不需要刻录到U盘中了,新版本BootCamp助手,会自动在磁盘上分出一个临存储Windows系统安装和支持软件。
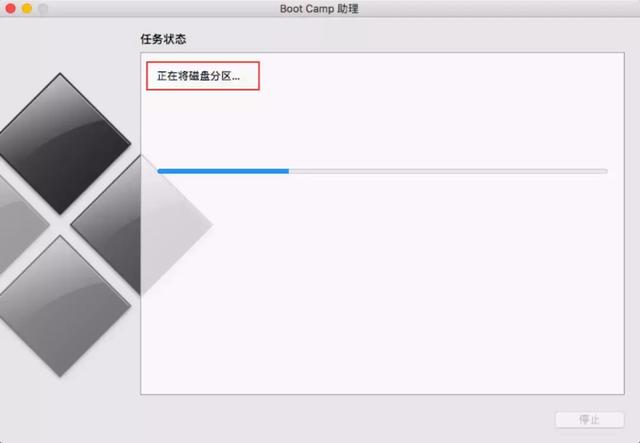
7、Windows系统支持软件下载完成后,正在进行磁盘的分区。
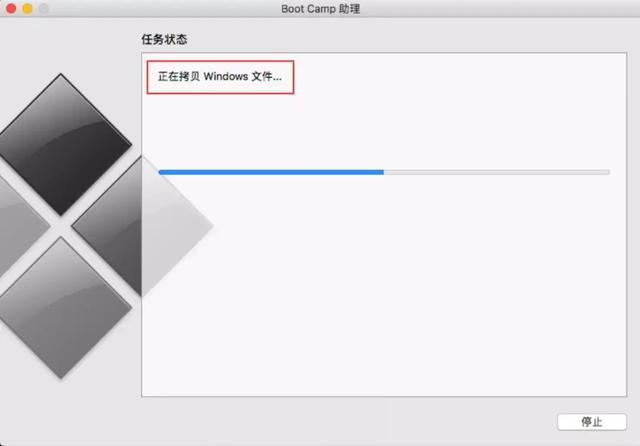
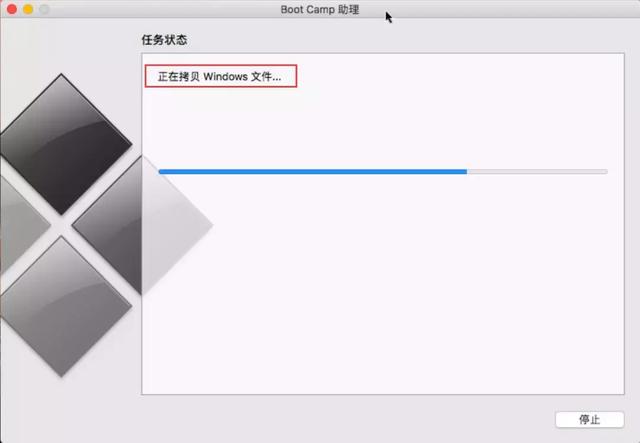
8、正在拷贝Windows文件...
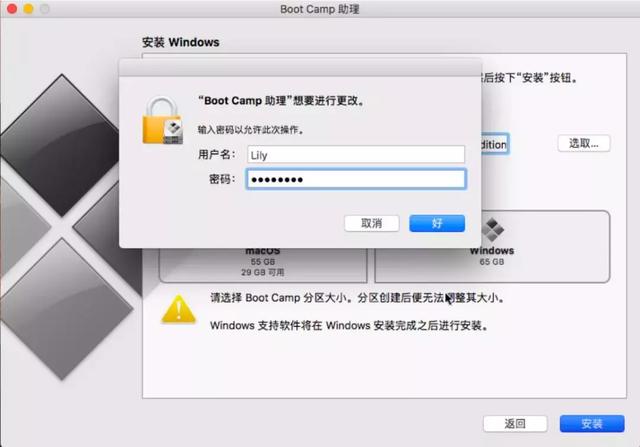
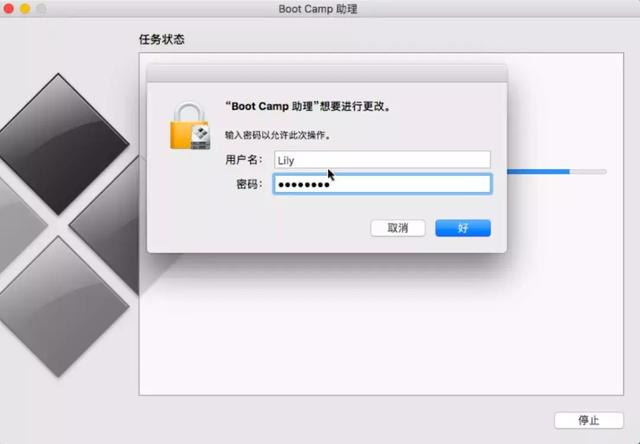
9、输入苹果系统的用户名和密码。
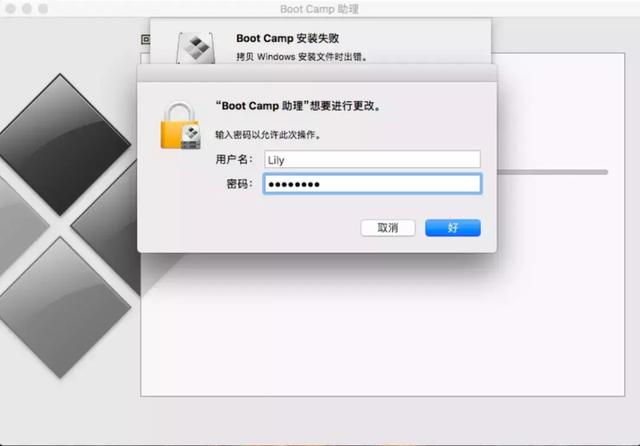
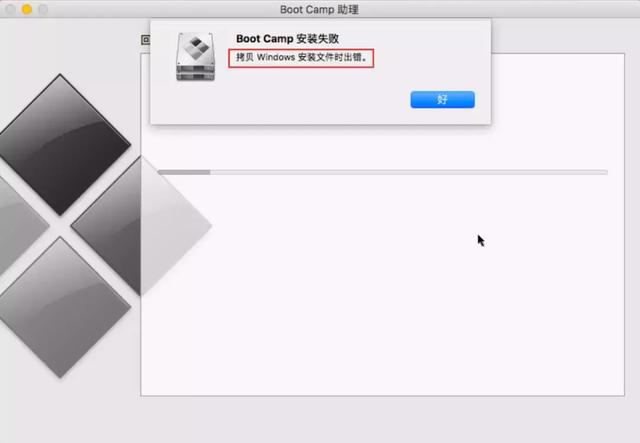
10、发现一个报错:
Boot Camp安装失败,拷贝Windows安装文件时出错。
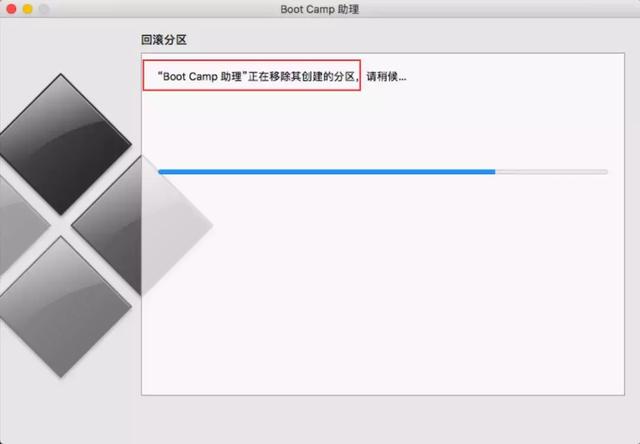
11、Boot Camp助理正在回滚操作。
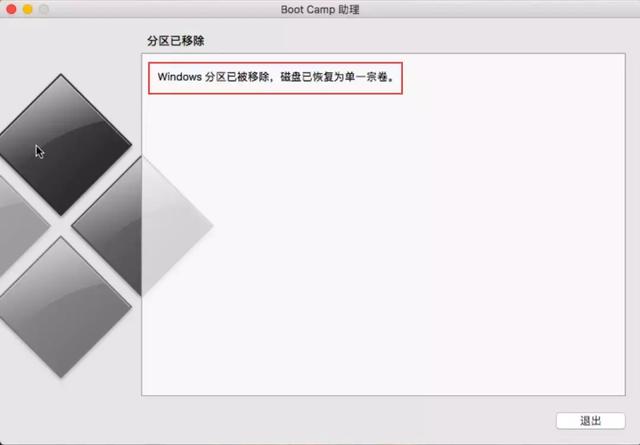
12、windows分区已被移除,磁盘已恢复为单一宗卷。安装失败,现在还是一个苹果分区。
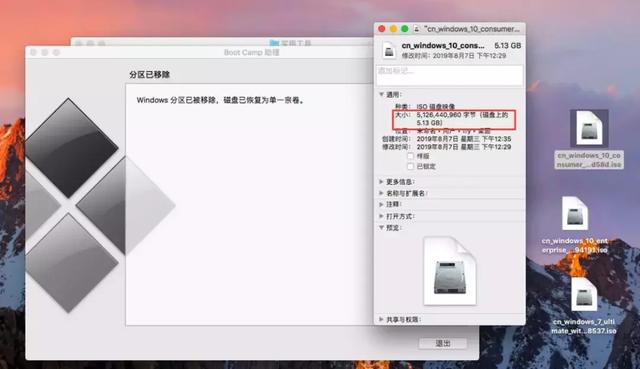
13、经研究问题出在选用的win10 iso上,无论是老版本的苹果电脑通过Boot Camp手动制作安装的U盘,还是通过新版本苹果电脑通过Boot Camp自动生成的安装分区,windows分区,默认的格式都是Fat32格式,Fat32格式单个文件最大不超过4G,而微软最近出的系统1903等版本,系统中的install.wim都是大于4G,所以导致无法写入U盘或者系统自动分区盘。
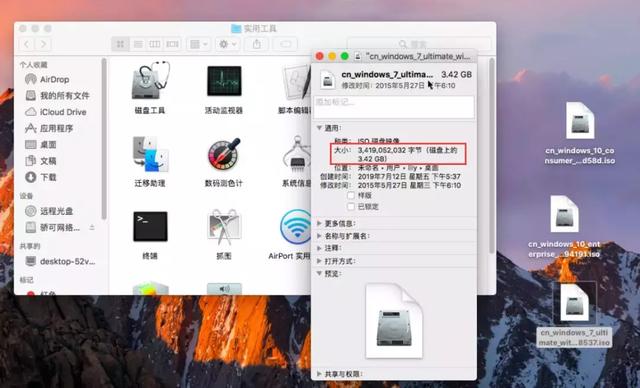
14、win10系统install.wim文件大于4G,那就找个win7系统安装一下试试。win7.iso总镜像文件才3.42GB,那应该是可以安装了吧。
15、选择windows7安装文件。

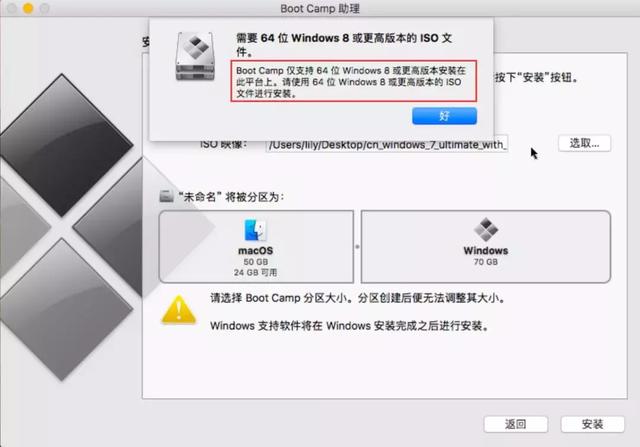
16、发现2015款笔记本不支持windows7操作系统,要windows8或者windows10操作系统,windows8操作系统又不能安装,因为windows8系统本来就没正常过。所以还是只能安装windows10操作系统。
17、msdn.itellyou.cn查找有没有windows10 x64位,而且install.wim文件是小于4G的。
皇天不负有心人,终于找到 Windows 10(multi-edition) Version 1709 x64系统,整个iso文件是4.42GB。
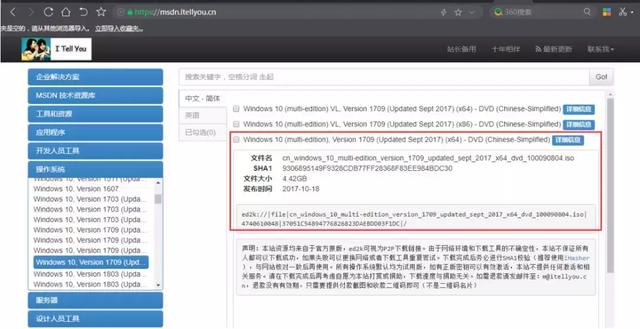
下载此iso文件。

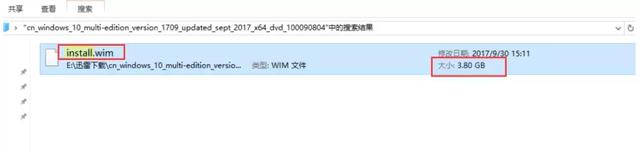
将此iso文件解压后,找到install.wim文件,发现此文件只有3.80GB,没有大于4G,说明此iso是可以使用的。
18、再次启动Boot Camp ISO映像文件选择刚才下载的镜像。
19、输入苹果系统的用户名和密码。
20、下载Windows支持软件。
21、正在拷贝 Windows文件...
22、正在存储windows支持软件,发现此时没有报错,那说明刚才我们下载的那个ISO镜像文件是可以正常使用的。
23、输入苹果系统的用户名和密码。
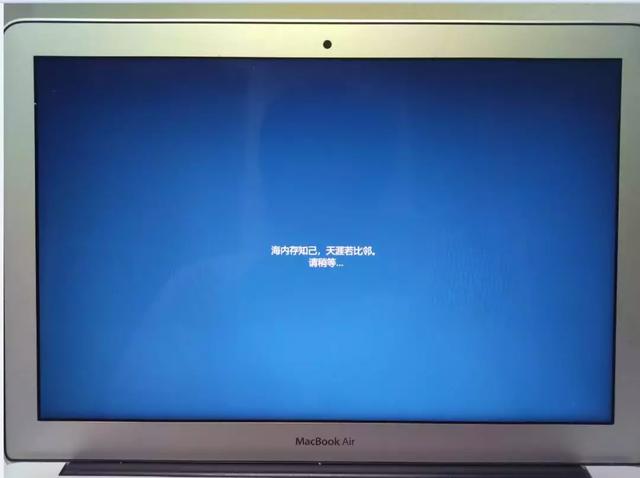
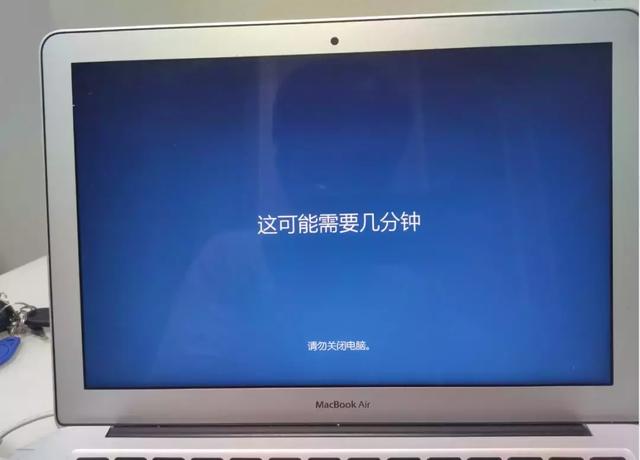
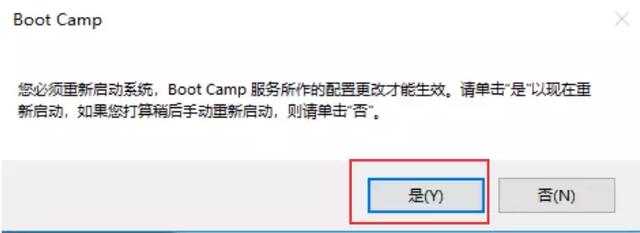
点击“好”后,苹果电脑自动重新启动,重新启动后,自动进入Windows系统安装。
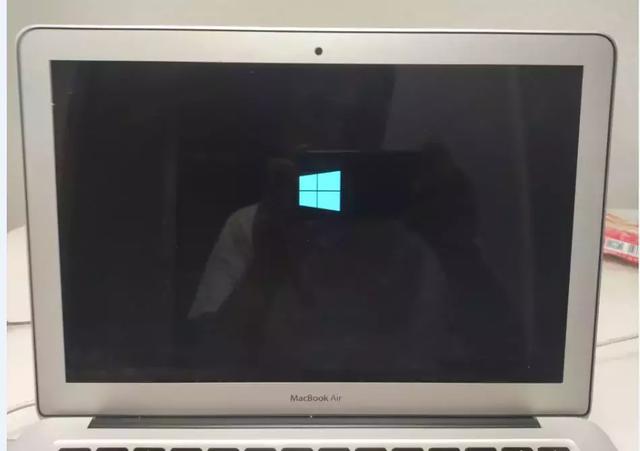
1、苹果电脑自动重新启动后,加载Windows系统文件。
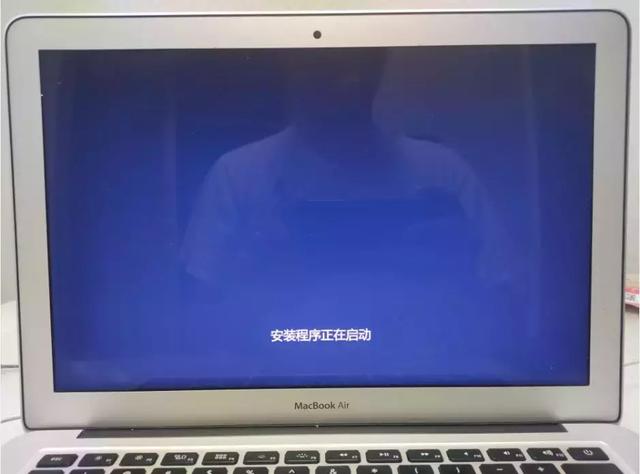
2、安装程序正在启动。
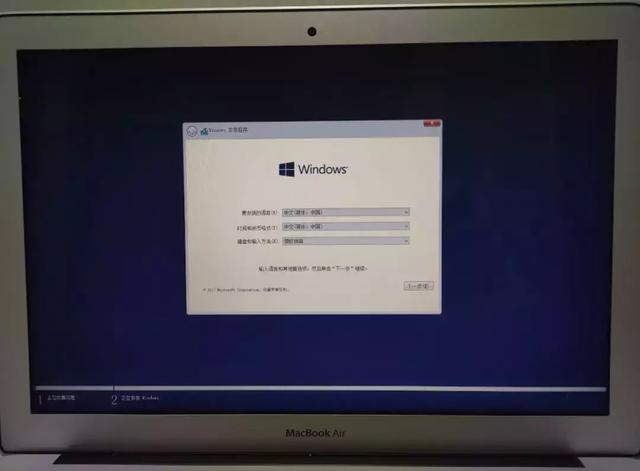
3、选择安装语言等参数,下一步。
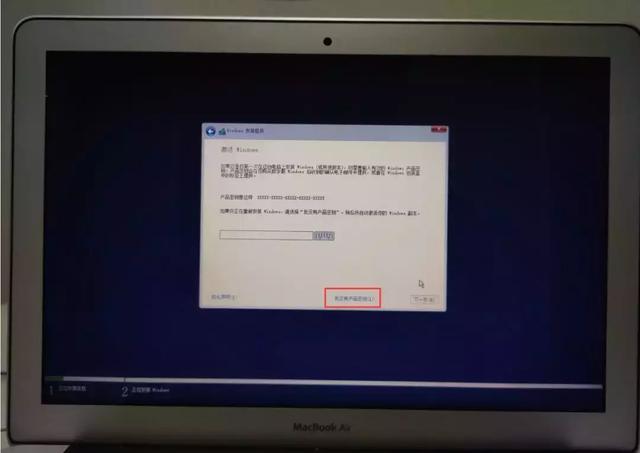
4、输入windows 10密钥,如果没有直接点我没有产品密钥。
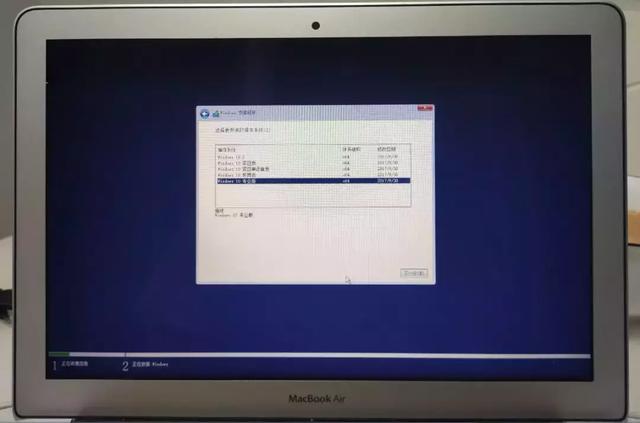
5、选择windows10专业版。
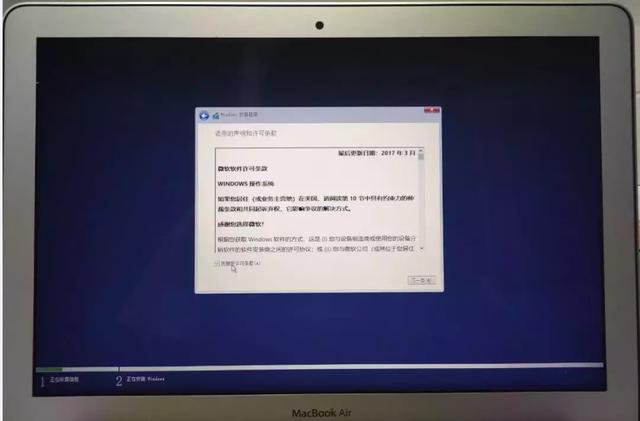
6、选择同意条款。
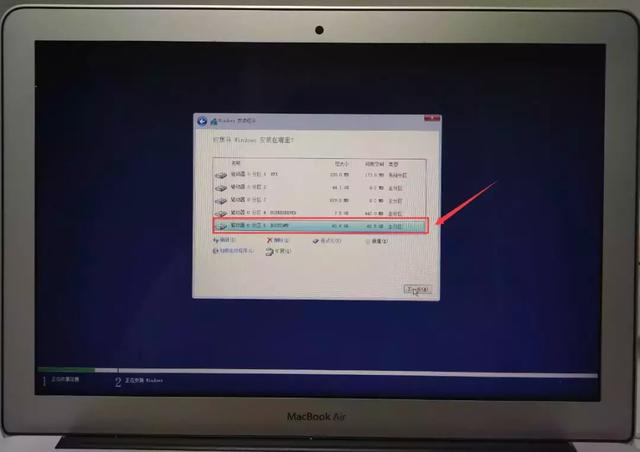
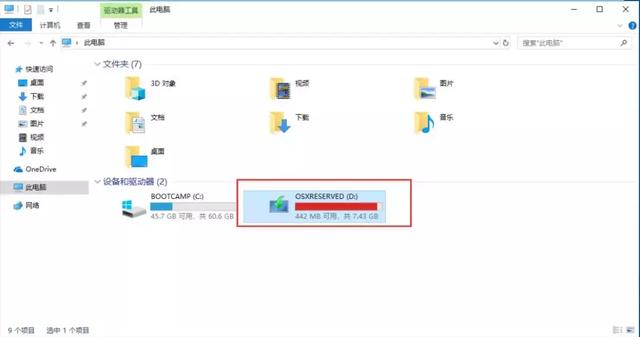
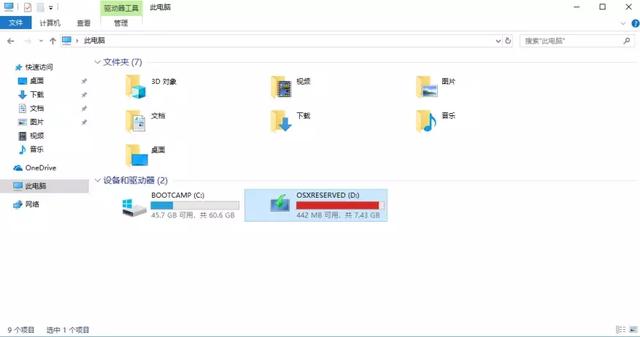
7、windows安装到哪个分区呢?这里一定要注意,就是选择默认的BOOTCAMP分区。在BOOTCAMP分区的上面有个OSXRESERVED分区7.5GB,这个分区就是存储windows安装系统和支持软件。
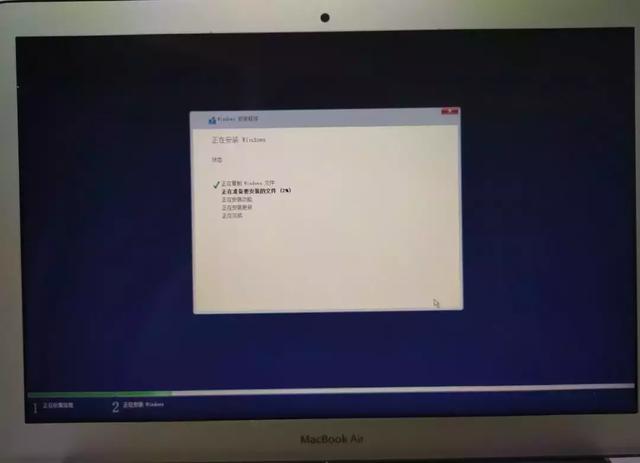
8、正在windows10操作系统的安装。
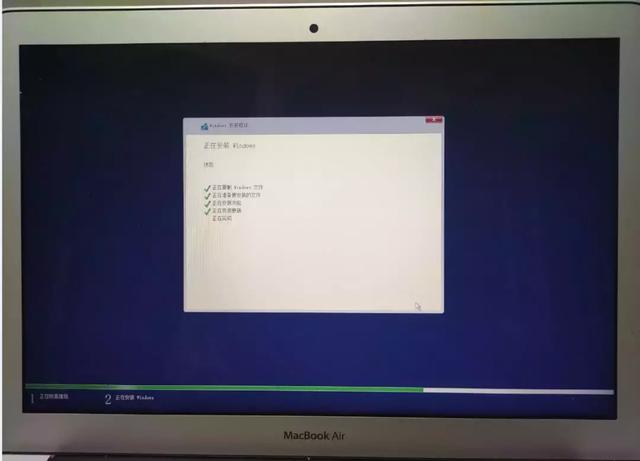
9、即将完成windows系统文件的安装。
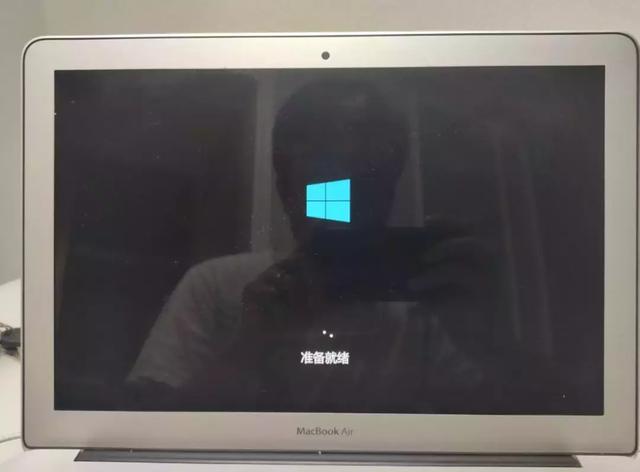
10、系统文件复制,安装完成后,重新启动电脑。
11、即将进入windows10操作系统的配置。
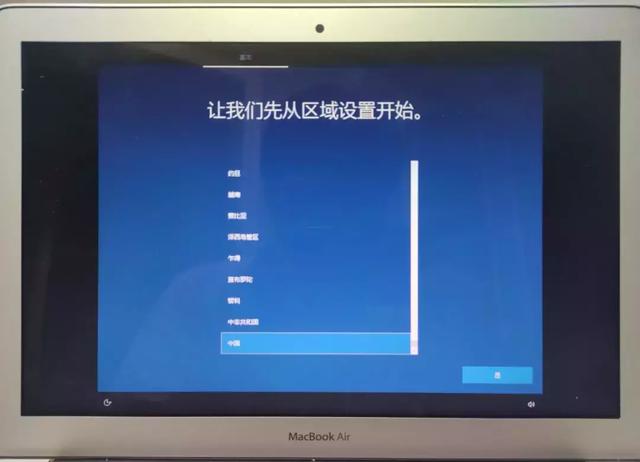
12、选择“中国”。
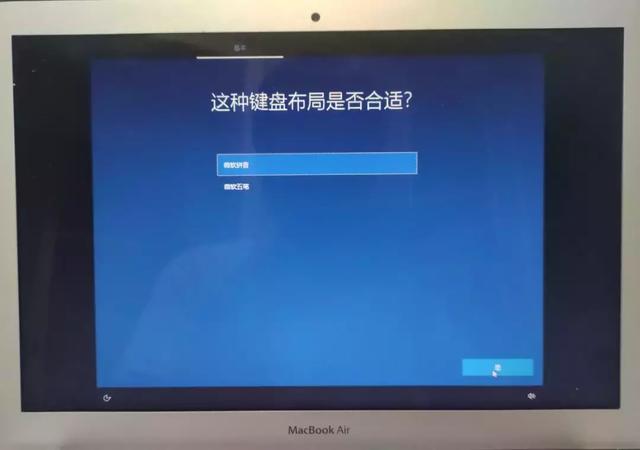
13、选择“微软拼音”,看个人喜好选择。
14、选择跳过。

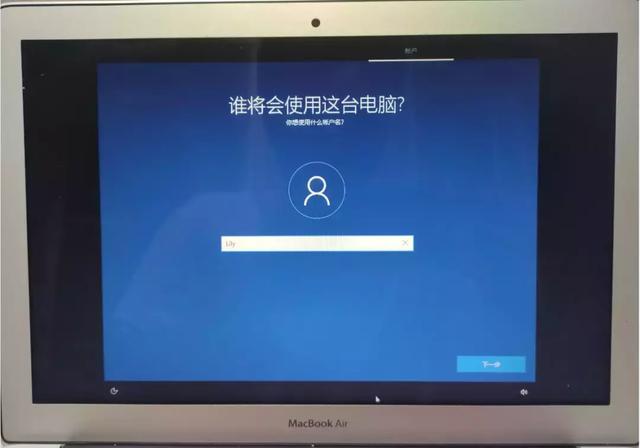
15、新建系统用户名。
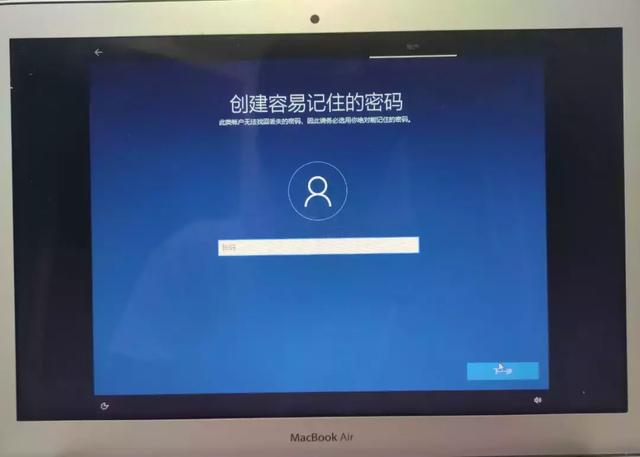
16、创建用户开机密码。
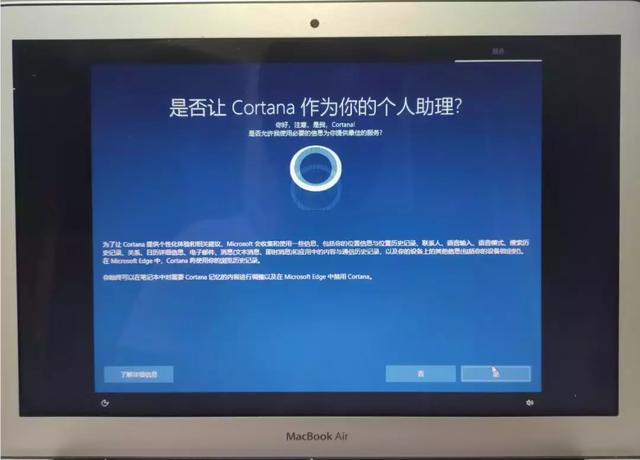
17、选择“是”。
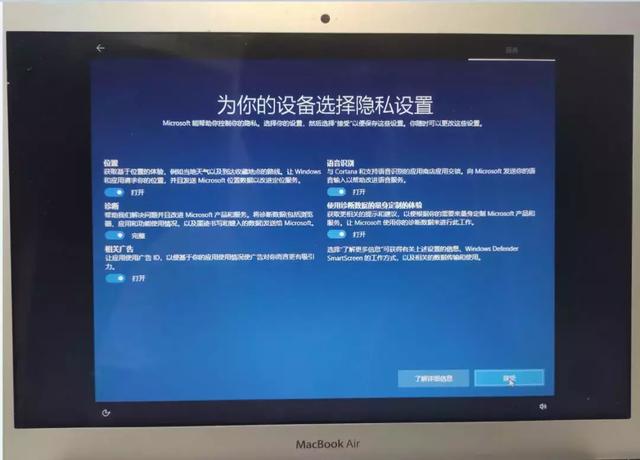
18、选择“确定”。
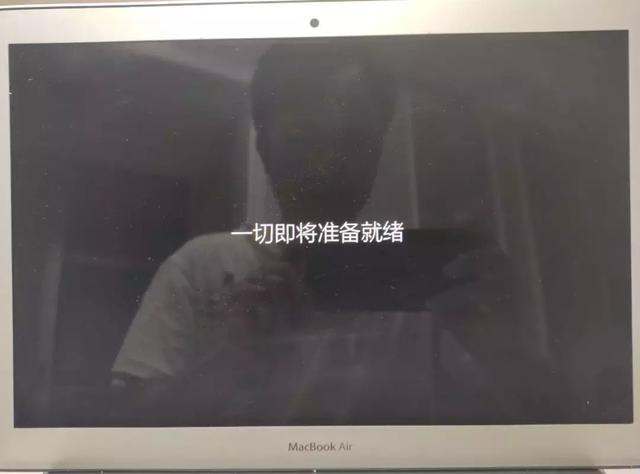
19、配置即将完成。
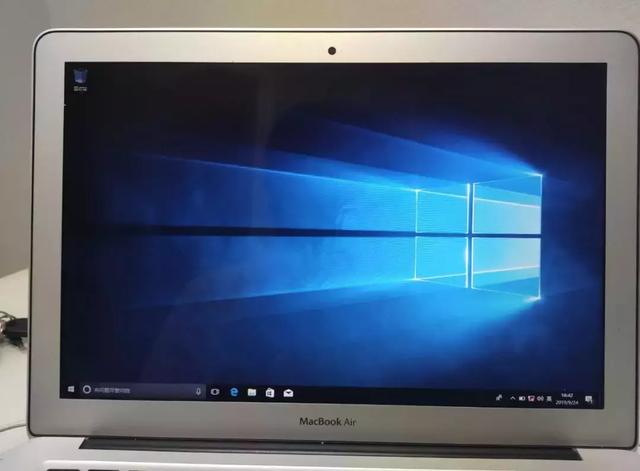
20、正常进入windows10操作系统,系统已正常安装成功。
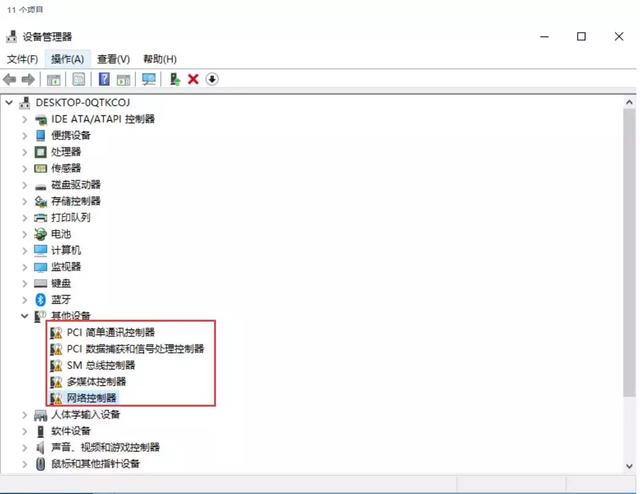
1、查看windows10操作系统驱动是否更新完成,查看到还有5个驱动没有安装。
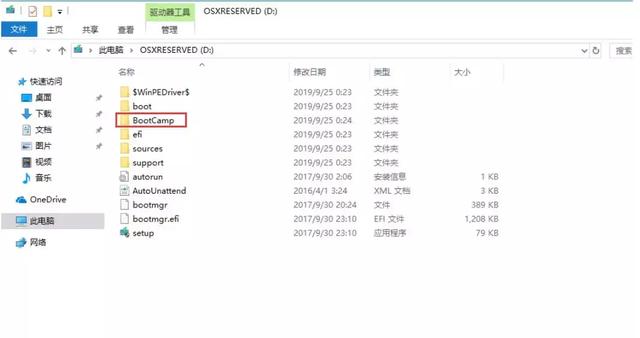
2、进入到OSXRESERVED (reserved [r??z??vd]预约(座位、席位、房间等); 保留; 保留(某种权利),OSXRESERVED分区这里就是存储的刻录的Windows操作系统和支持软件。
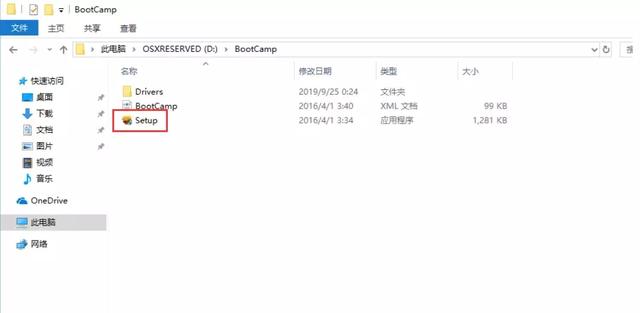
3、找到BootCamp文件。
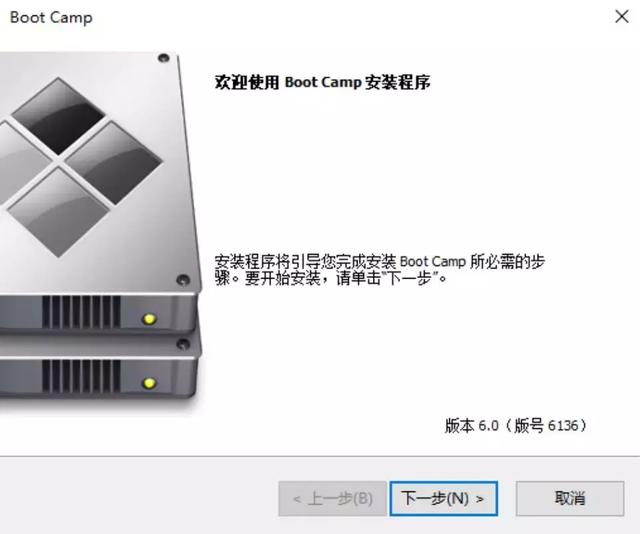
4、选择“Setup”。
5、选择“下一步”。
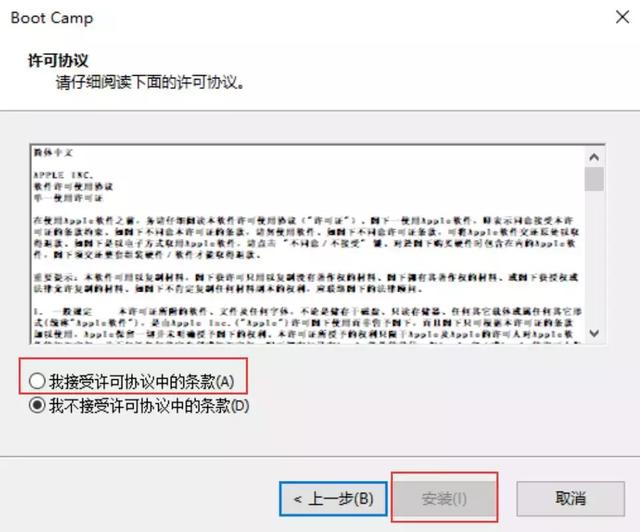
6、选择“我接受许可协议中的条款(A)”确定。
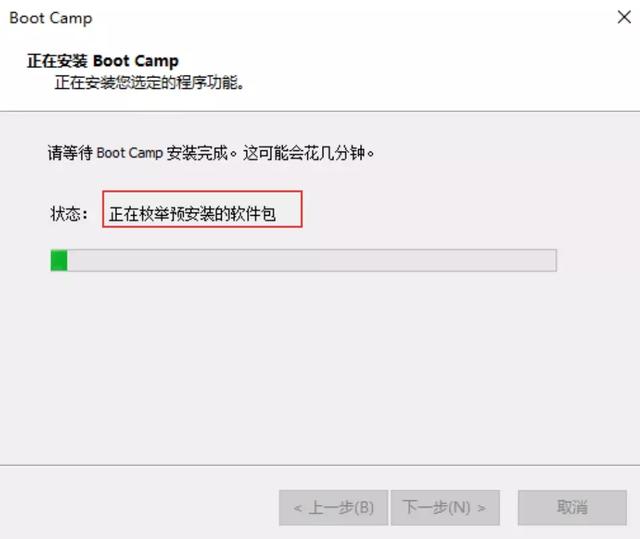
7、检测预安装软件包。
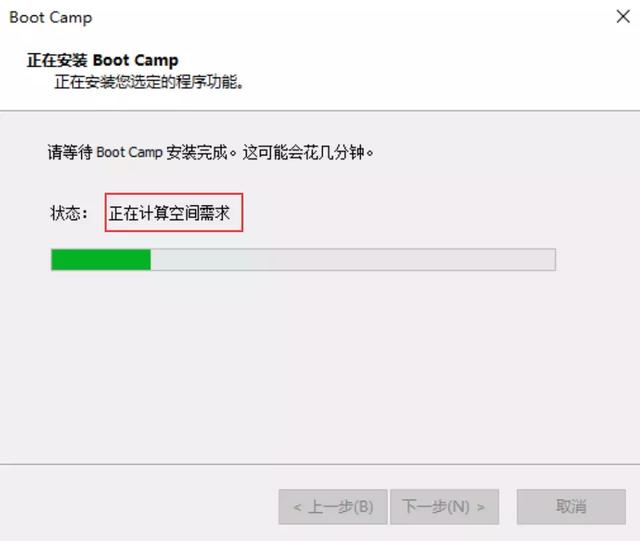
8、计算安装磁盘空间是否够用。
9、正在安装Marvell以太网卡驱动。
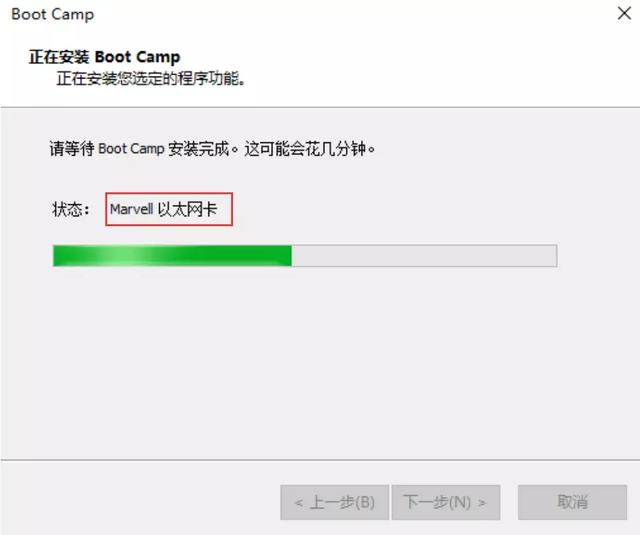
10、正在安装Broadcom无线网卡驱动。
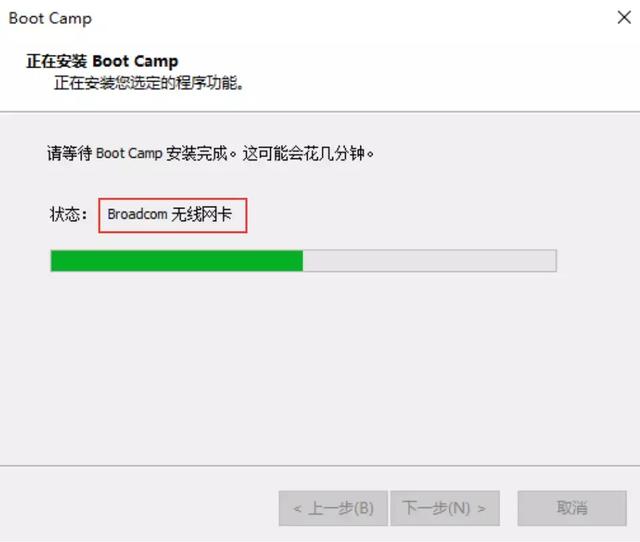
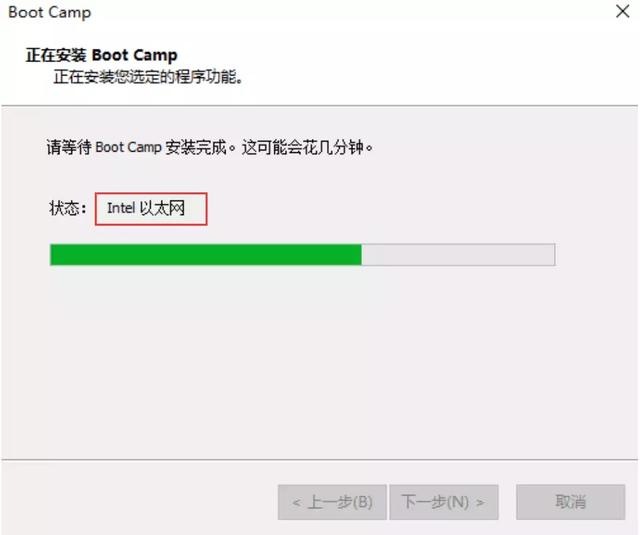
11、正在安装Intel以太网卡驱动。
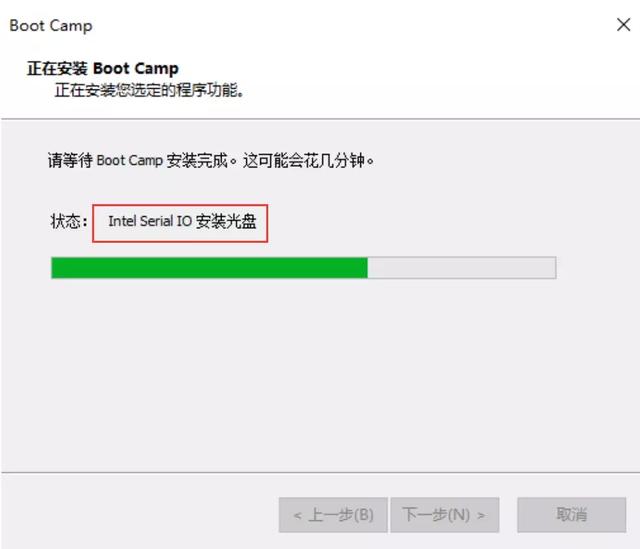
12、安装 IO驱动。
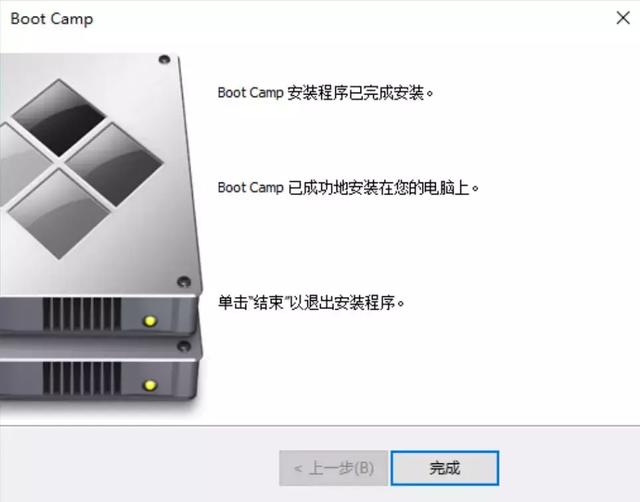
13、windows 10系统驱动已更新完成。
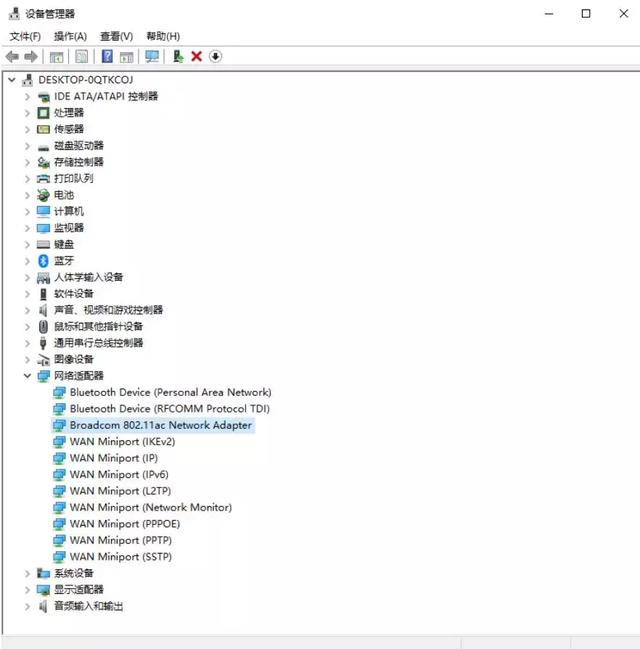
14、再次查看windows 10操作系统驱动,发现全部更新完成。
15、更新完成后,重新启动系统。
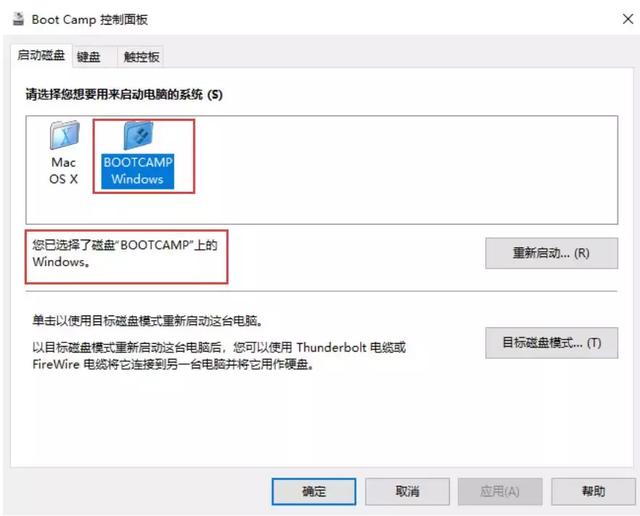
16、选择BOOTCAMP Windows 10为开机自启动系统。
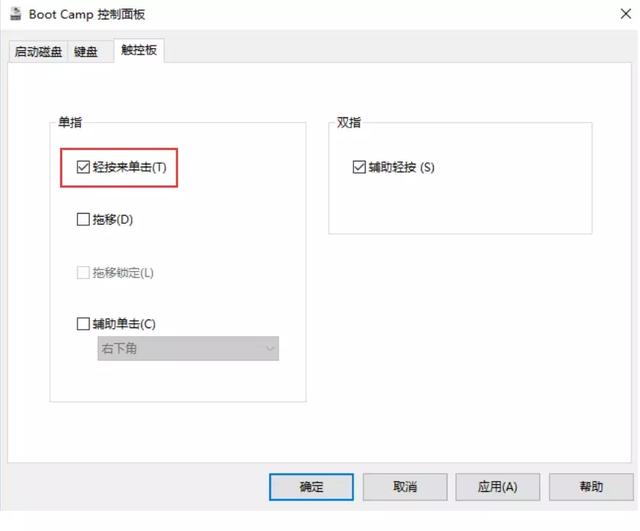
17、打开控制面板,找到Boot Camp。

18、触控板中,勾选\"轻按来单击(T)\"
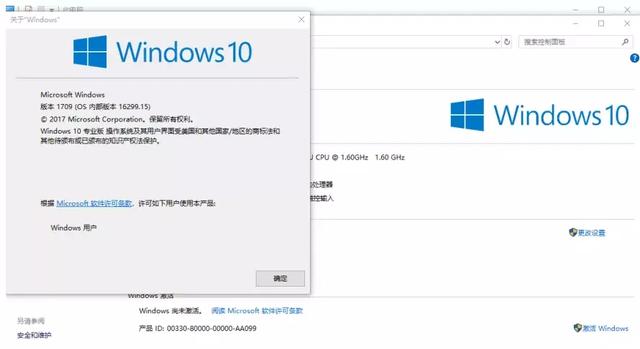
19、查看windows10操作系统。
20、现在有OSXreserved分区,以前在苹果上安装WINDOWS系统是需要U盘的。现在不需要了,因此该分区相当于原来的u盘安装盘,正常安装完windows和驱动后会自动消失的,空间也会归还给Mac磁盘,作为安装windows10和windows10驱动使用。
成功安装Windows10,并激活后,一定要再进一次OSX,这个分区就会自动的消失。
老铁,您们在安装苹果双系统时,有没有出现过什么错误 ,留言和IT小哥一起讨论哦!