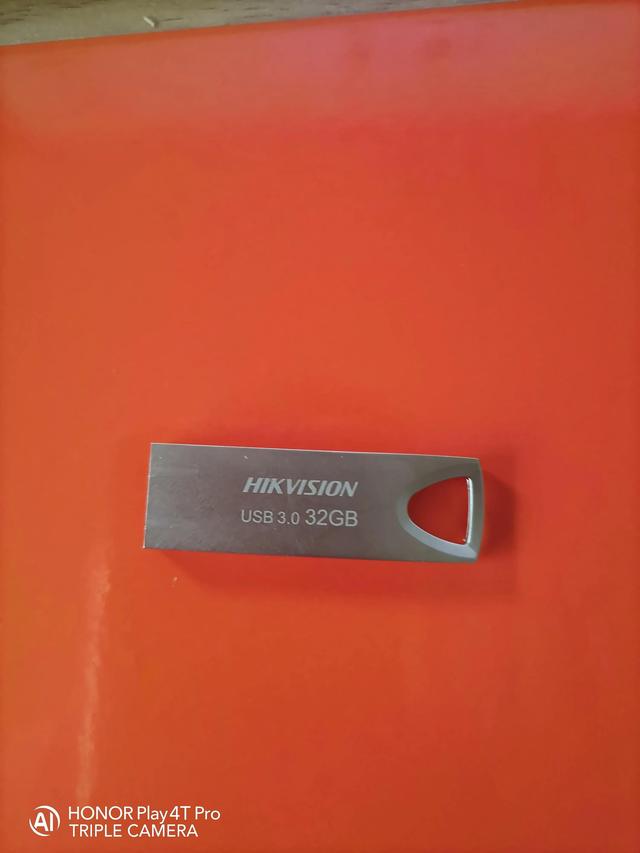
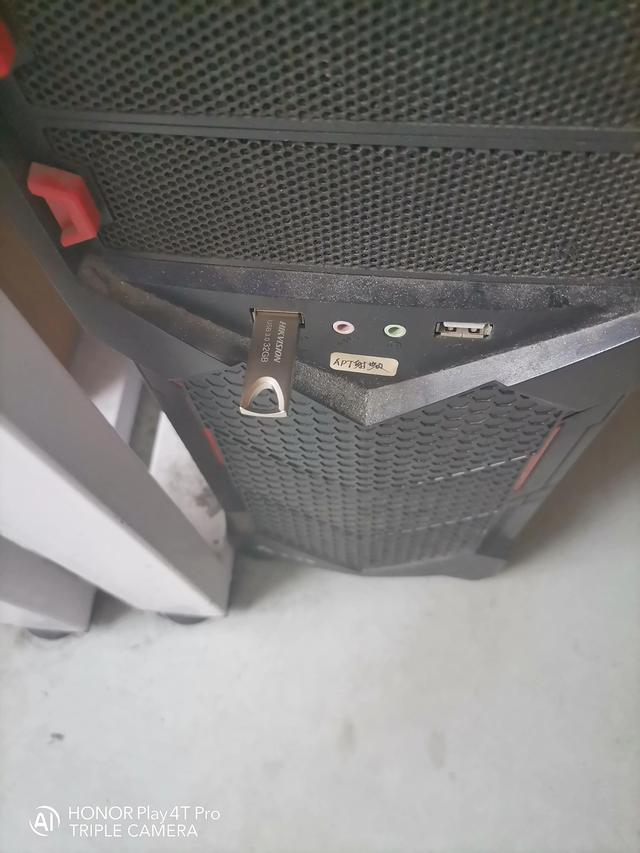
首先,准备一个U盘(8G以上最好)我选择了32G的
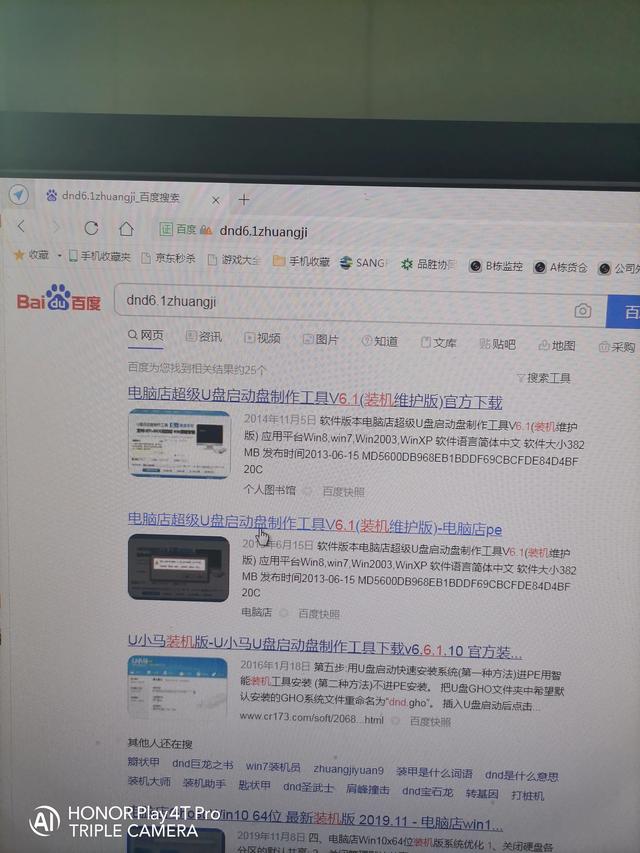
其次,找一台电脑,选择360浏览器打开百度,输入搜索栏dnd6.1zhuangji

百度一下,我们选择电脑超级U盘V6.1下载
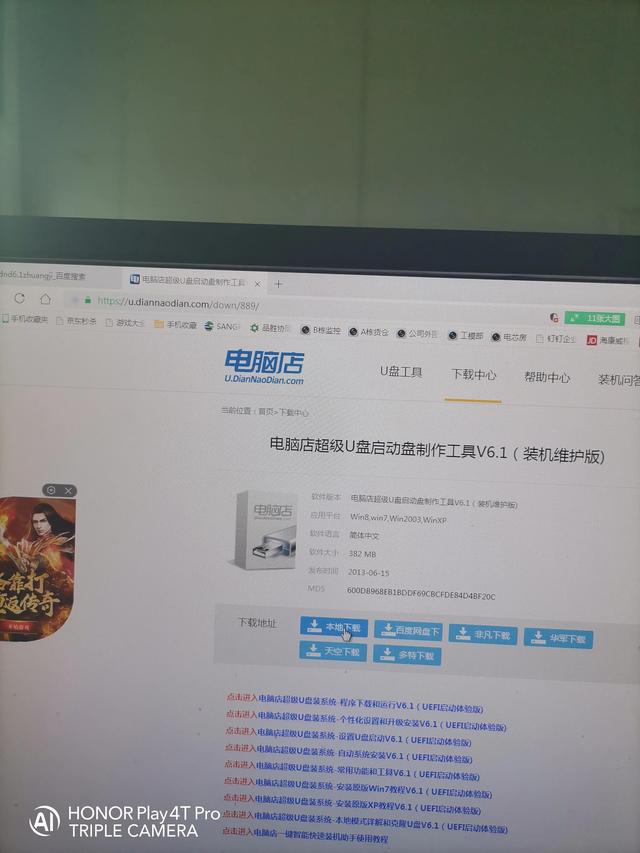
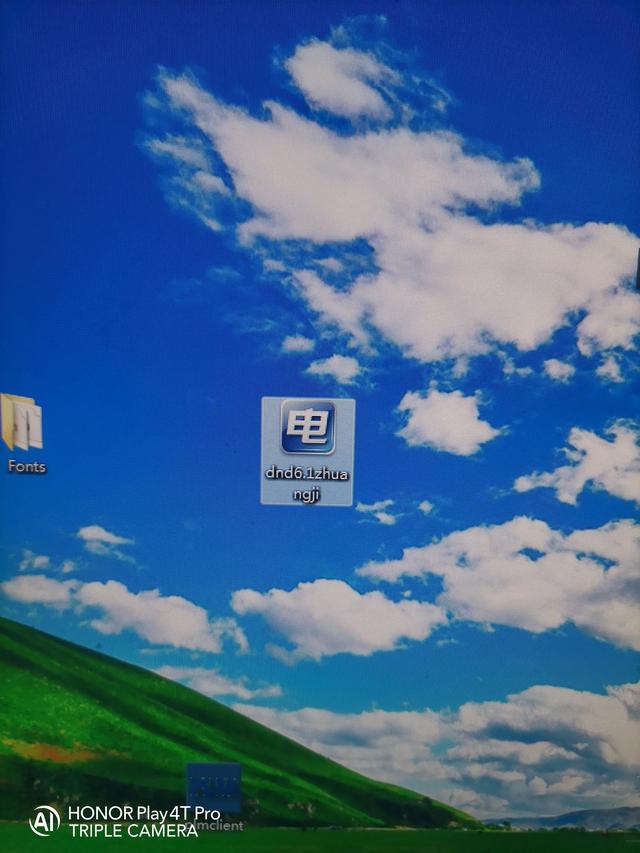
我默认下载路径在桌面上

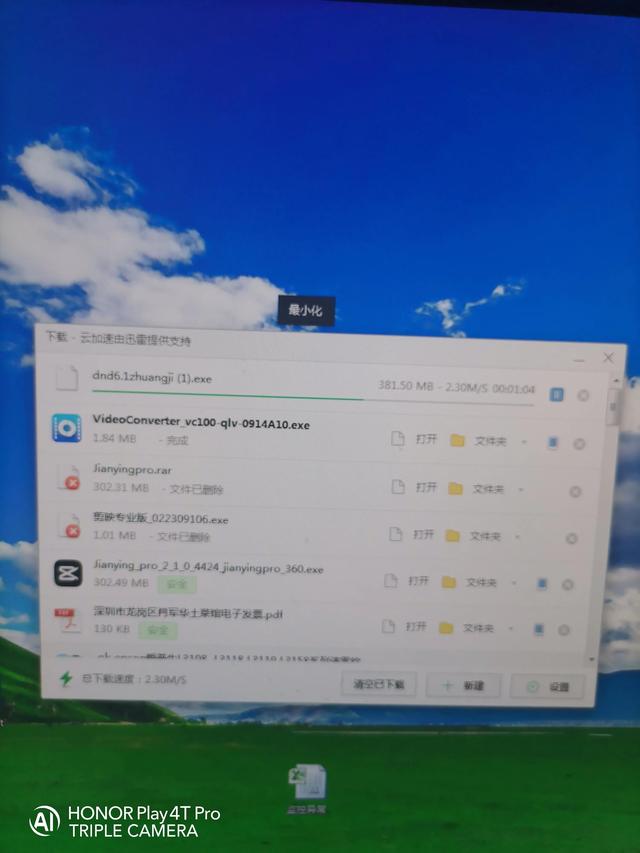
下载后,桌面出现了
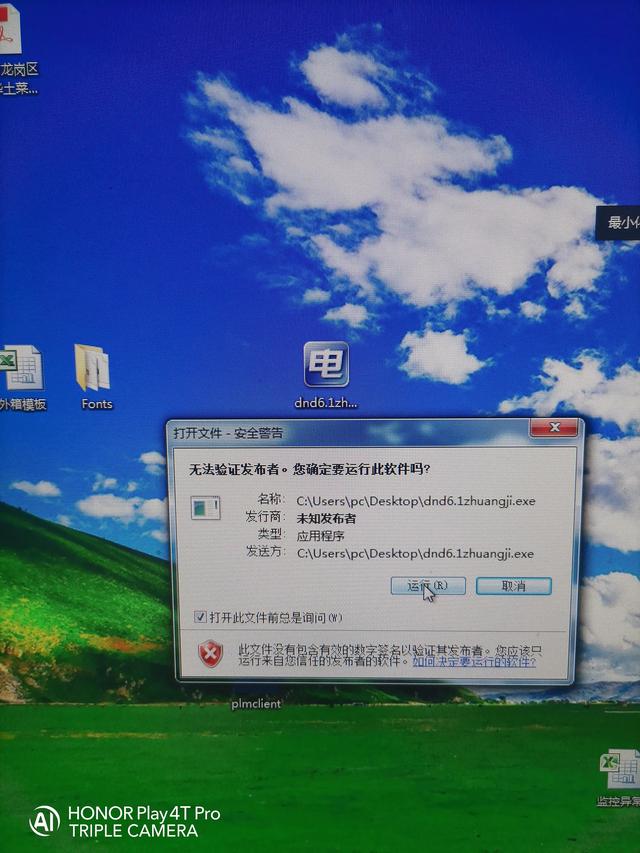
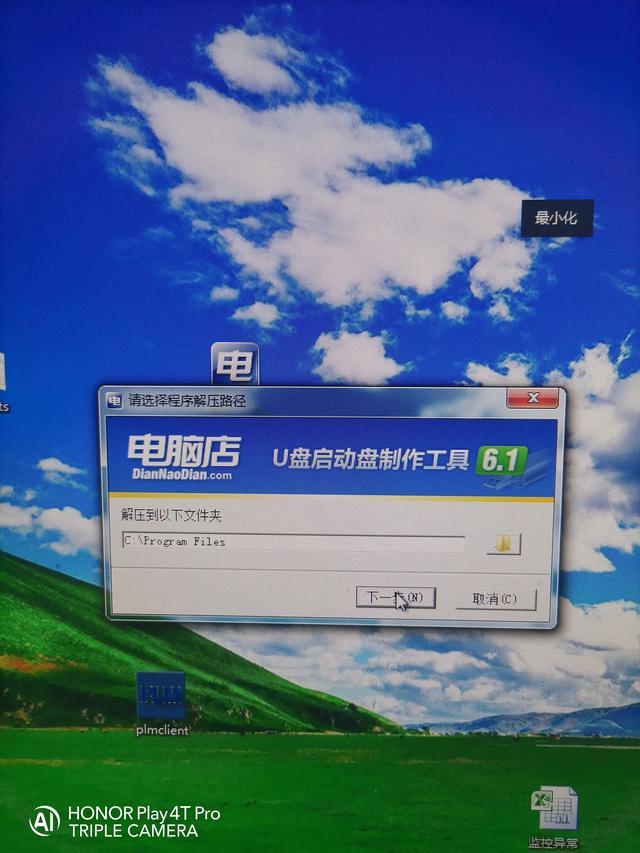
我们开始安装,双击开始运行,直接点下一步
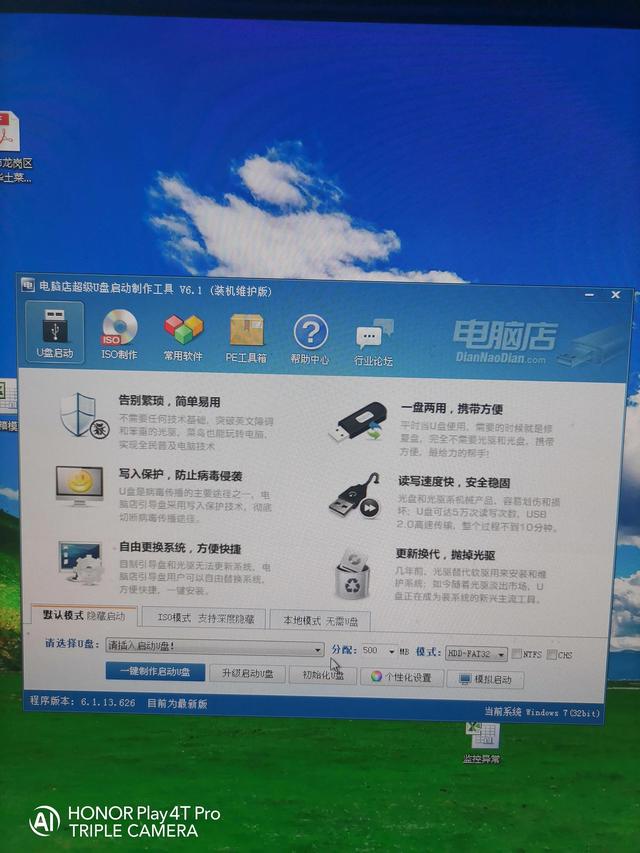
启动盘制作工具工具,我们将U盘插入电脑USB接口,
同时,启动生产工具识别∪盘
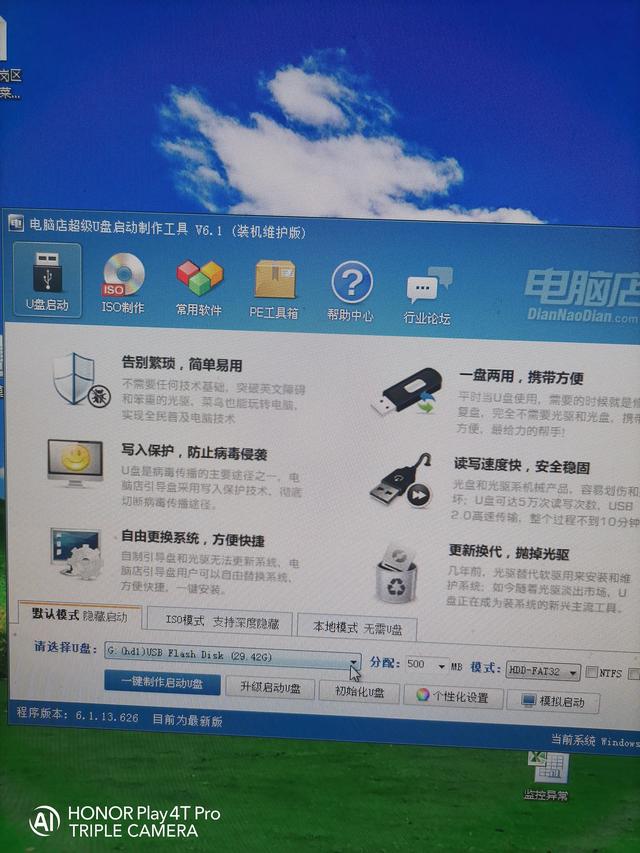
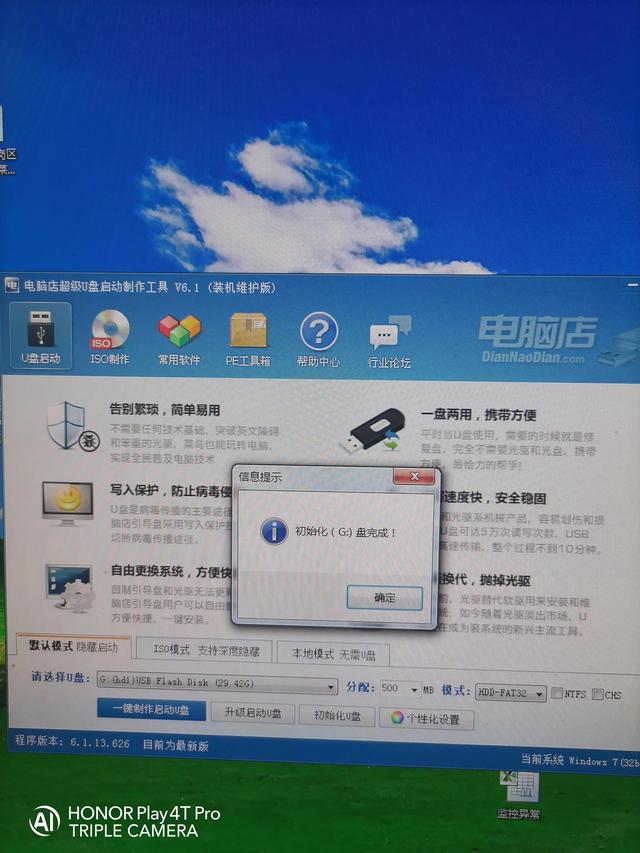
我们选择初始化U盘(建议先复制U盘中的个人重要信息)
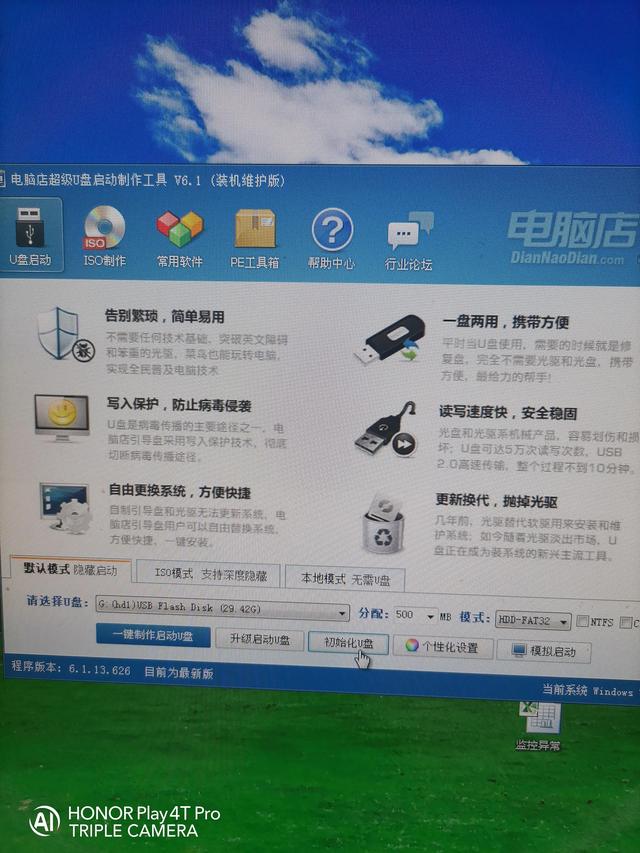
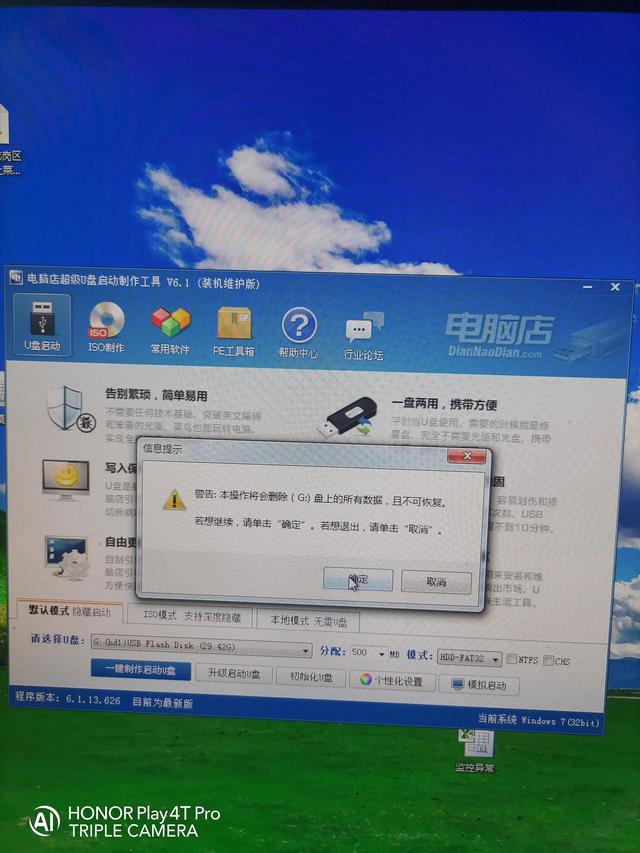
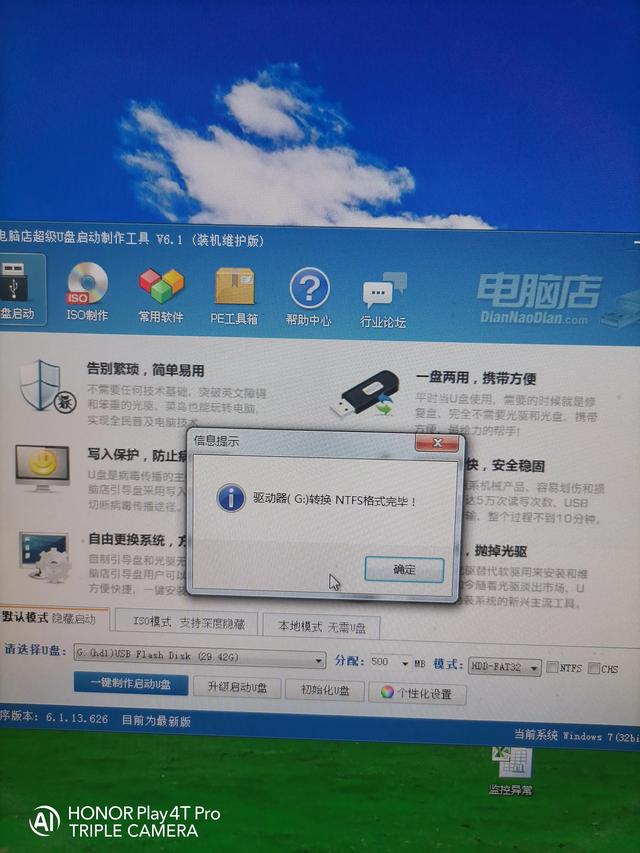
完成U盘的初始化
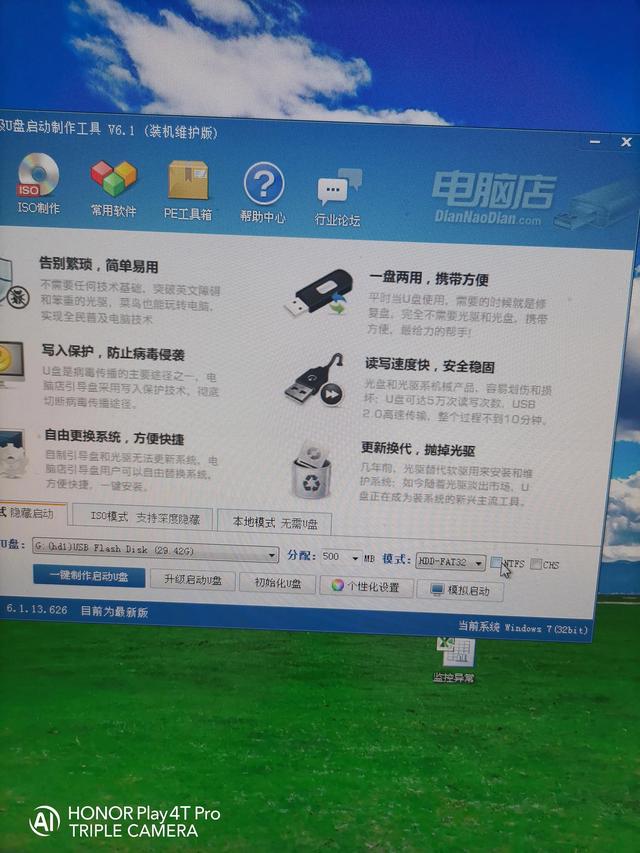
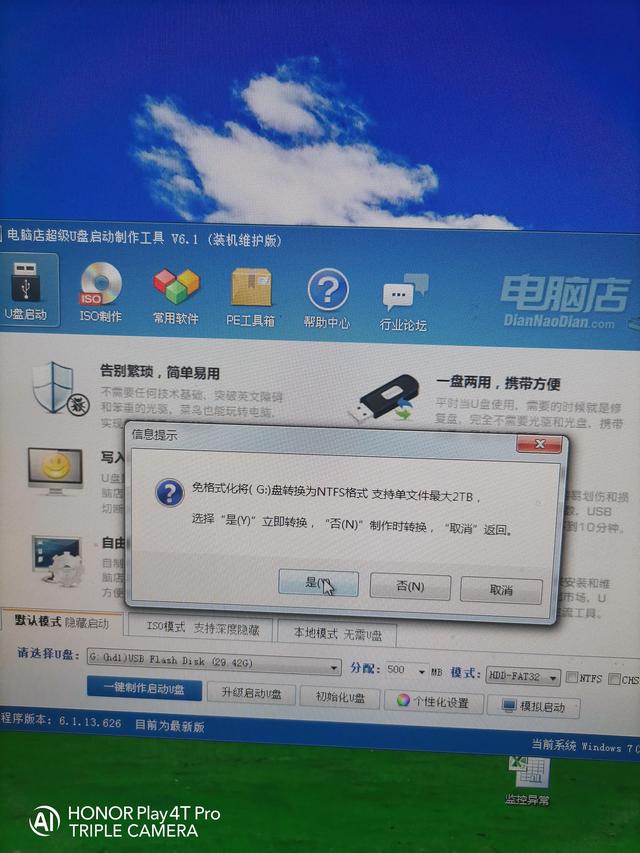
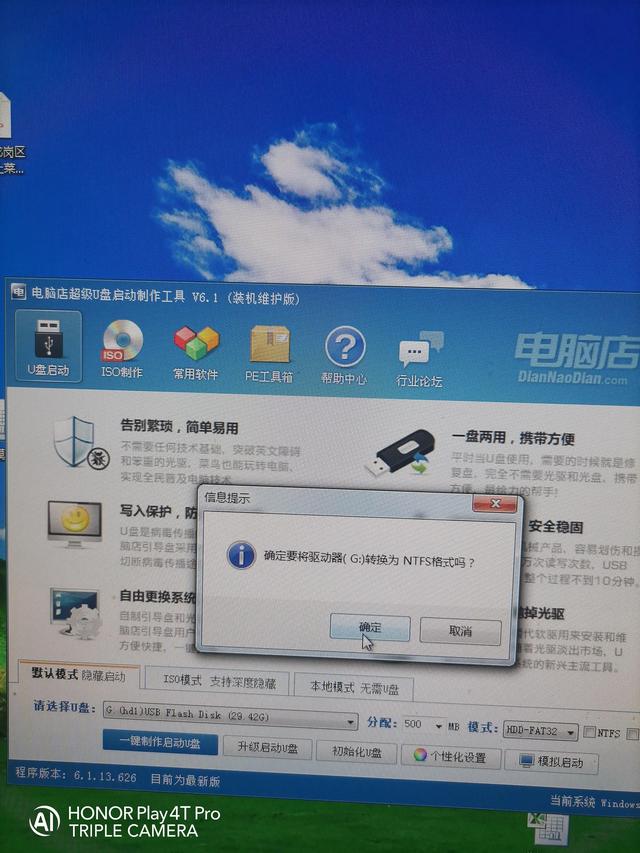
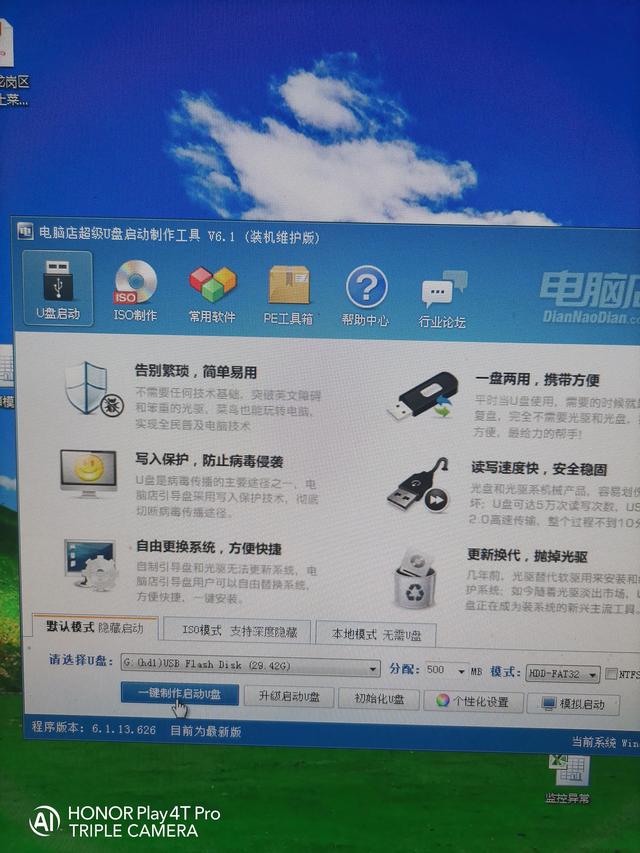
下面我们将U盘模式改为U盘模式NTFS,因为FAT32模式不能放几个G。win7操作系统的
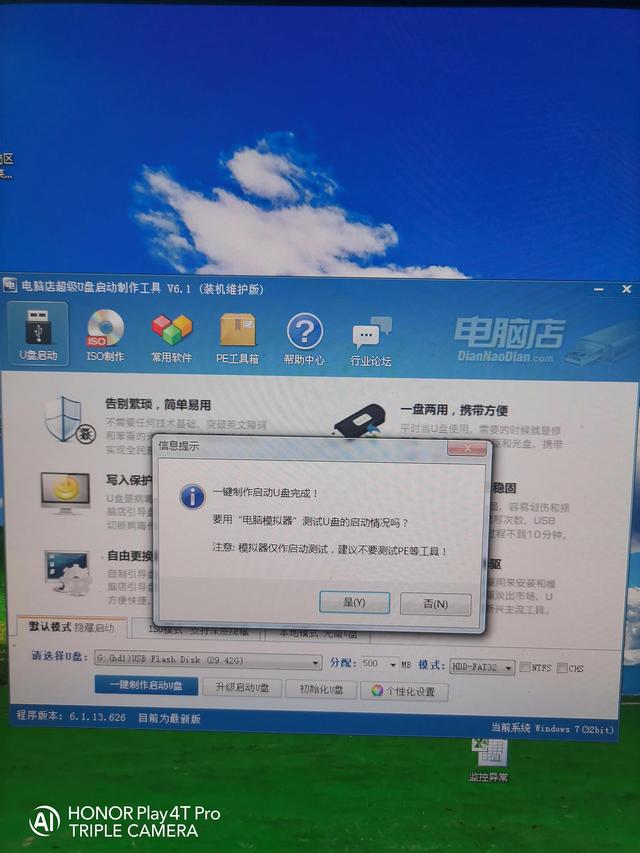
最后,我们选择一键制作和启动U盘
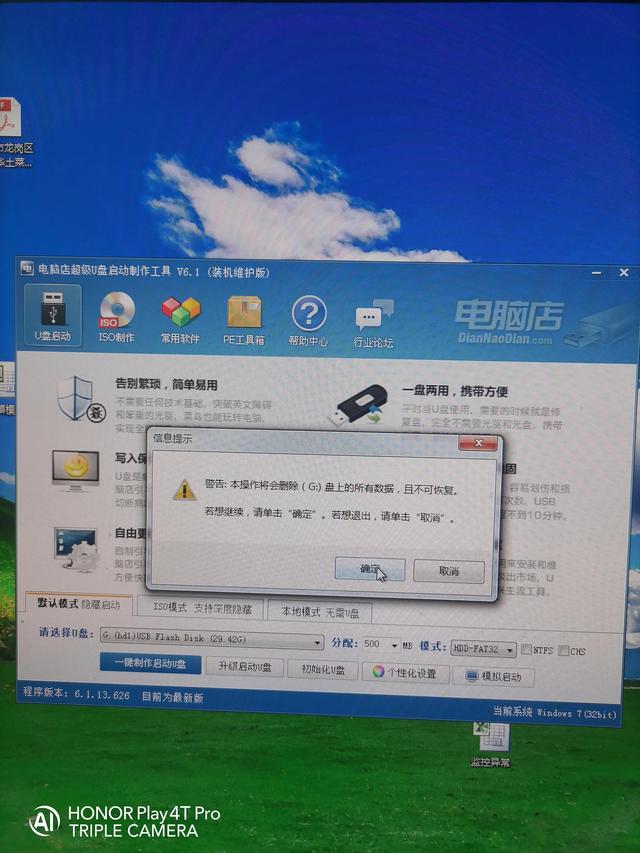
等1-2分钟提示制作完成,完成后是否退出
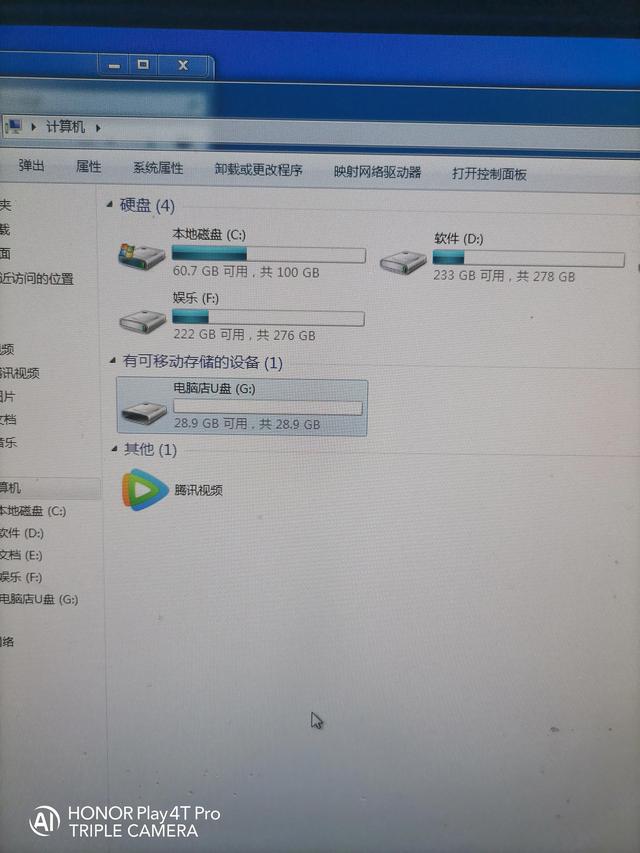
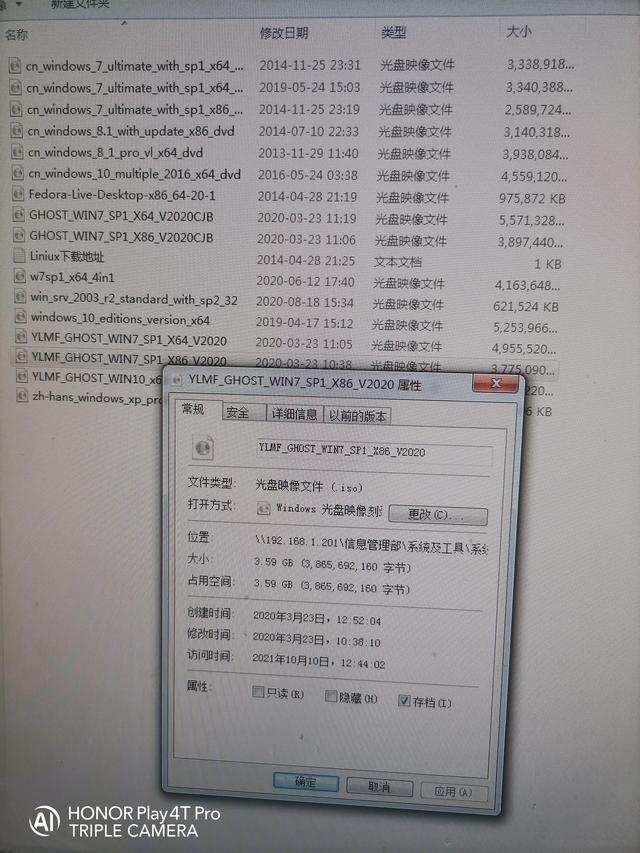
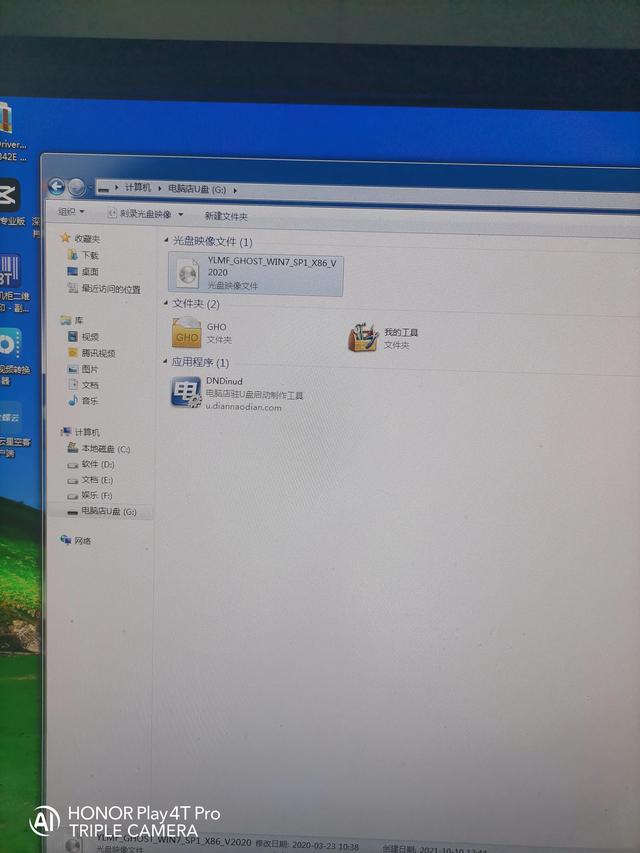
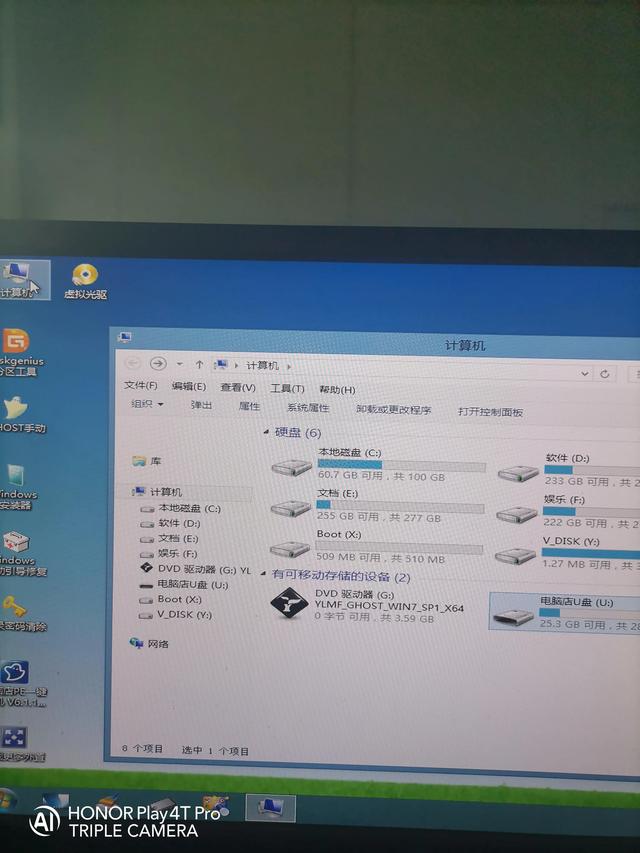
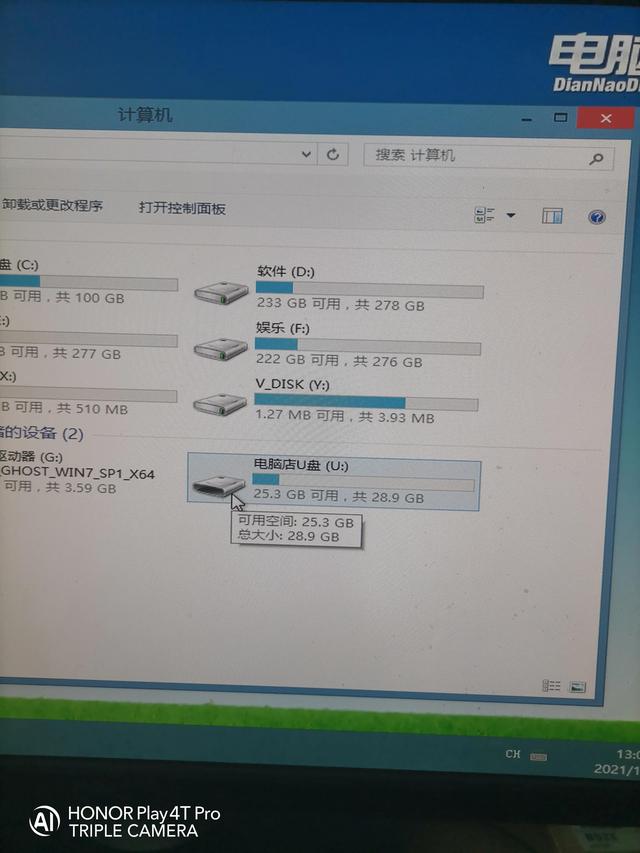
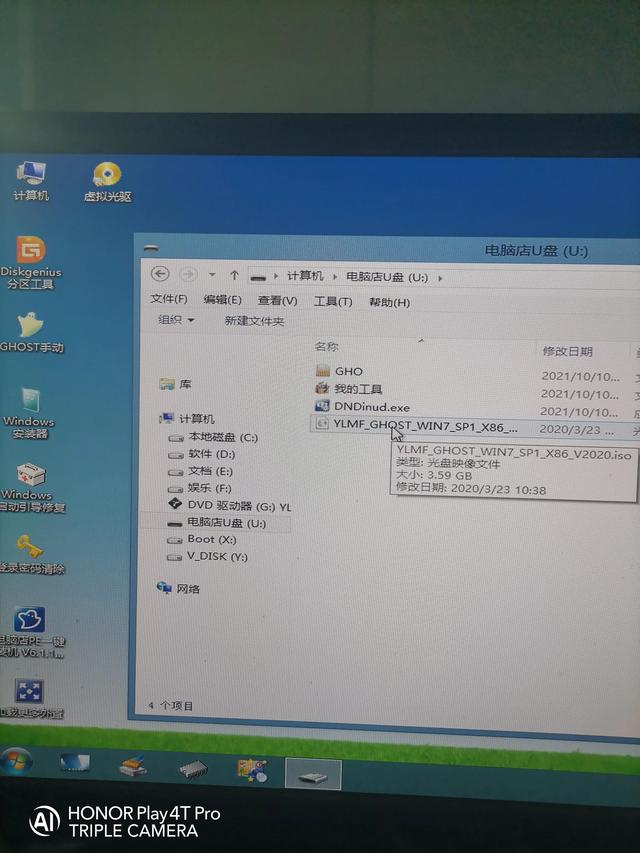
打开我的电脑,U盘名变成了电脑店的U盘。我们选择一个好的win7系统放进去

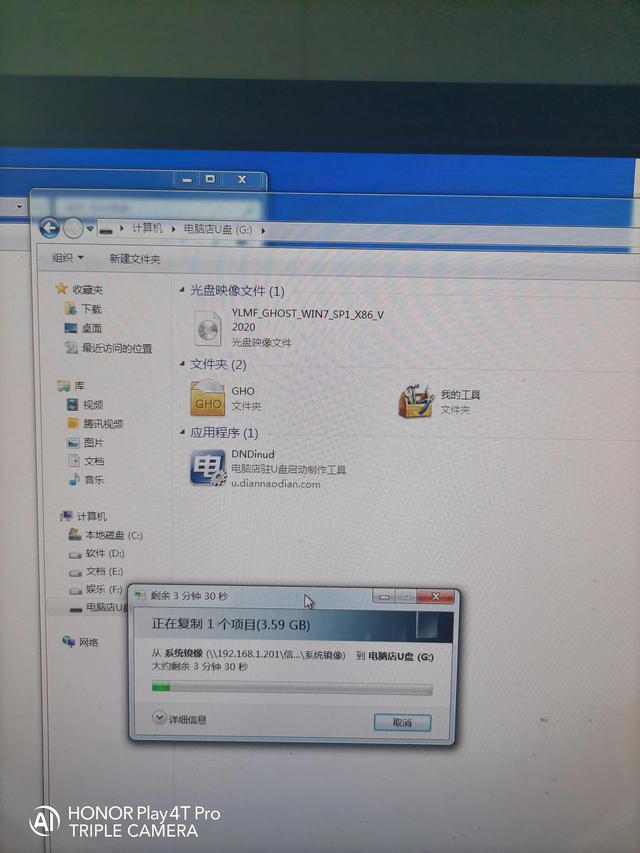
很多人在网上下来的系统都是iso类型,这没关系,直接放在U盘里就好,
系统放入后,我们测试效果
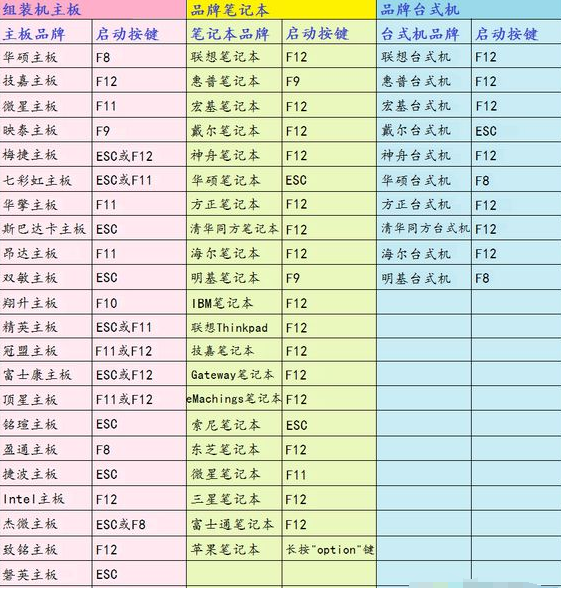
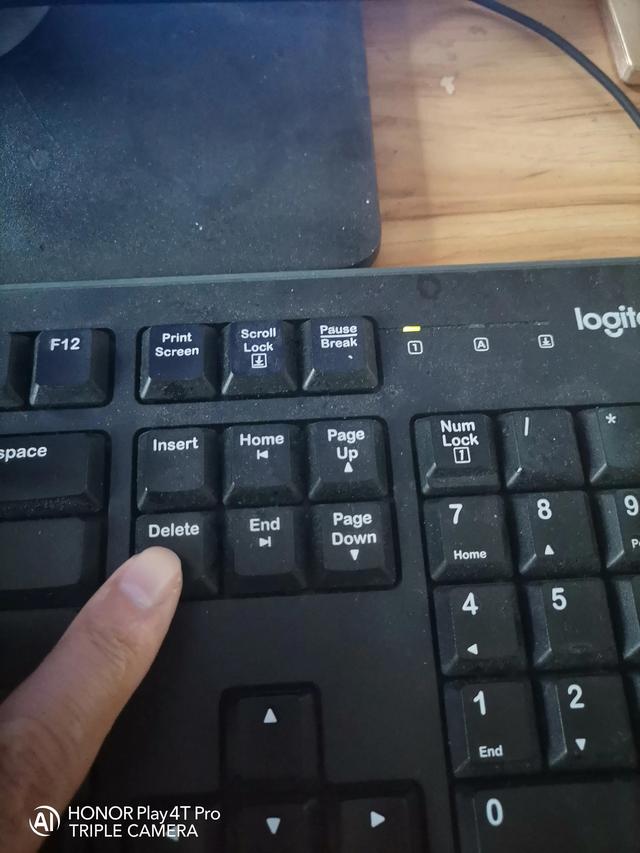
我的主板是华硕,开机按Delete进BIOS
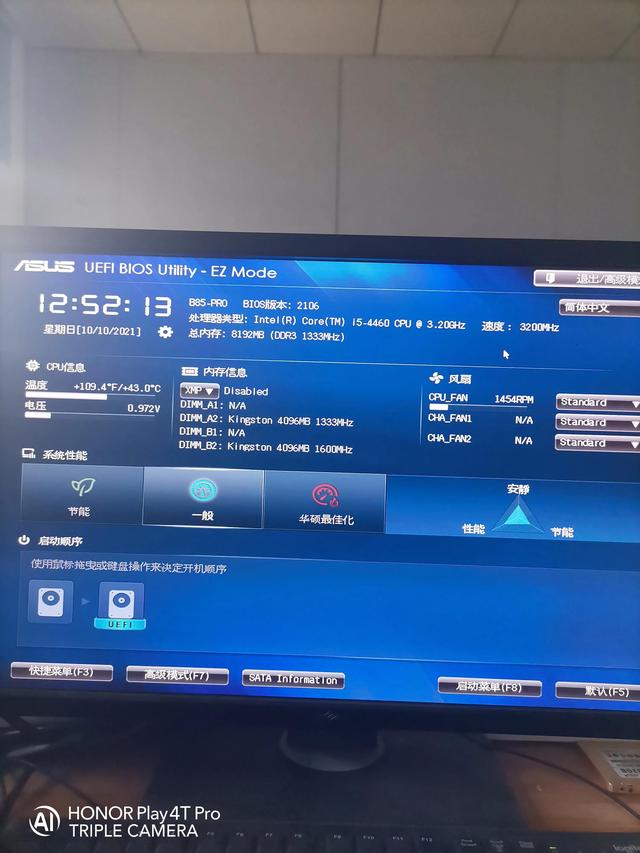
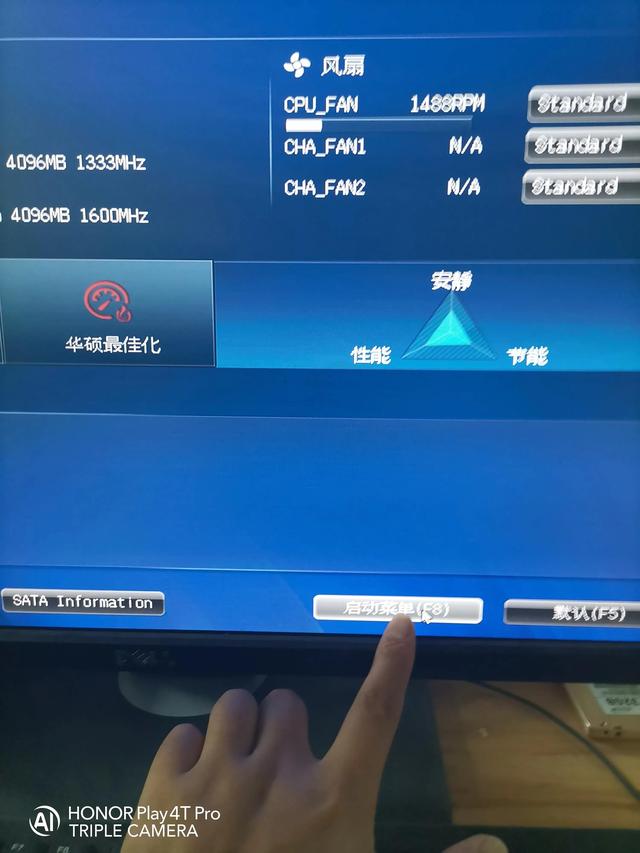
选择启动菜单或按压F8都可以
我们用鼠标选择USB Flash Disk这项确定
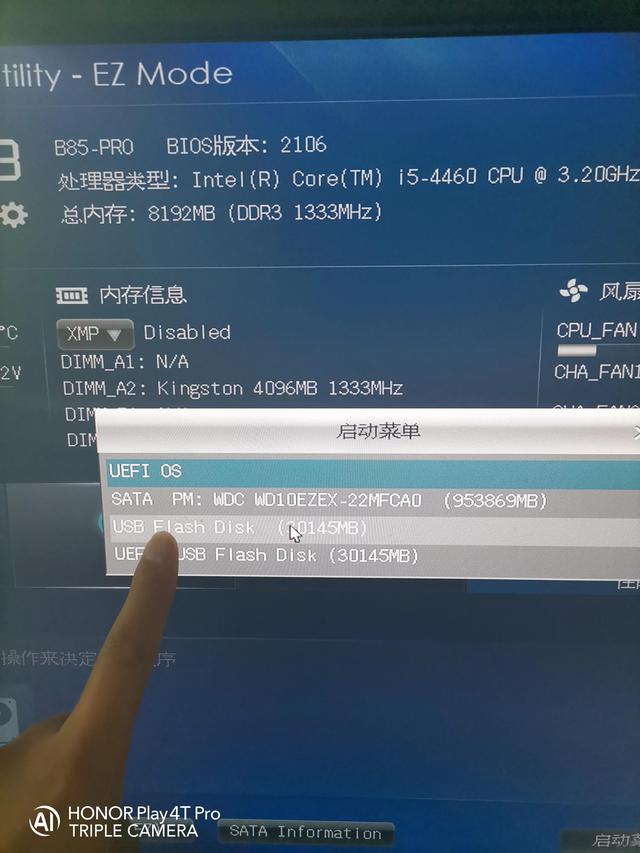
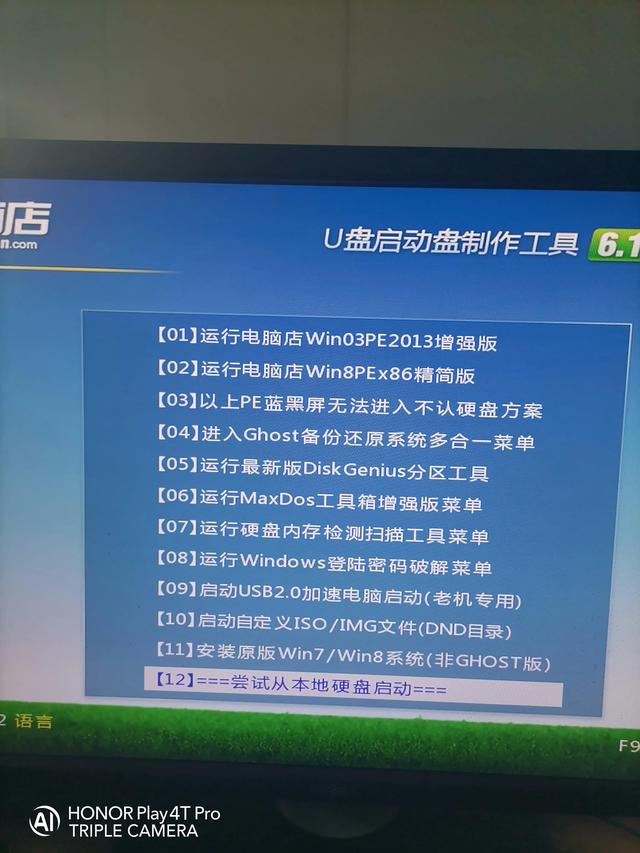
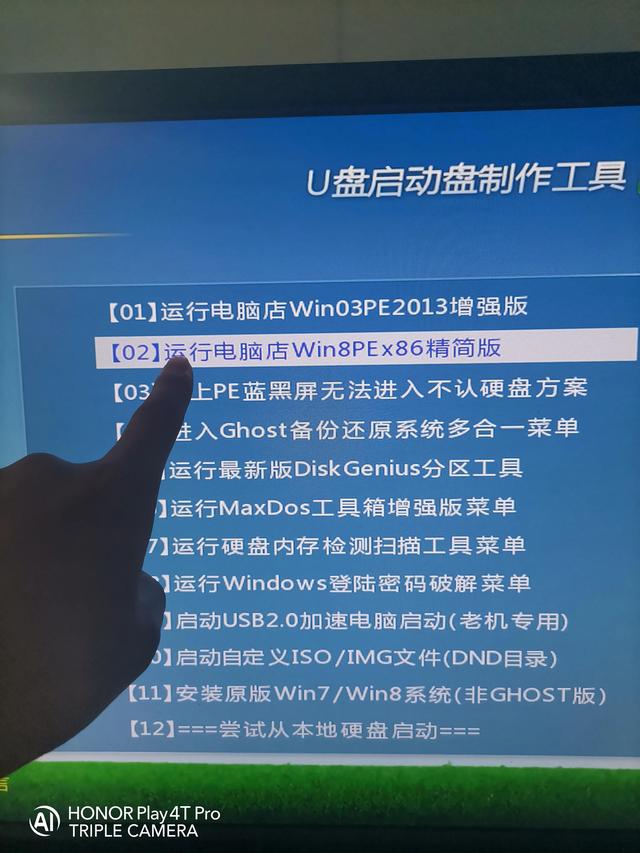
通过键盘向上下键选择

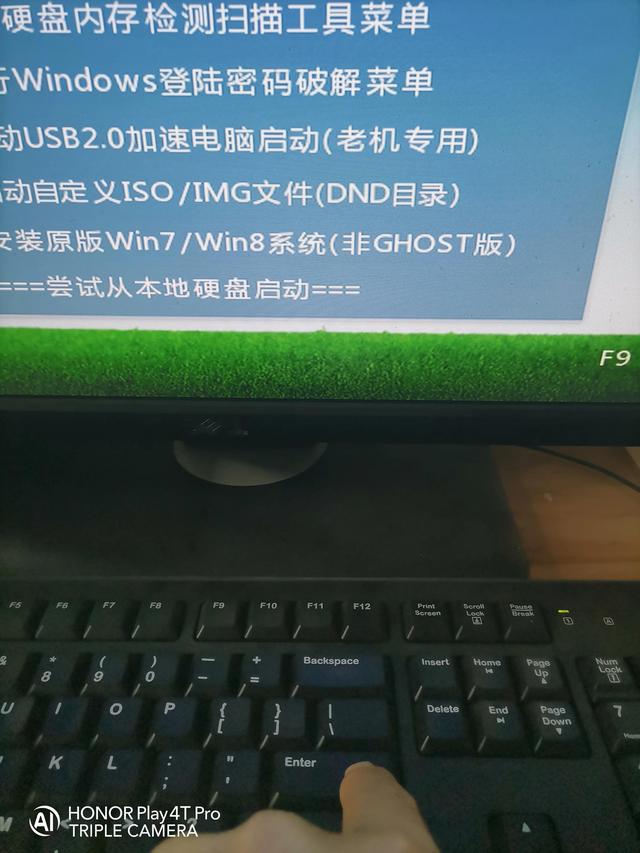
我们选择第二个敲回车(也就是说(也就是说)Enter这个键)
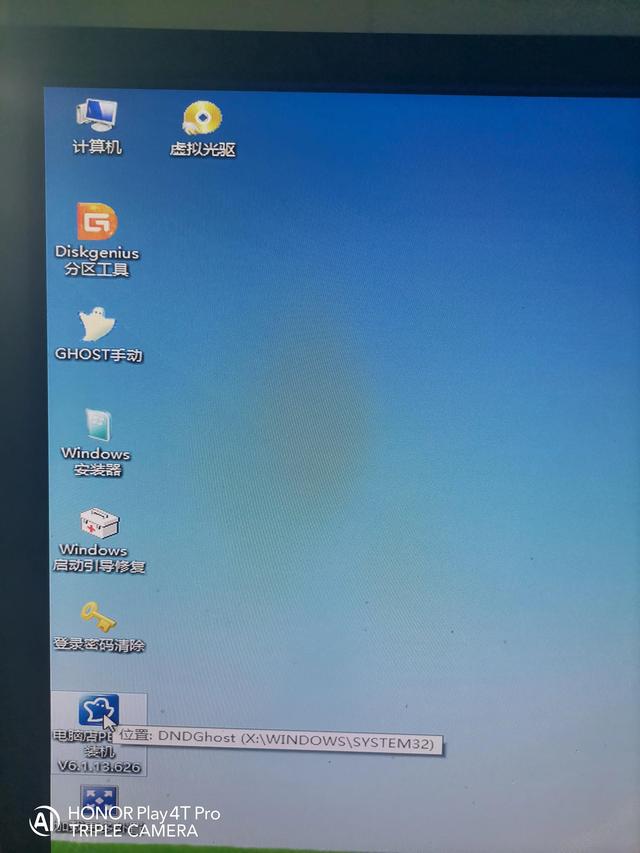
这就是win pe界面,也就是说,我们必须开始安装系统的界面
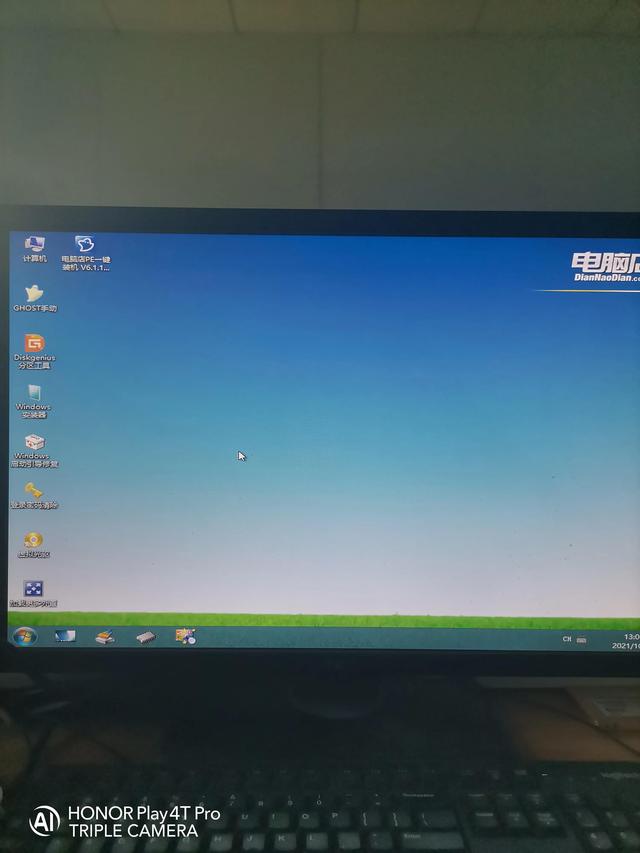
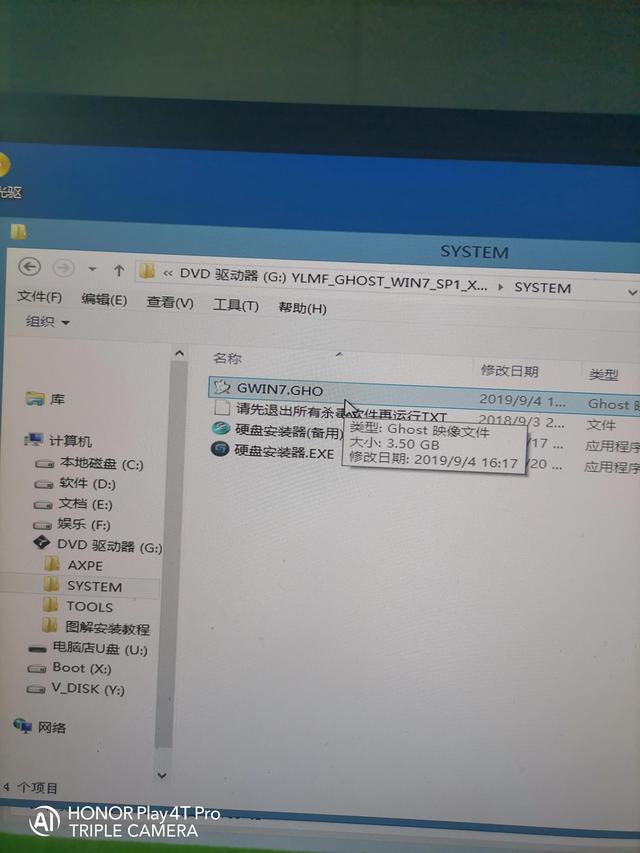
点击计算机,打开电脑U盘
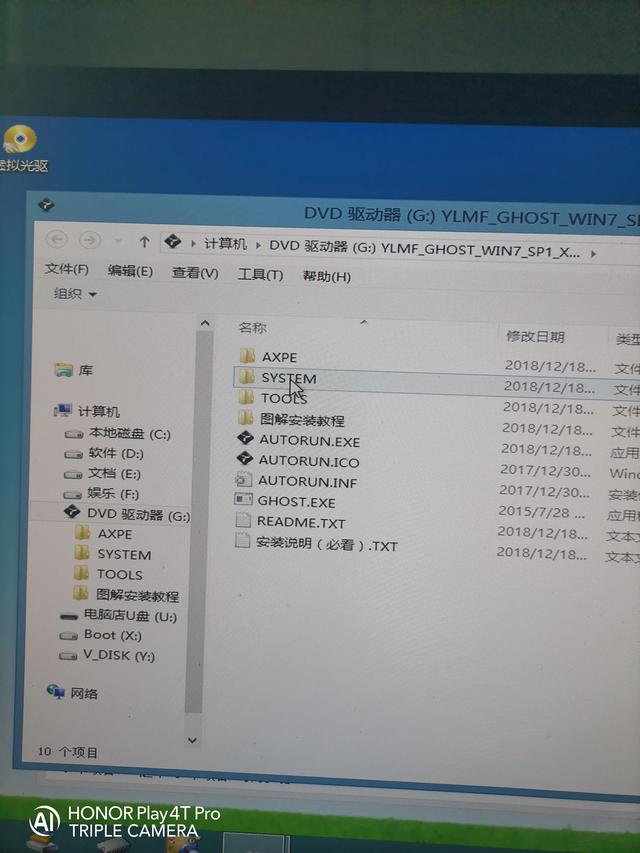
双击我们win7系统
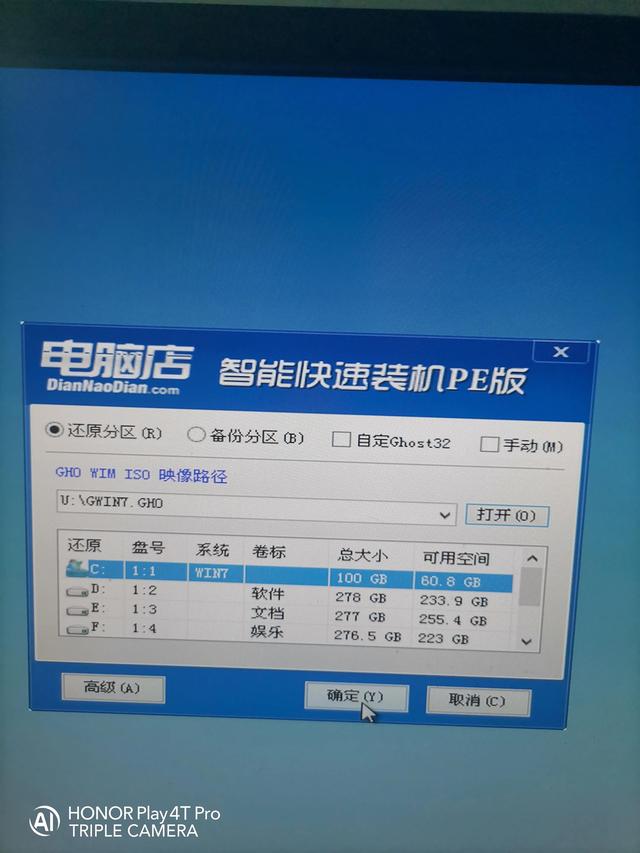
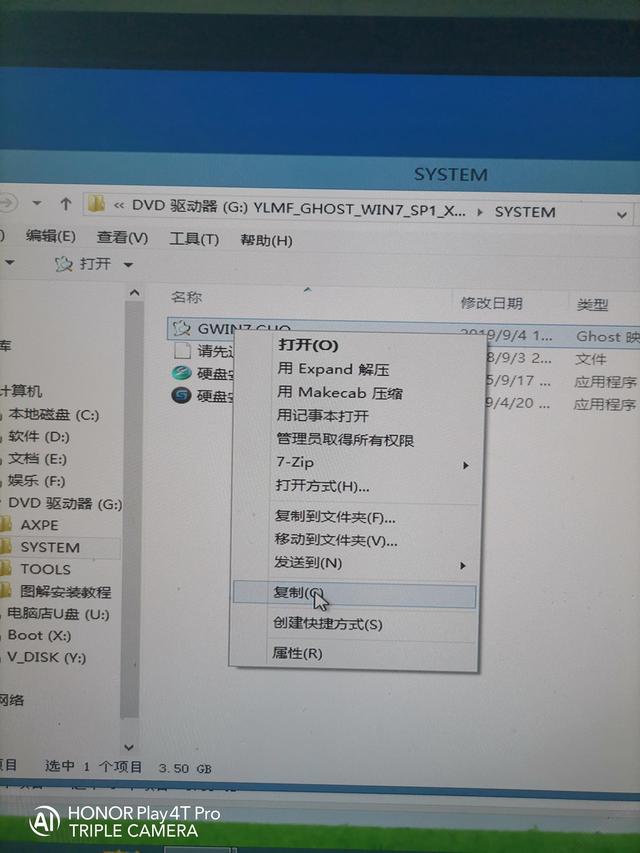
选择SYSTEM打开文件,打开里面的GHO复制文件,这是我们的win7系统
将其复制到电脑店U盘后,即可正常安装系统
选择电脑店PE一键装机,双击
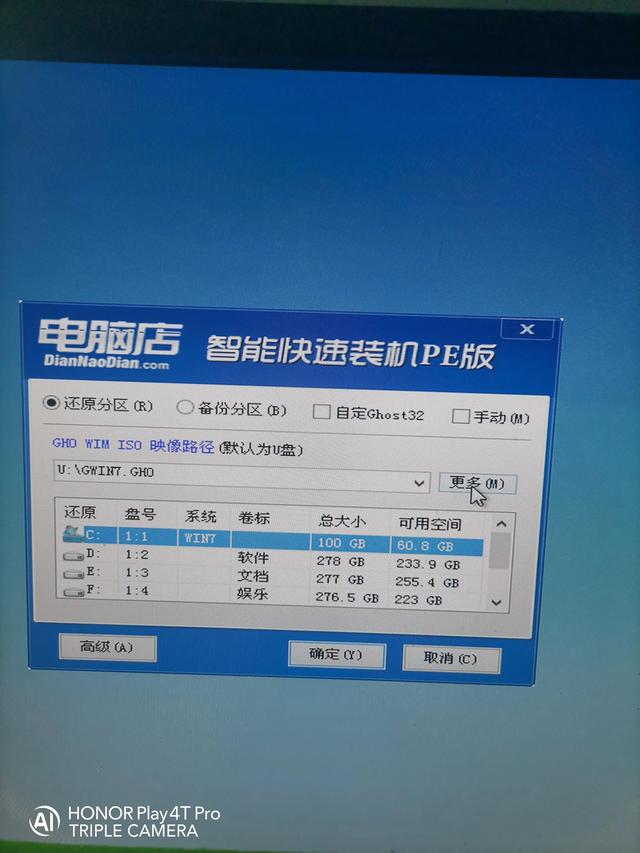
选择C盘点确定即可。