(dell台式机光盘重装系统)
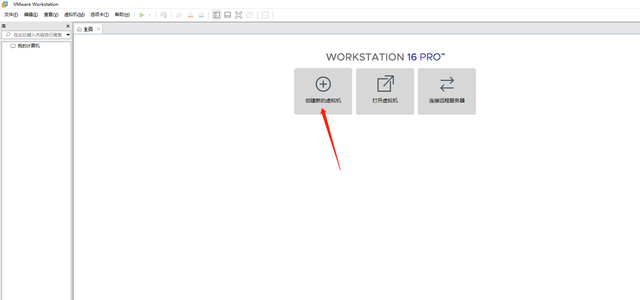
1.打开虚拟机软件VMware Workstation Pro
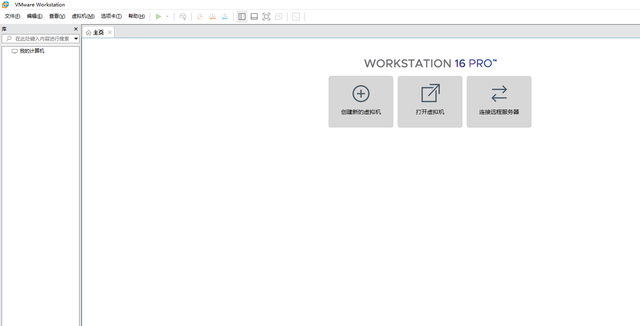
2.选择创建新的虚拟机
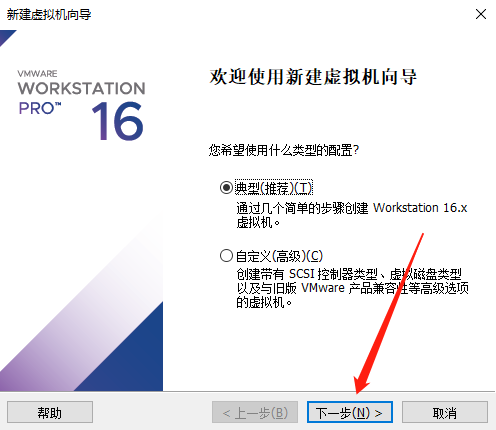
3.下一步
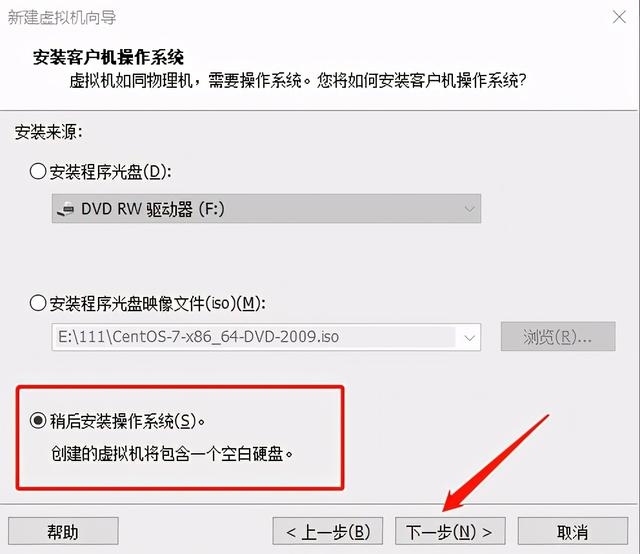
4.选择稍后安装操作系统 下一步
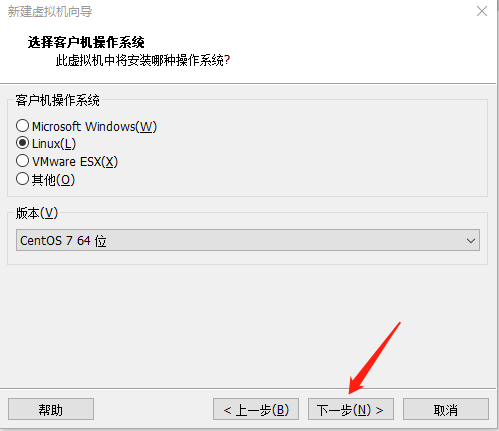
5.选择linux 根据需要选择版本
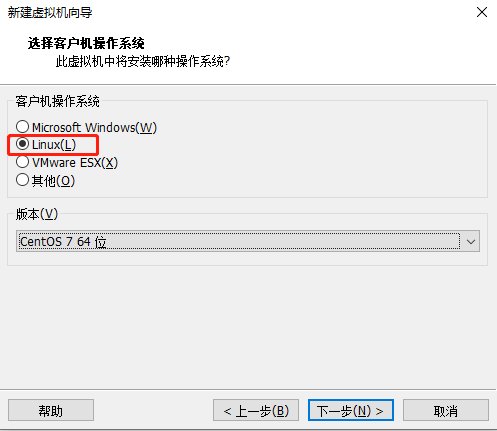

下一步
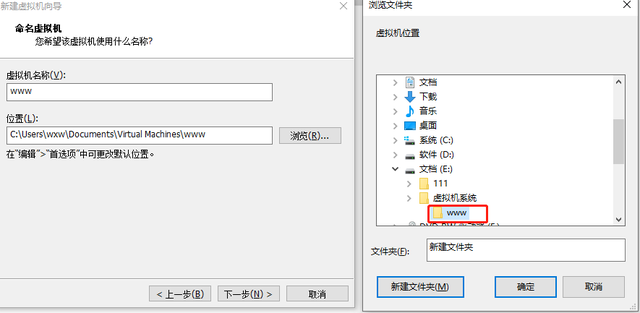
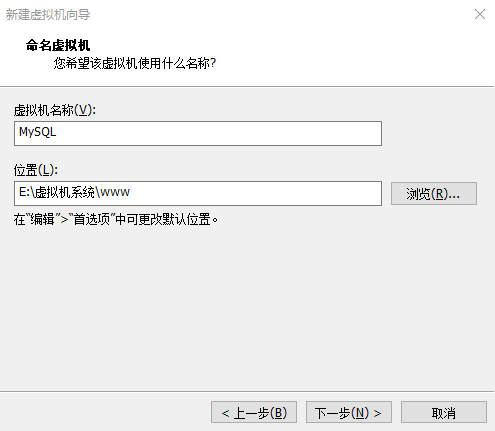
6.虚拟机名称自定义 默认C盘系统存储位置,建议更改其他存储位置。
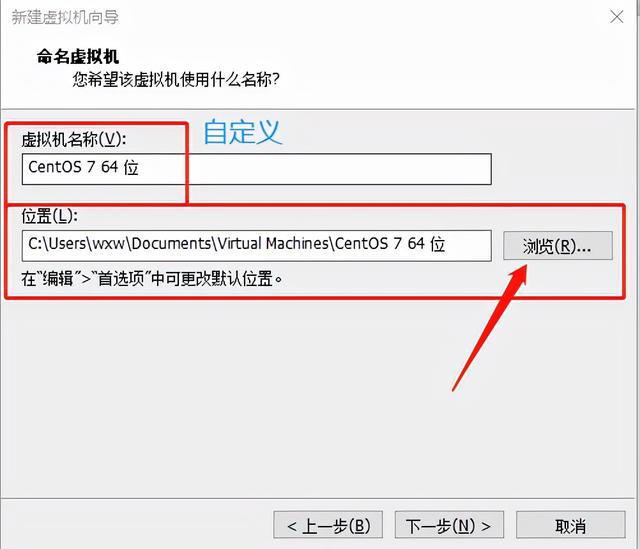
7.下一步
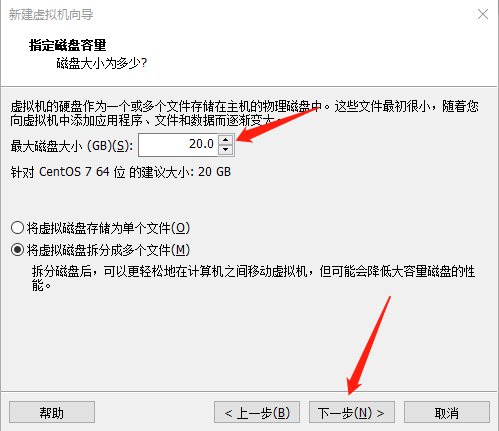
8.存储空间根据自己的需要,自定义大小
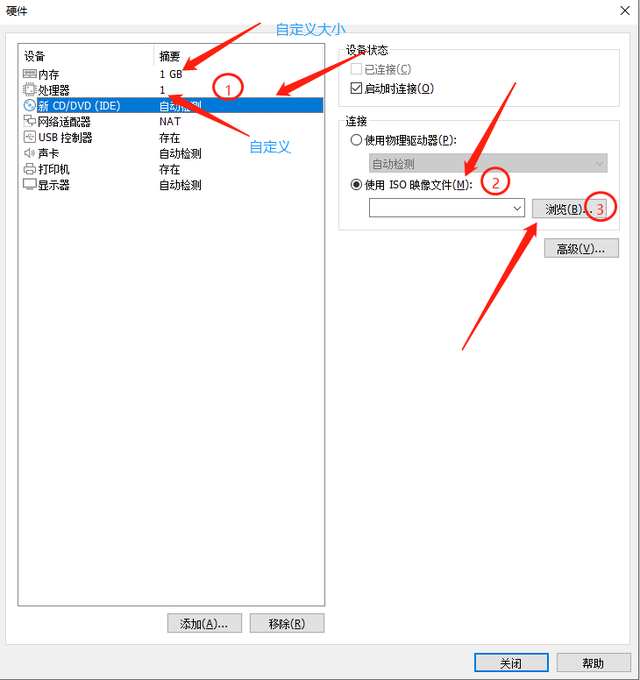
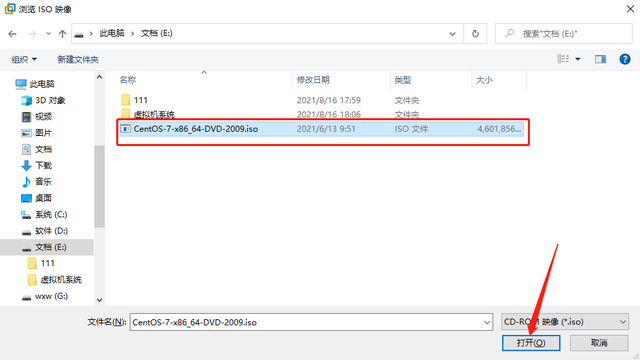
9.定制硬件
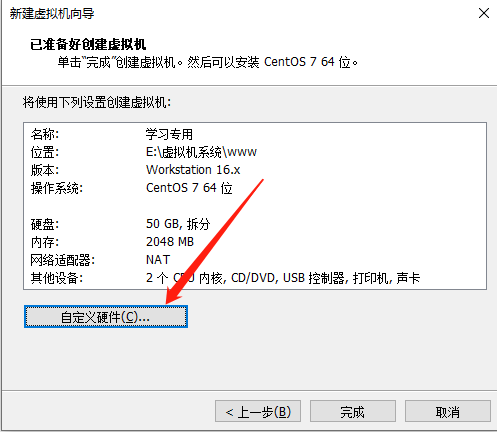
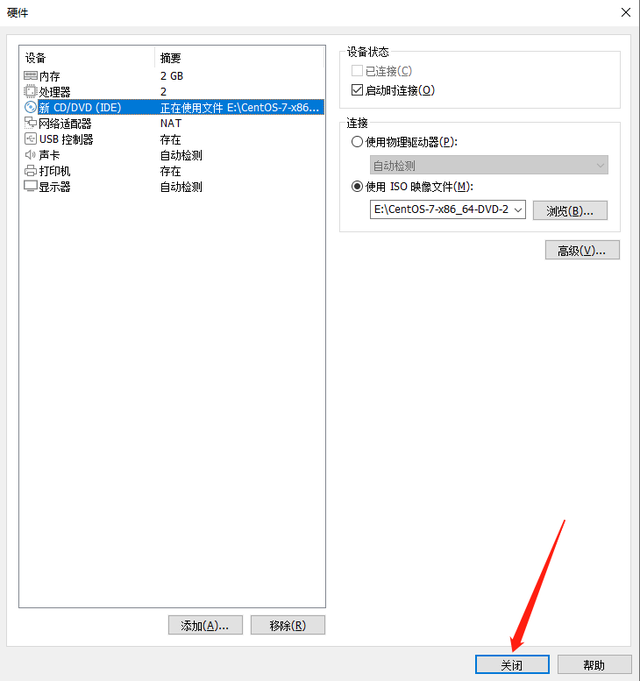
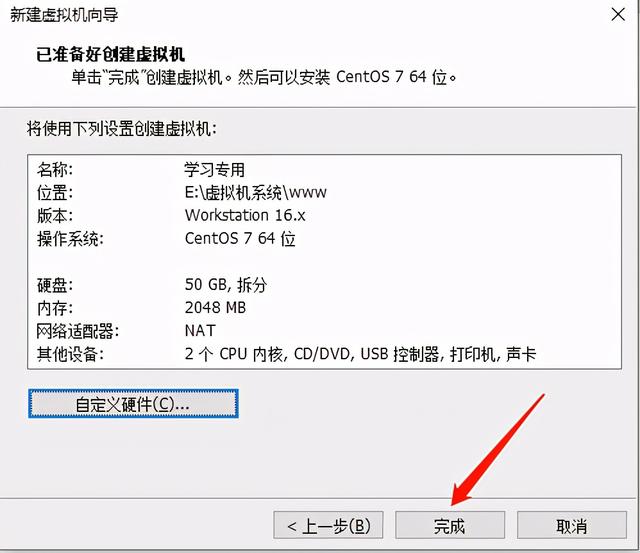
10.选择完成
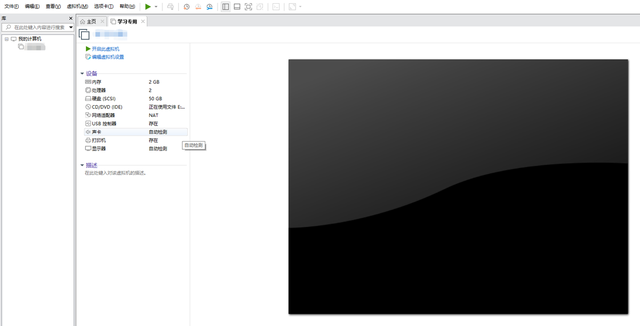
11.虚拟机已安装完成
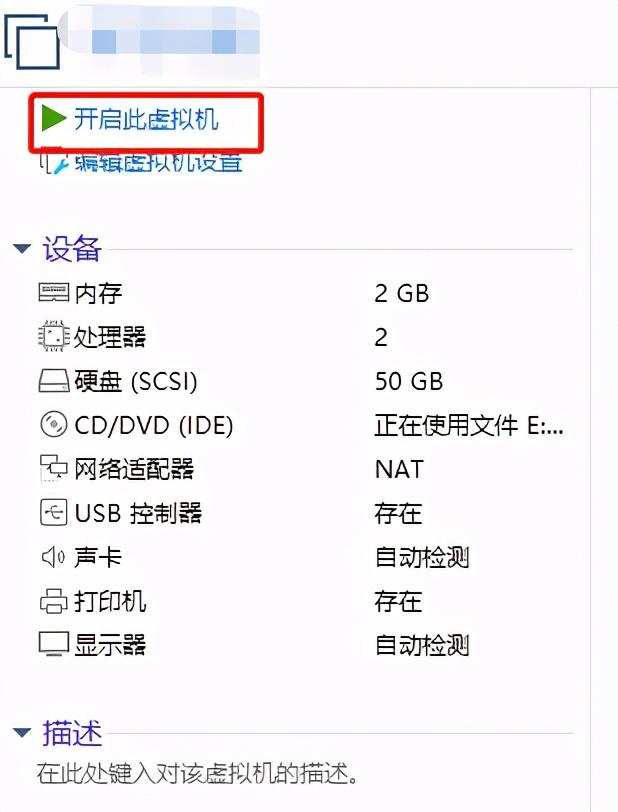
12.打开此虚拟机
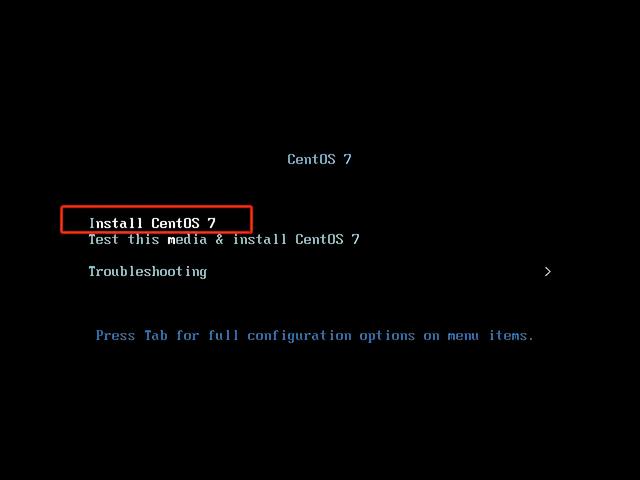
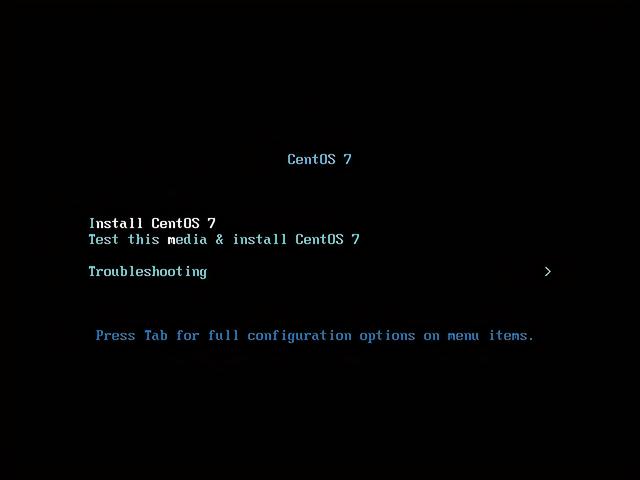
13进入系统引导界面配置
13.1安装centos7
13.测试光盘镜像,安装系统
13.3排错模式(修复系统,重置系统密码)
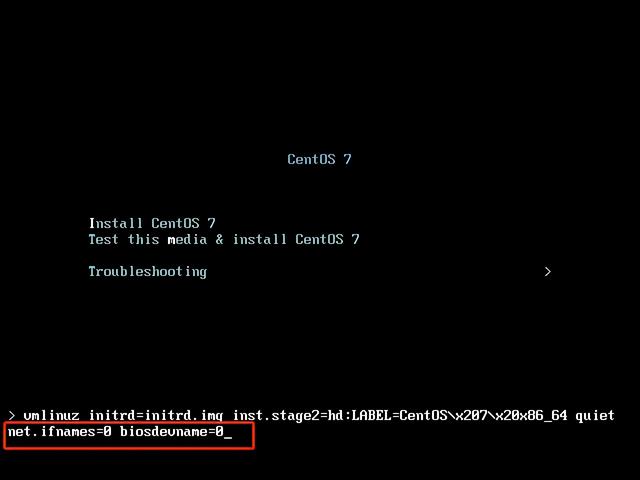
Centos7系统网卡名称
默认系统的网卡名称是eth0 eth1 ---centos6
默认系统的网卡名称是ens33 ens34 ---centos7
调整网卡名称
选择安装centos按tab键 --net.ifnames=0 biosdevname=0
从虚拟主机返回Windows系统方法:ctrl alt
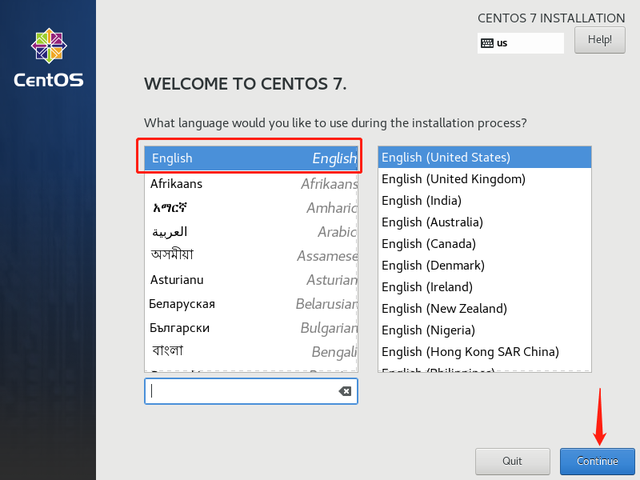
第二部分:设置安装系统语言(推荐英语)
2.1默认是英文
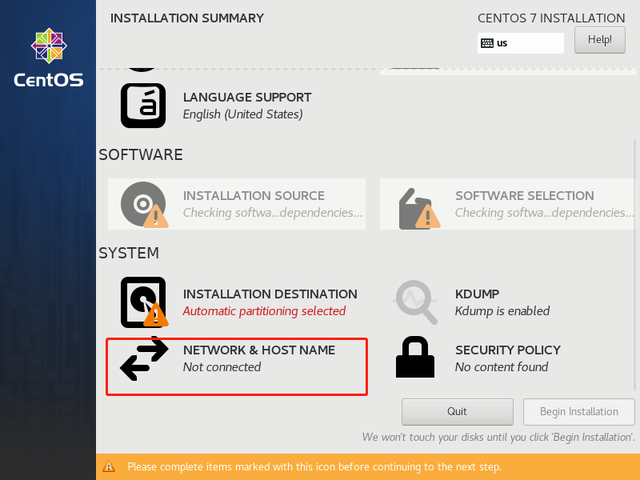
3第三部分设置系统安装过程
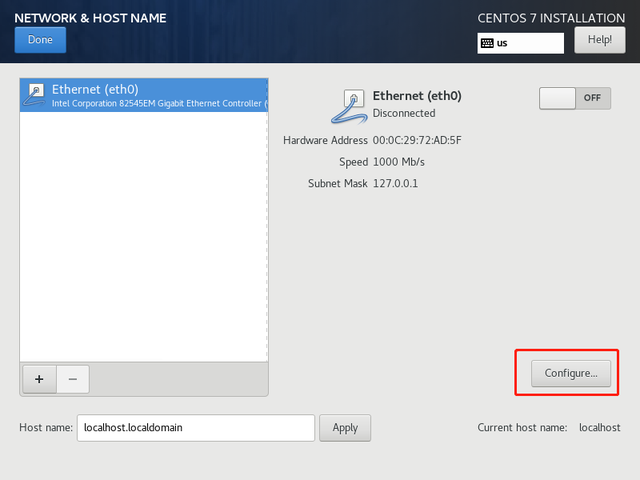
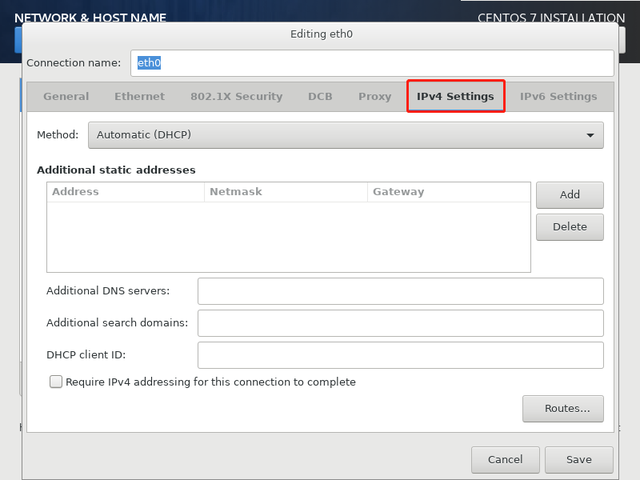
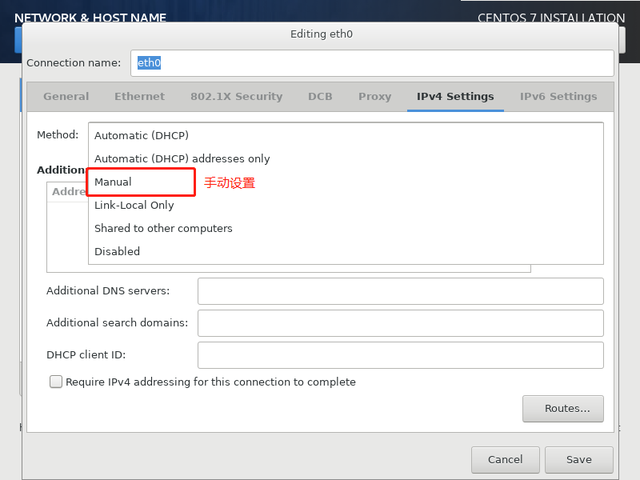
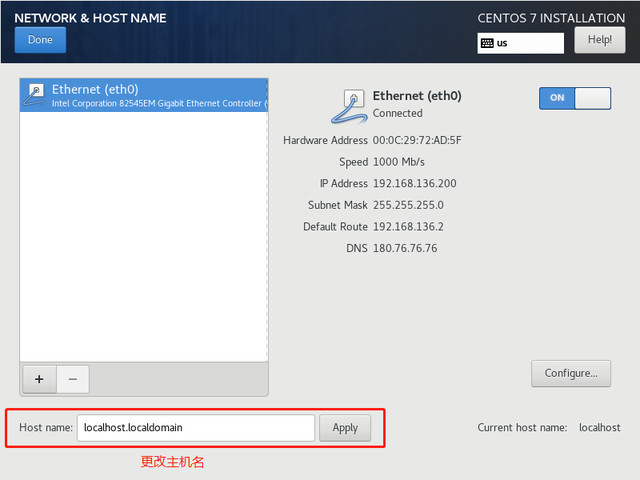
3.配置1系统网络
system – network && hostname
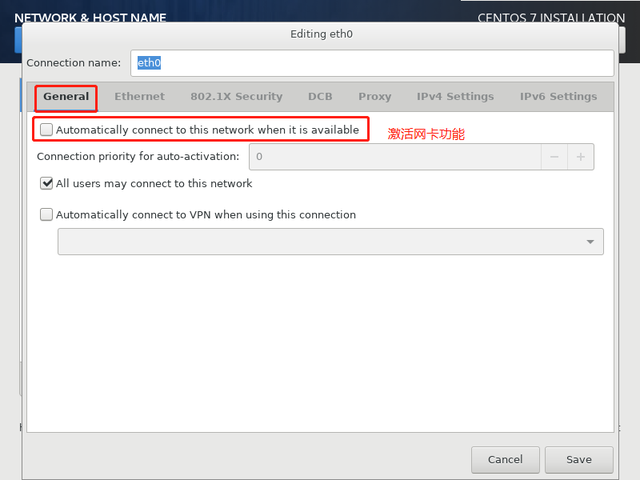
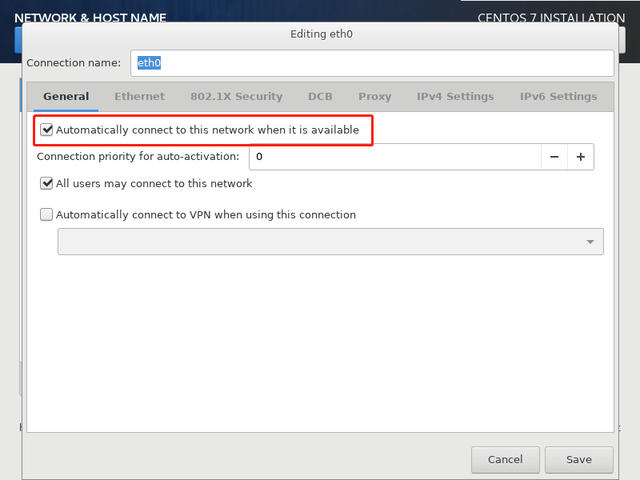
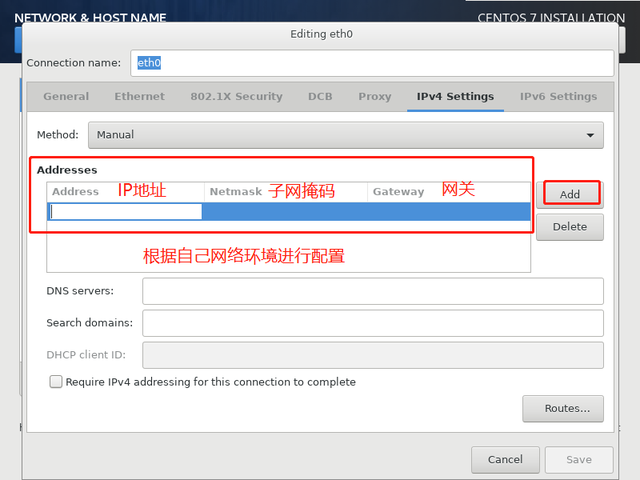
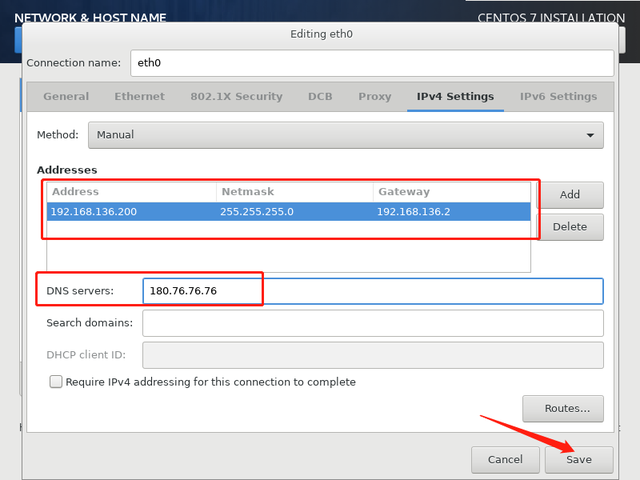
sonfigure—通用配置(激活网卡功能)--IP地址进行了设置
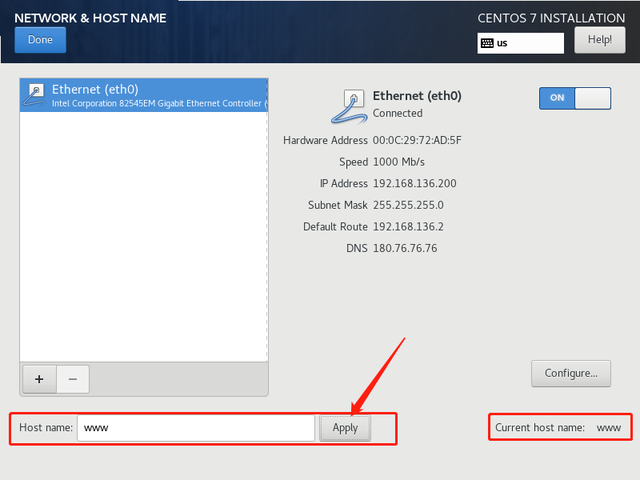
设置系统主机名
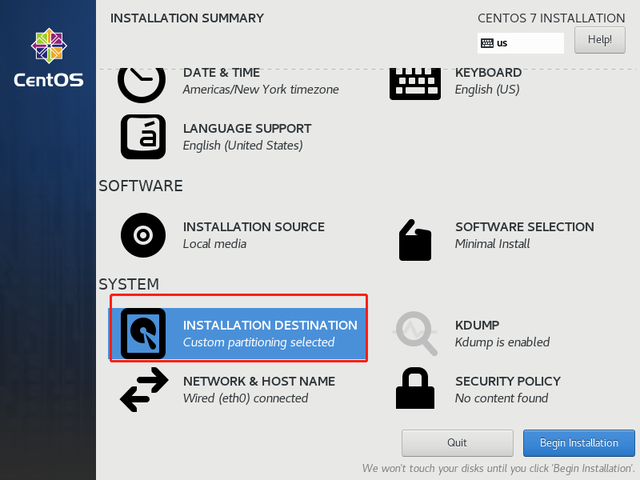
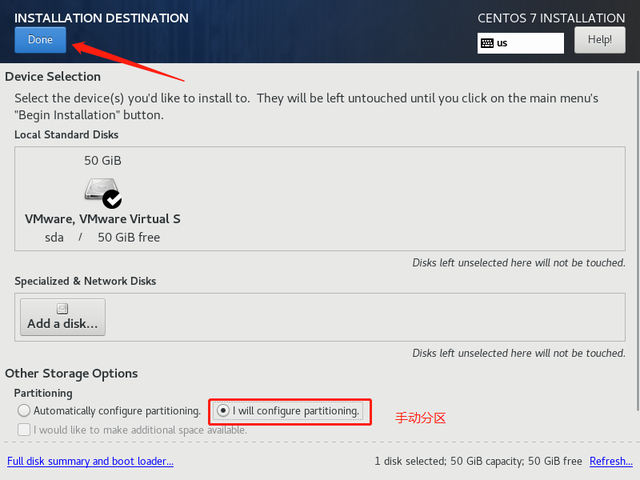
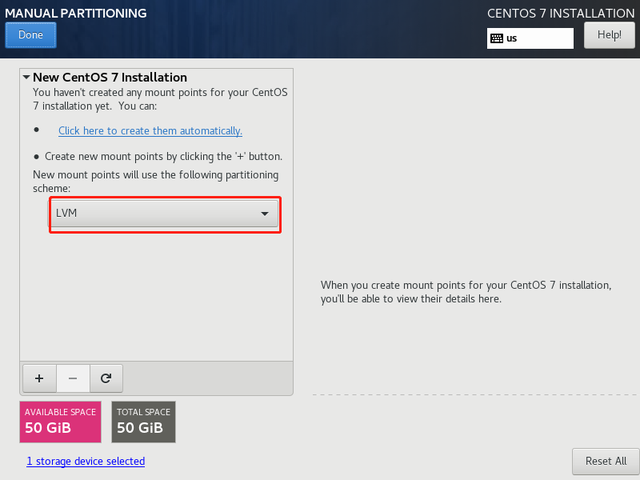
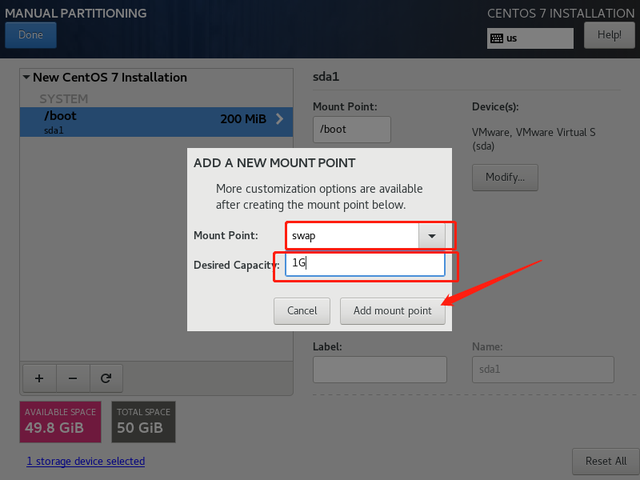
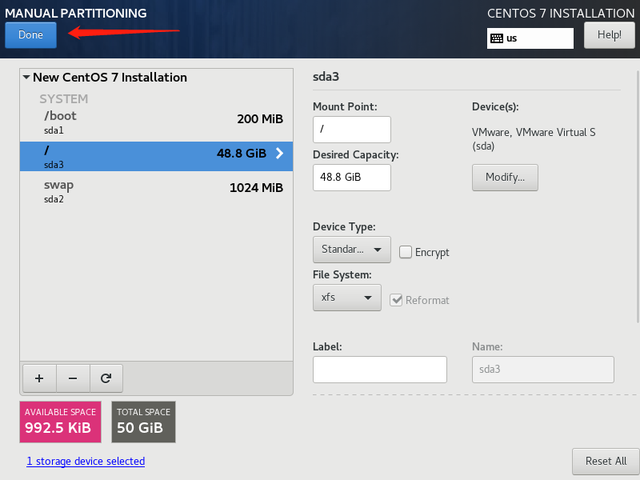
3.配置2系统分区
system –install destination 系统分区
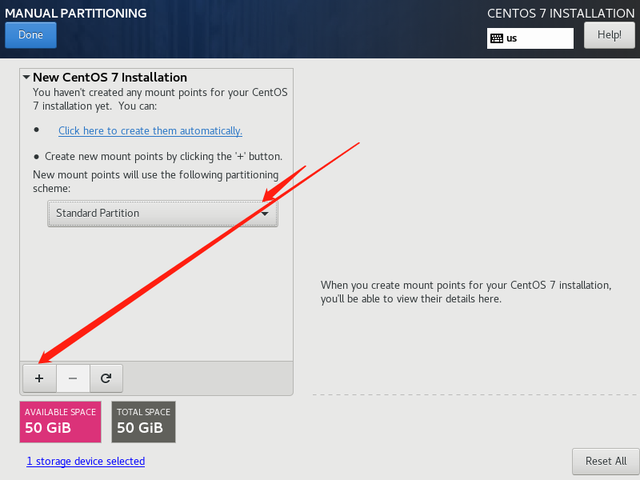
3.2.一般分区方案
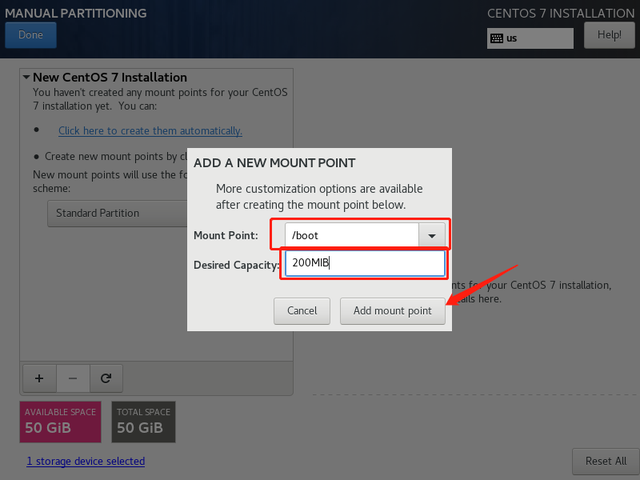
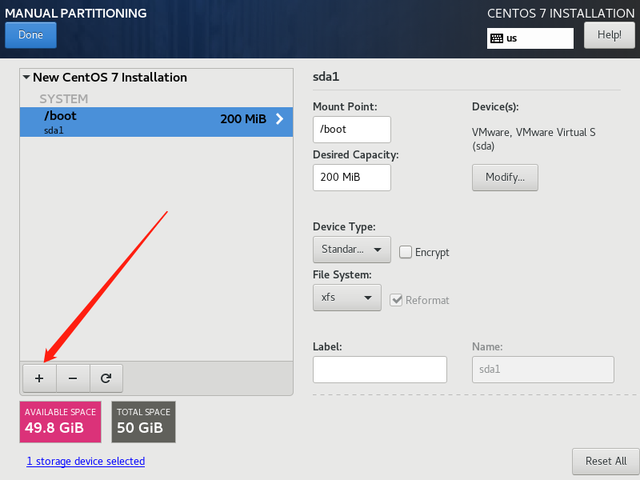
c盘==/boot 引导分区 200MB
=/swap 交换分区 当内存不足时,使用硬盘中的空间作为内存
内存<8G
建议交互分区大小=内存大小的1.5倍 内存1G—swap1.5G
内存>=8G
建议交互分区大小=8G
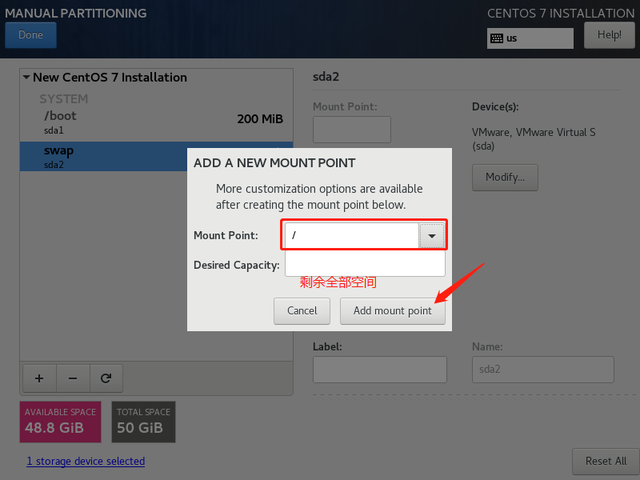
=/ 根分区 剩下的空间
3.2.2数据信息更重要的分区方案
/boot 200M
swap <8G 1.5内存大小
>=8G 8G
/ 20G-200G
/data 剩余空间大小
3.3.3 分区方案灵活
/boot 200M
swap <8G 1.5内存大小
>=8G 8G
/ 20G-200G
剩余空间不分,根据系统业务

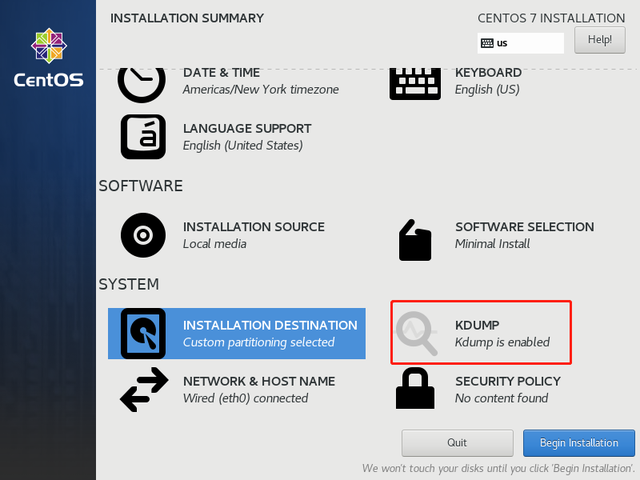
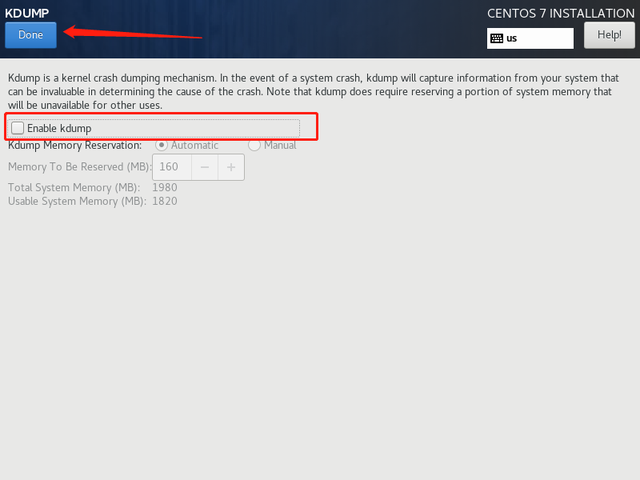
3.3系统安全配置(关闭)
system-kdump 保存停机前系统中的内存异常信息
system-security polioy 系统安全策略配置
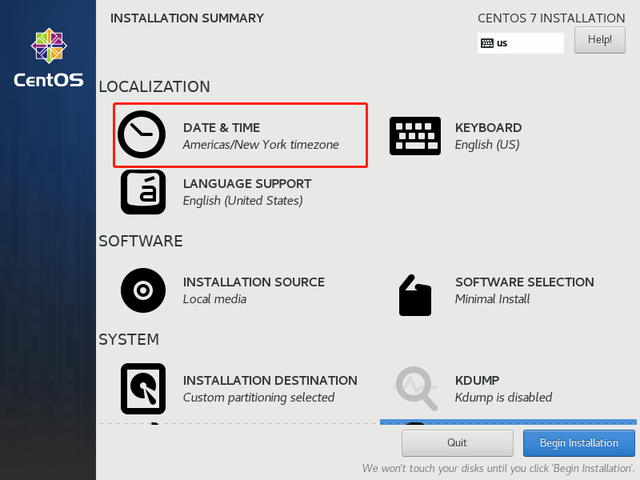
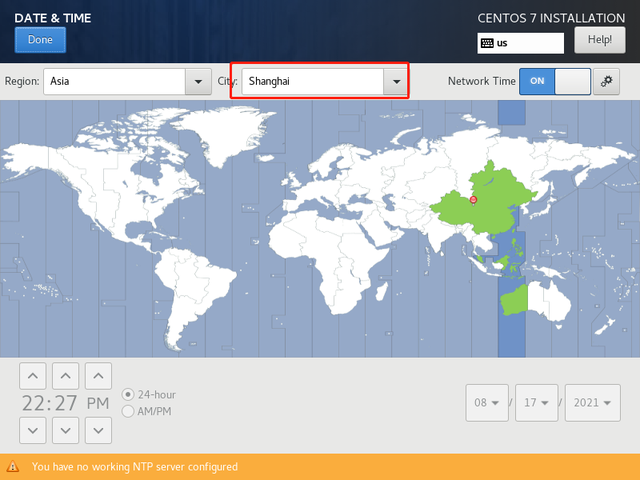
3.配置4系统时区
localization-data time
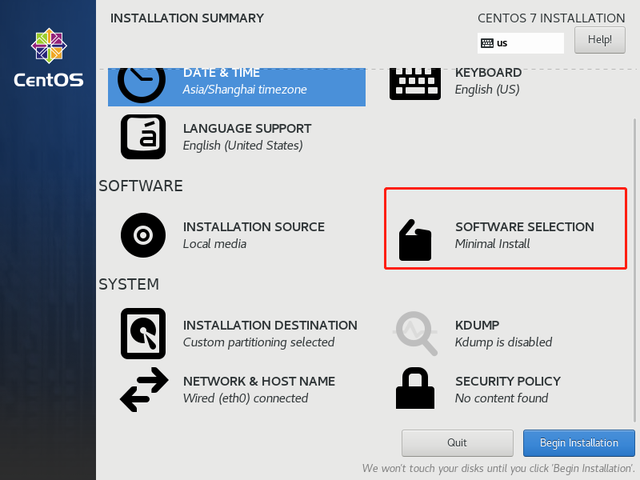
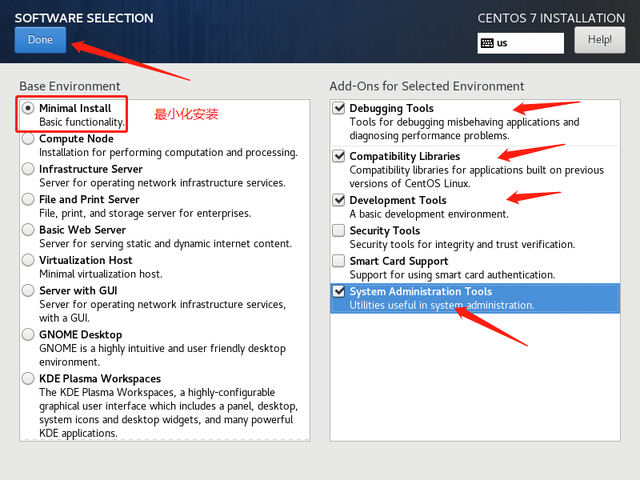
3.5系统软件的安装
software(软件) –software selection(r软件选择)
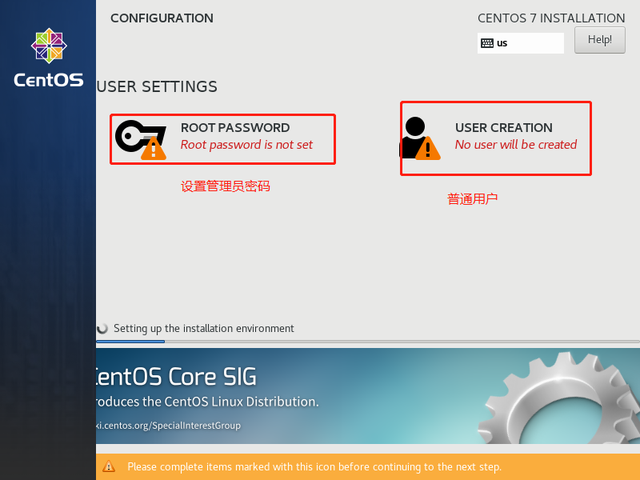
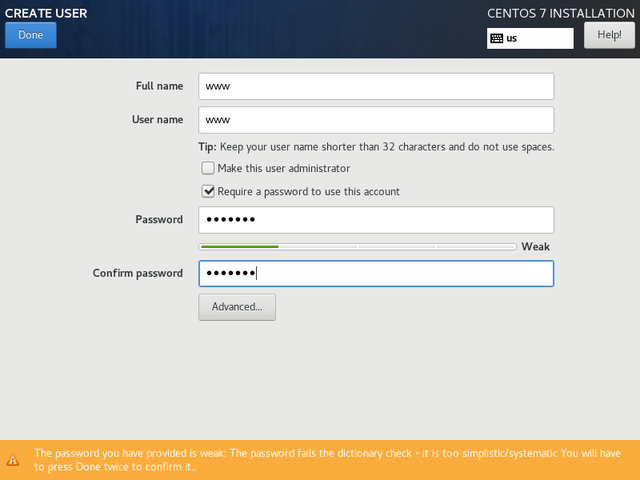
3.6创建系统用户
系统管理员用户:root
系统用户:www
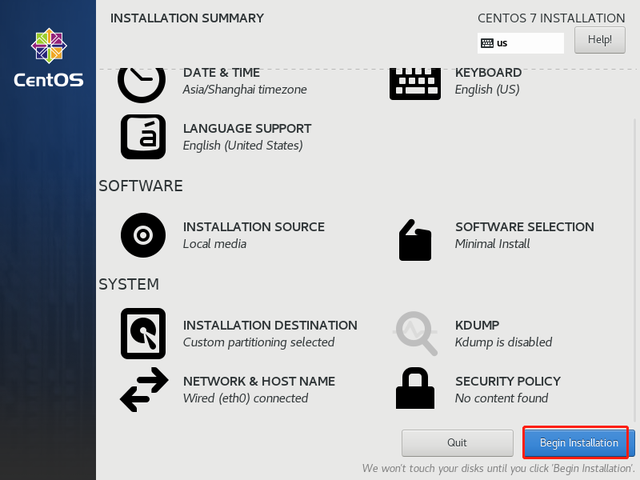
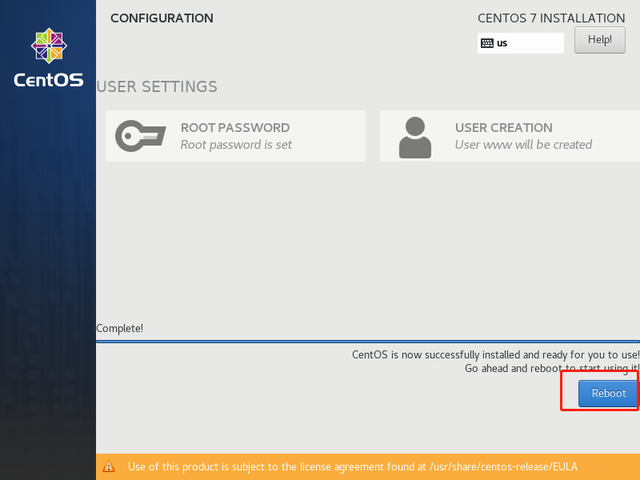
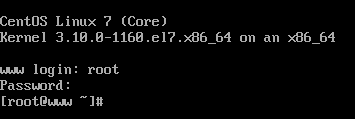
完成系统安装
检查网络
1.网络检查确认工作
1.确认网卡配置
1.确认外网链接正常
2.分析网络常见问题
2.1.网卡地址配置不正确
2.2网卡地址与虚拟主机网卡地址不统一
2.3网关和dns信息不正确